

32
fl oz10
minutes1 - 3
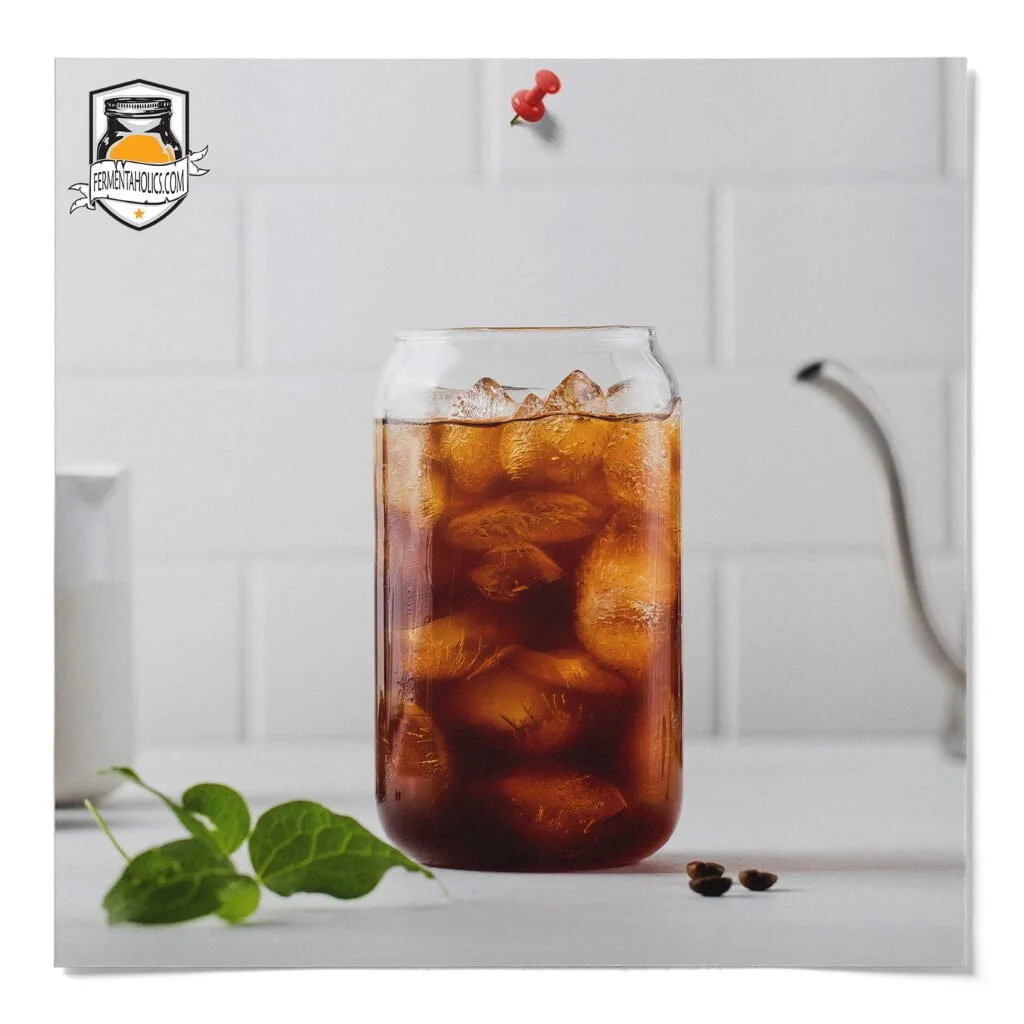
daysThis coffee kombucha recipe is for one quart. To scale this recipe to a gallon batch, multiply the ingredients by four or toggle the serving size up.
3 Cups Brewed Coffee
1/4 Cup Sugar
1 Breathable Cloth Cover (coffee filter, cloth, etc)