


1
quart batch15
minutes2 - 5
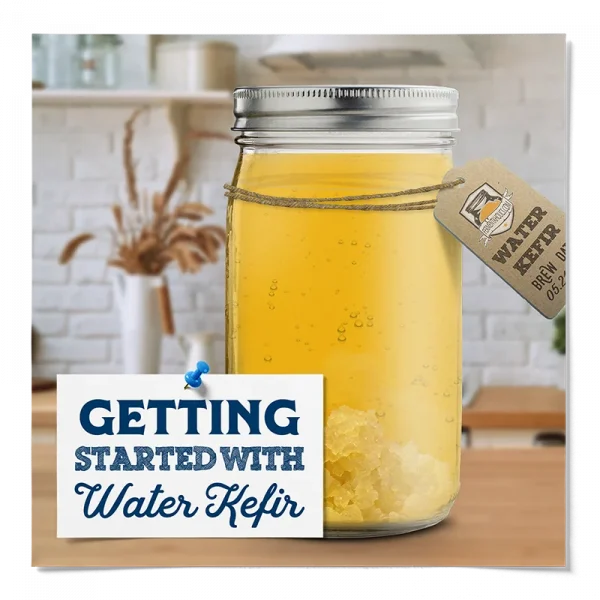
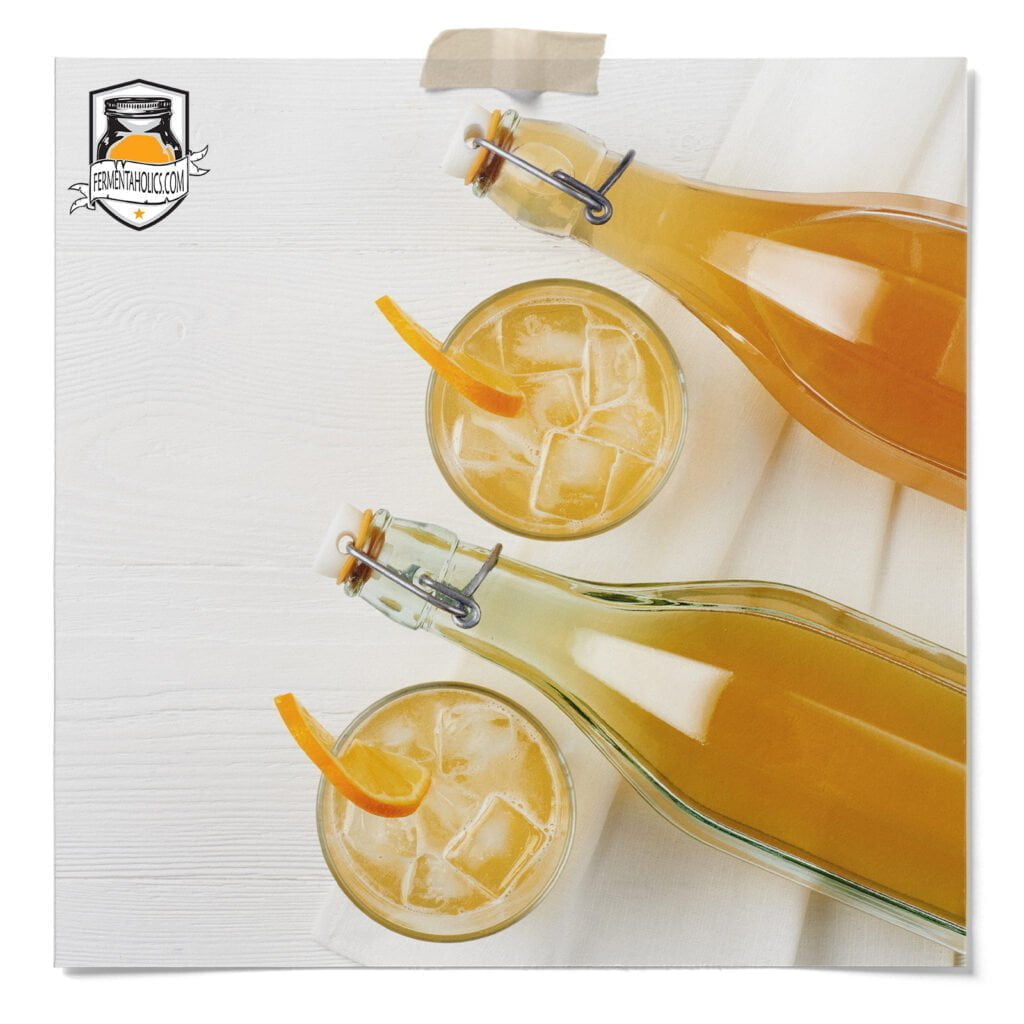
daysMake a light, refreshing, naturally fizzy water kefir at home using live water kefir grains, sugar, and water. This beginner-friendly recipe covers the first ferment, second ferment, and simple flavoring tips.
Kefir Brewing Jar (1 Quart), Breathable Cloth Cover, And A Rubber Band
3 Cups Filtered Water*
1/4 Cup Organic Cane Sugar
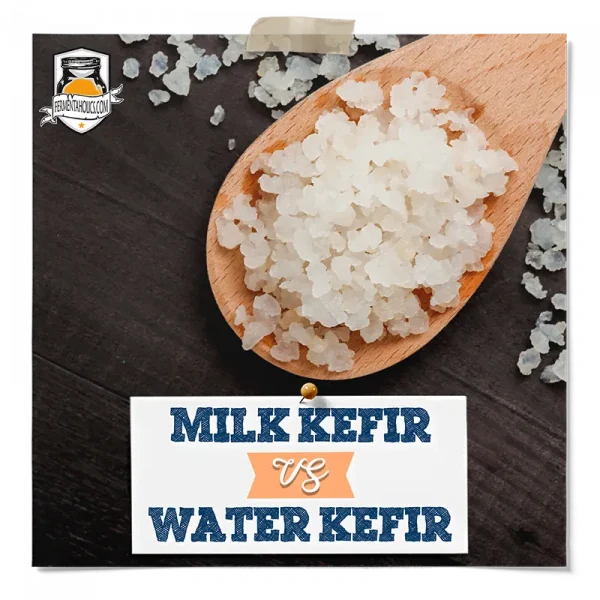
Water Kefir Grains, 70 g live water kefir grains
Thermometer Or Adhesive Temperature Strip
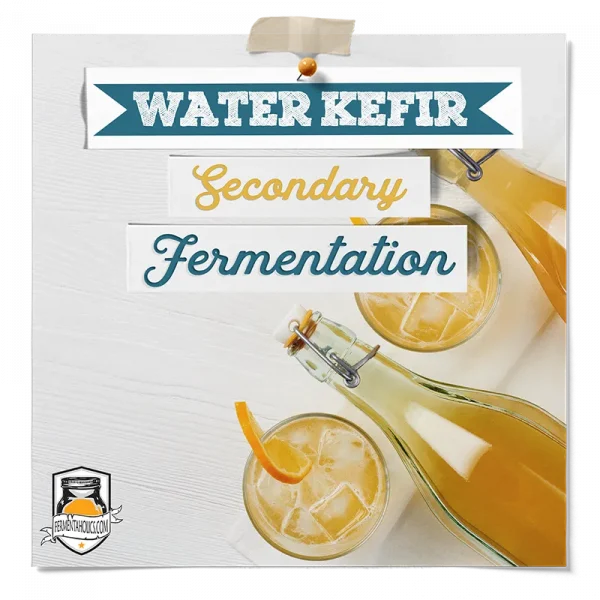
Airtight Bottles – Pressure Holding, Airtight Bottles For The Secondary Fermentation, And Storing Your Finished Brew.