
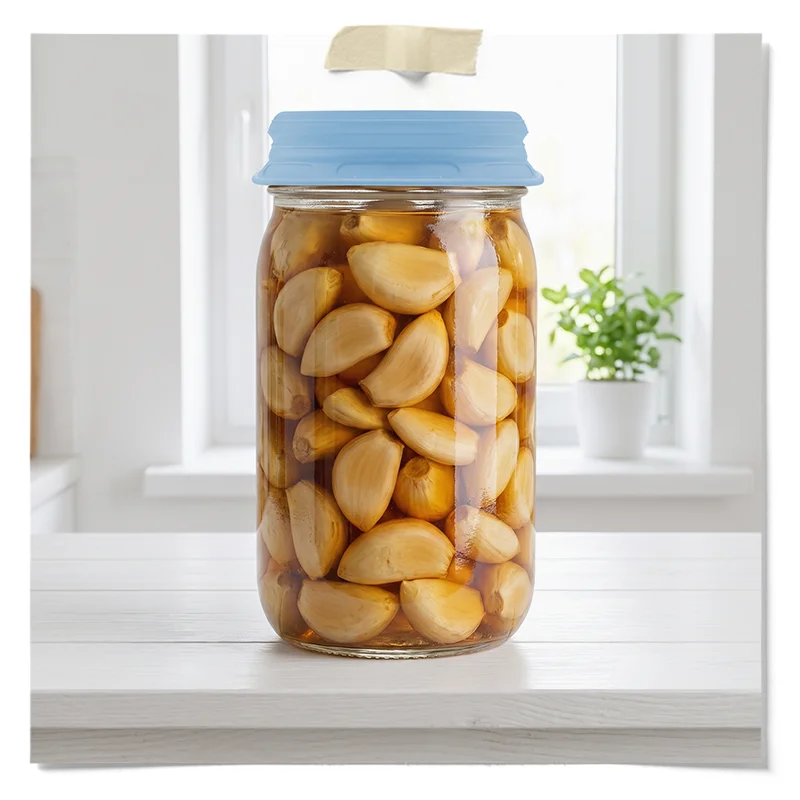
A tried-and-true method for fermenting garlic at home.
Fermented garlic is one of the most rewarding lacto-fermentation projects you can make at home. The process is straightforward: pack whole cloves into a jar, add a salt brine with a splash of sauerkraut brine to kick off fermentation, keep them submerged, and let time do the work. What comes out two to four weeks later is garlic that’s noticeably mellower and more complex than raw, with a texture somewhere between raw and roasted.
Fermented garlic is made through lacto-fermentation: the same process behind sauerkraut, kimchi, and fermented pickles.
Salt draws out moisture, slows unwanted microbial activity, and helps preserve the texture of the cloves while lactic acid bacteria (LAB) get established. As those bacteria work, they produce lactic acid, which lowers the pH of the brine over time and preserves everything in the jar.
The result is chemically different from raw garlic. Fermentation breaks down some of the harsh sulfur compounds responsible for raw garlic’s bite, leaving flavor that’s rounder, less pungent, and more savory. The texture softens slightly but keeps some firmness. It’s not roasted garlic. It’s its own thing.
It’s also worth noting what fermented garlic is not. It’s not pickled garlic made with vinegar. Vinegar pickling uses added acid to preserve food. Lacto-fermentation is a live process where bacteria produce that acid naturally. The end products taste different, and only the fermented version contains active cultures.
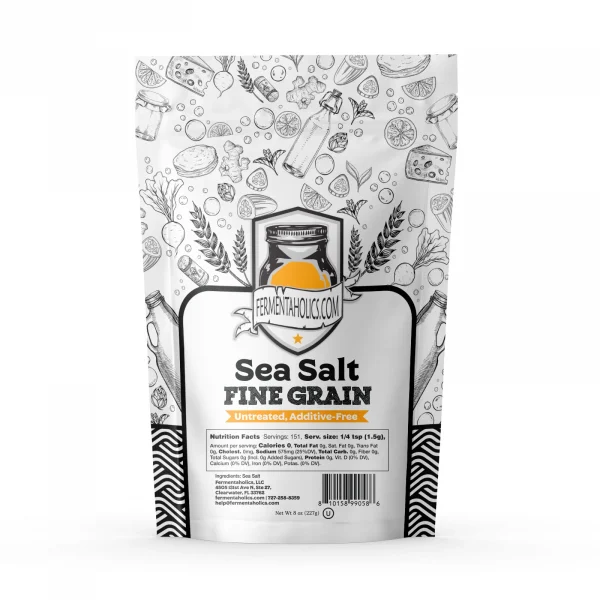
At the DIY level, lacto-fermentation is often done in wide-mouth mason jars. They’re cheap, easy to find, and the right size for most home batches. If you prefer larger batches, gallon jars are also commonly used. Here’s the list of tools needed for each option.
Wide-mouth mason jar. This recipe is written for a quart; a pint works if you want a smaller batch. Wide-mouth is important here; it makes packing the cloves in and getting them back out much easier than a standard-mouth jar.

Lacto-fermentation produces CO2. If you seal the jar completely, pressure builds. An airlock lets CO2 escape without letting outside air back in. You can use a loose lid and burp it daily, but a proper fermentation lid makes the whole thing hands-off. We carry two options: mason jar lids with airlocks or our silicone stretch lids if you prefer a waterless option.
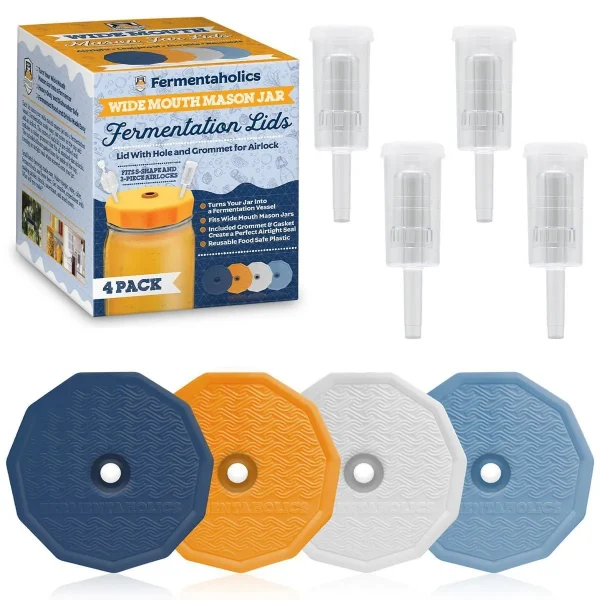
$19.99
In stock
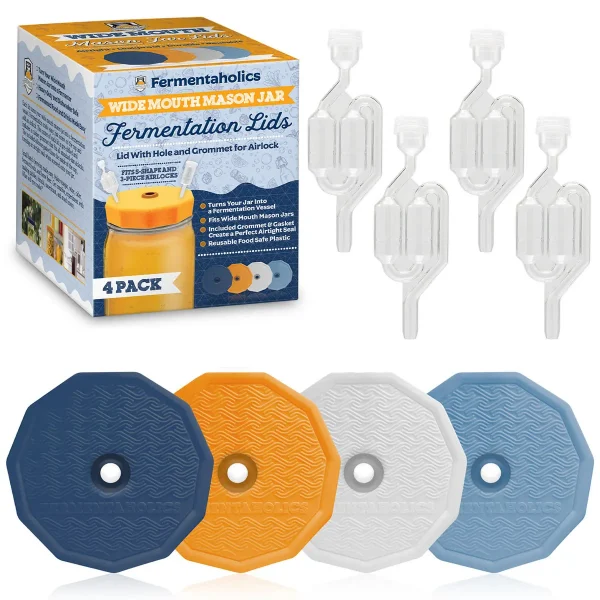
$19.99
Out of stock product
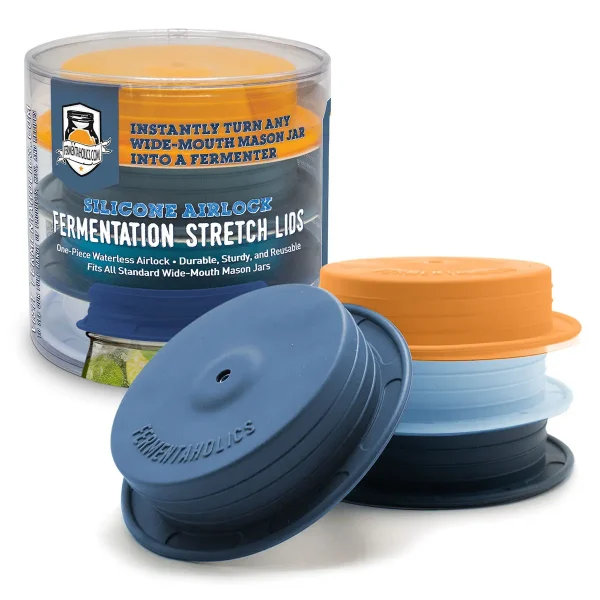
$19.99 Original price was: $19.99.$16.99Current price is: $16.99.
In stock
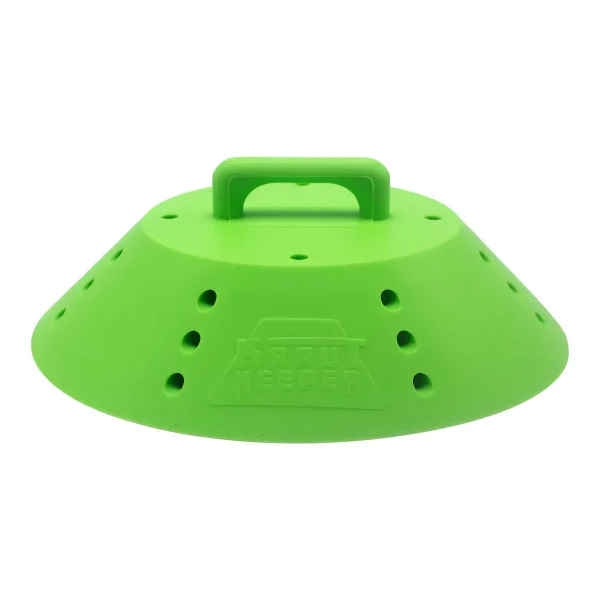
Garlic cloves float. Any clove above the brine is exposed to air, and that’s where mold starts. A glass weight sized for wide-mouth mason jars holds everything down. It’s not optional if you want a clean ferment.

If you go through garlic fast or want to stock up, a gallon batch makes sense. You’ll need a gallon jar along with a weight that fits it.
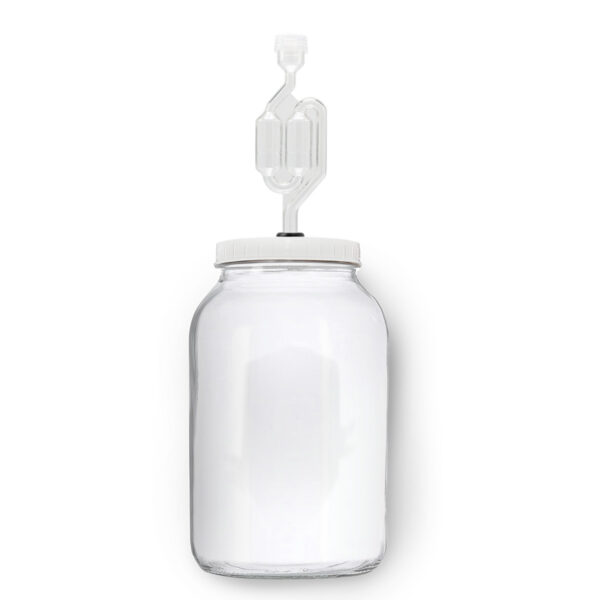
Glass gallon jar with grommet lid and airlock. This jar comes with an airtight grommet lid and an S-shaped airlock already fitted, so you’re not sourcing a separate lid. It holds a full gallon and is sized for vegetable ferments.
Designed specifically for gallon jars, this weight sits flush across the full opening and keeps everything submerged without anything floating up around the edges.
The honest answer is: it depends on temperature. The National Center for Home Food Preservation recommends 70-75F as the optimal range for lacto-fermented vegetables. Beyond that, the principle is straightforward: cooler temperatures slow fermentation down, warmer temperatures speed it up.
Temperature controls the pace, and your taste preference determines when it’s done. If you pull it earlier, you’ll get more crunch and a flavor closer to raw garlic. If you let it go longer, the texture softens and the flavor mellows and deepens. There’s no single finish line; it’s ready when it tastes the way you want it.
One way to confirm fermentation is actually happening: take a pH reading. A batch that’s fermenting properly will show a dropping pH over the first week. If you started at pH 6 and a week later you’re at pH 4, the LAB are doing their job. If the pH hasn’t moved at all, check your salt ratio and water source. For more on how pH works in fermented foods, see our post on why pH matters in fermentation.
This one surprises a lot of people the first time it happens. You open the jar after a week and some cloves have turned blue or green. It looks alarming. It isn’t.
Garlic contains sulfur compounds and amino acids. During fermentation, those compounds interact with each other and with the acid environment in the brine. That reaction produces pigments (specifically, anthocyanins) that can range from a light blue-green to a more vivid teal. It’s a chemical reaction, not contamination. The garlic is still safe to eat and tastes the same as cloves that didn’t change color.
A few factors make blue color more likely: younger garlic, higher sulfur content in the variety, warmer fermentation temperatures, and more acidic brine. There’s no way to guarantee it won’t happen, and there’s no reason to worry about it when it does.
What you actually want to watch for is mold on the surface of the brine. Mold is fuzzy and typically white, black, blue, green, etc.; it’s the same stuff you see on bread, and it grows above the surface. It’s distinct from the blue tint inside a clove. If you see something on the surface that you think shouldn’t be there, it’s probably going to be either kahm yeast or mold. So, check whether your weight kept everything submerged. If cloves are floating and moldy, that’s likely why. If it’s just a thin white film (kahm yeast), that’s harmless.
Use it anywhere you’d use raw garlic, with one caveat: don’t cook it at high heat if you want to preserve the live cultures. High temperatures kill the bacteria. That doesn’t mean you can’t cook with it; it just means if you throw it into a screaming hot pan, you’re treating it more like roasted garlic flavor-wise.
Some ways it works particularly well:
The brine is also useful. It has the same mellow garlic flavor and is great for deglazing a pan, as the base of a quick marinade, or added to soups. Don’t toss it.
If fermented garlic clicked for you and you want to try more vegetable ferments, check out our fermented carrots with turmeric post or the fermented foods and vegetables guide for more starting points.
1
quart jar20
minutes4
minutes
Whole garlic cloves lacto-fermented in a 2.5% salt brine, with a pour of live sauerkraut brine to get the bacteria going. After about 4 weeks at 65–75°F, the cloves come out mellower and more savory than raw, with some firmness left. Confirm the pH is below 4.6 before you taste.
350 g garlic cloves (~2.5 cups), peeled and whole — avoid soft or sprouted
⅔ cup (150 g) finished sauerkraut brine, strained, room temperature
1¼ cups (275 g) non-chlorinated water
1 tablespoon (20 g) non-iodized salt — ~2.5% by total weight
Optional: 1 bay leaf, 1 tsp black peppercorns, 1 sprig rosemary
Wide-mouth quart mason jar
Fermentation lid with airlock (or a loose lid to burp daily)
Fermentation weight / follower
pH strips or meter
Kitchen scale
Yes. The main thing to look for is firmness; avoid any heads that are soft or starting to sprout. Grocery store garlic ferments fine, though freshly harvested garlic is always a better choice.
Once it’s reached your preferred flavor and you’re done actively fermenting, yes; move it to the fridge. Cold storage slows fermentation to a near stop and keeps the flavor from continuing to develop past where you want it. A properly fermented jar kept cold will last up to a year.
For garlic, aim a little higher than most vegetables — about 2.5% salt by total weight, plus a pour of finished sauerkraut brine to get fermentation started. That works out to roughly 1½ teaspoons of fine sea salt per 1 cup of brine (⅓ sauerkraut brine, ⅔ water).
Botulism requires a low-acid, anaerobic (oxygen-free) environment to grow; which is why garlic preserved in oil is genuinely risky. Lacto-fermentation works differently; the lactic acid produced during fermentation drops the pH well below 4.6, which is the threshold above which C. botulinum can grow. A properly fermented batch is safe. The reason to track pH is precisely to confirm that acidification happened.
Yes. The brine from a finished batch is already full of active lactobacillus. Using a splash of it as a starter in your next batch will kickstart fermentation faster than salt and water alone. Keep in mind it will carry some garlic flavor into whatever you ferment next, so consider whether that fits.
It’s the most common issue with fermenting garlic, and yes, it matters. Cloves above the brine are exposed to oxygen, which is where mold can grow. A fermentation weight solves this. If you don’t have one yet, a small zip-lock bag filled with brine (not plain water, in case it leaks) placed on top works as a temporary substitute.