Taking your kombucha to the next level.

Those new to brewing kombucha often find their first batch to be plain and flat. This is because making the kombucha is only the first step, or what is referred to as the primary fermentation. During the secondary fermentation, we take the kombucha that we made in the primary then bottle, flavor and carbonate it. In this article, we’re covering the basics of a kombucha secondary fermentation, sometimes referred to as 2F, and then show you how to achieve delicious, fizzy kombucha.
What exactly is it that makes our soda, champagne, or kombucha bubbly? It’s all due to the same little gas, carbon dioxide! Carbon dioxide (CO2) is a natural by-product of yeast fermentation and, like all gases, has the ability to dissolve into liquid. You can force carbon dioxide into liquid, as you would using a soda stream, or you can take advantage of the natural CO2 production from the fermentation.
Picture a bubble machine. What happens to the bubbles as they are freely flying into the atmosphere? They are exactly that: free.
During the primary fermentation, yeast are like little bubble machines, and because we use a breathable cover during the primary, the carbon dioxide is free to flow. This is why we do a second fermentation–to switch from free flowing gasses to a closed environment where the bubbles can build up.
A secondary fermentation for kombucha is equivalent to bottle conditioning in the beer brewing world. It is essentially just adding a bit of sugar to each bottle and letting it ferment a little longer, allowing the yeast to naturally carbonate the beverage.
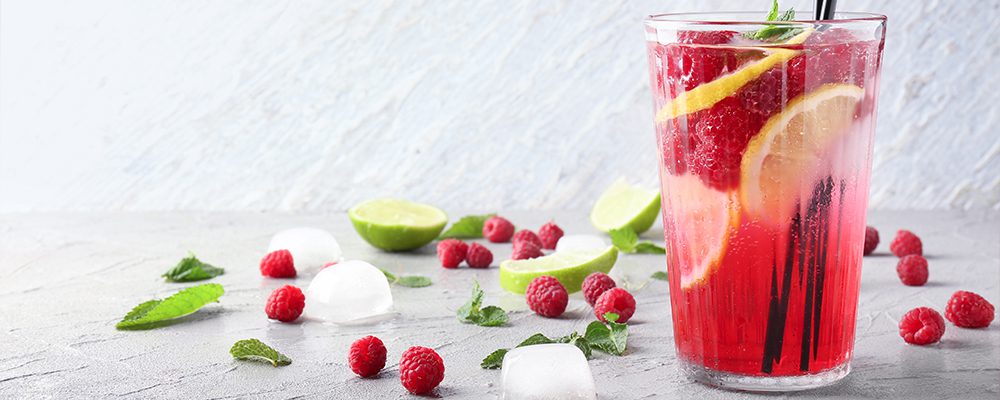
The fun part is that the sugar you add to the bottles can basically be any sugar you want! This means you can add strawberries, mango, ginger, passion fruit, tomatoes, honey, maple syrup, etc… You can really get creative and make whatever kombucha flavors you want!

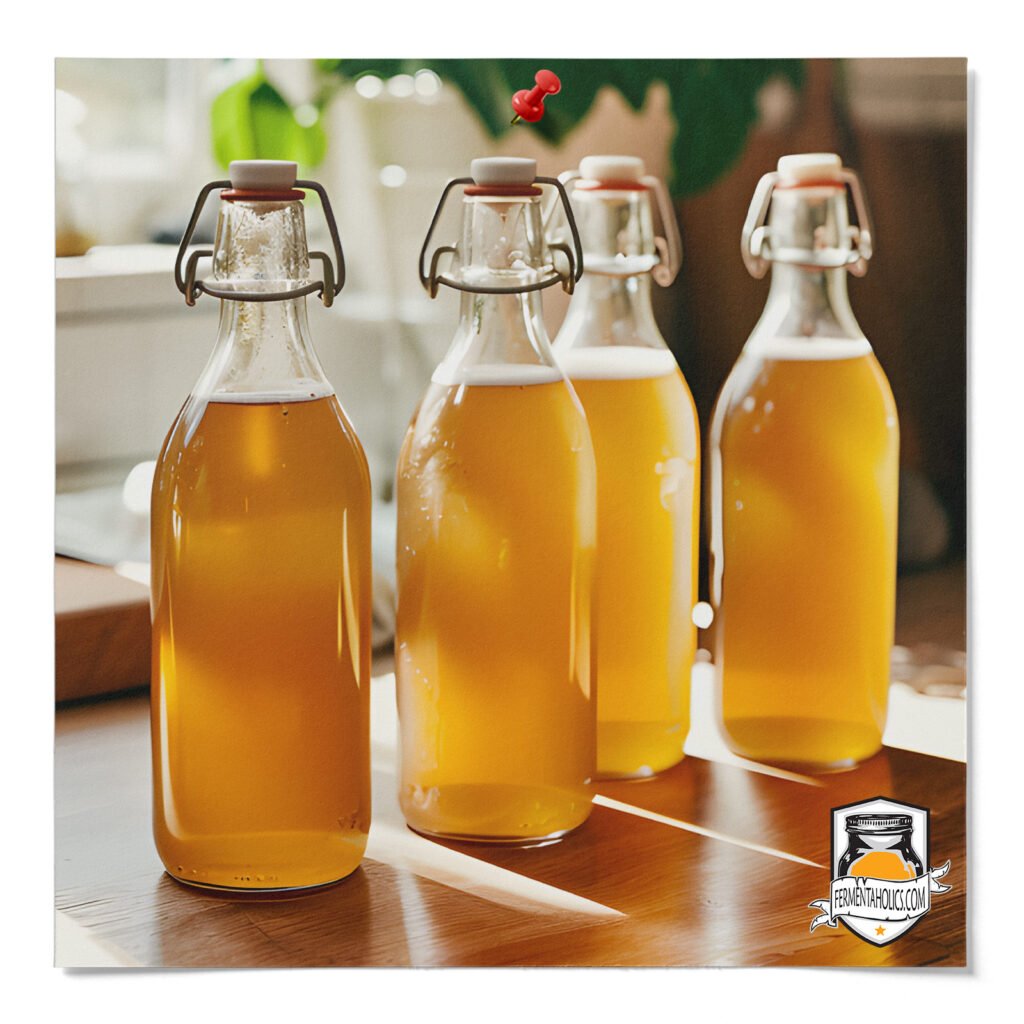
When choosing bottles, the most important thing is that they are airtight and can hold pressure. If air can get in or out, so can the carbon dioxide. There are a variety of bottles that will achieve an airtight fit, so it’s best to just decide what will best suit your lifestyle, since they double as storage containers.
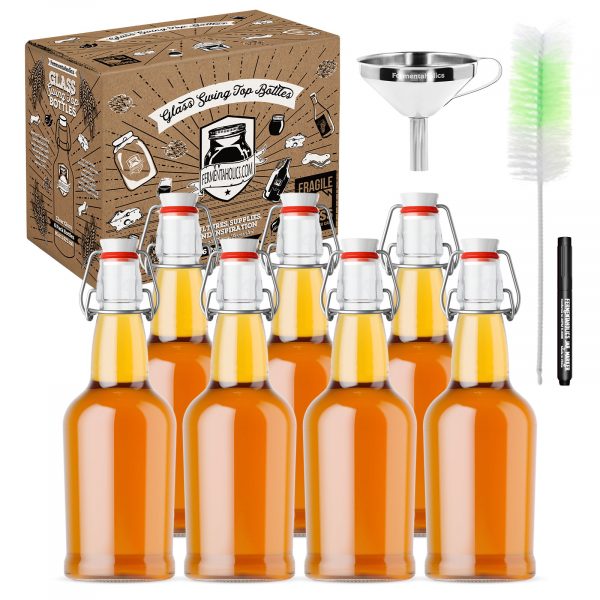
If you want to bring kombucha with you on the go, you might want to consider our kombucha bottling kit, which contains 7, 16 oz flip-top bottles that have extra secure lids that won’t slip off during transit. Smaller bottles allow more flavor experimentation because with each gallon, you can make 7 different flavors! They will also keep your carbonation longer because the more you open the bottles, the more carbonation will be let out.
If you’re mostly going to stick to one flavor, you can opt for bigger containers, such as quart, liter, or half-gallon bottles. These larger batches are great if you have one or two flavors you love and want to make a lot of. Just be sure that your bottles are air-tight if you want to build up carbonation.

The first step is deciding that your primary fermentation is complete. How do you know? It should have a little sweetness with a vinegar presence. If you haven’t started your primary fermentation, check out this post on how to brew kombucha or how to brew jun kombucha.
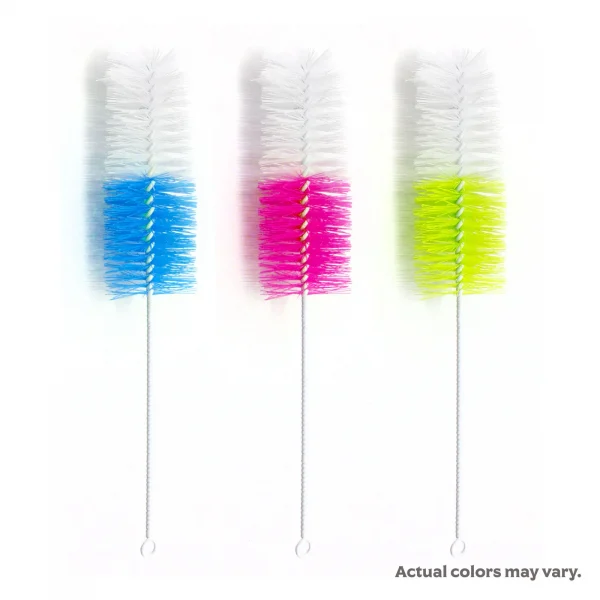
Rinse bottles with hot water, then with distilled white vinegar. If necessary, use a bottle brush to remove any stuck-on debris.
When deciding how to flavor your kombucha, choose your favorite fruits, juices, herbs, or spices to create your own flavor concoctions! You’re going to add them right into the bottom of the bottles. It’s better to add them before you add kombucha so you don’t overflow the bottles.
If you don’t plan to start another batch right away, see this article on how to take a break from brewing kombucha.
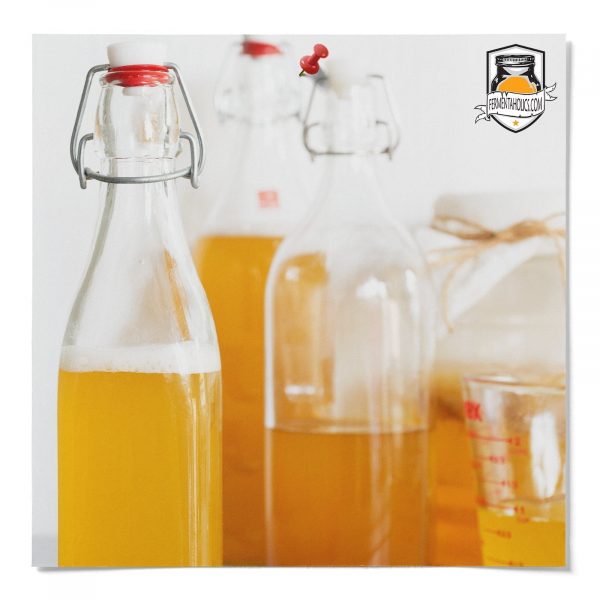
Pour the remaining kombucha from the brew vessel into a pitcher. You can certainly pour directly from the brew jar if you don’t have a pitcher, it just makes it a little easier if you do.
Using a funnel, fill each of the bottles up with kombucha, leaving 1-3″ of headspace in the bottles. Secure caps tightly on bottles.
Place bottles in a warm spot between 75-85 degrees Fahrenheit out of direct sunlight and ferment for 1-10 days.
Burping kombucha is just popping open the caps and then place them back on. You’ll want to do this about every day. Burping serves 2 purposes:
You’re not going to have a good idea of how much carbonation has built up until you open it. Don’t worry about letting the carbonation out–it’s not going to make a big difference.
Over-carbonating can cause you to lose your kombucha in 2 ways: kombucha bottle bombs (pressure building up more than the bottles can handle) or kombucha geysers (when you open the bottle, the kombucha spews out the top and you lose most of it). Either one is devastating and a huge mess to clean. So if you just burp your bottles, you can assess how much carbonation is building up and place them in the fridge before it gets too far.