Five Things to Know Before You Start Making Kombucha
Making kombucha is easy, and here are 5 practical and useful tips to help get you started.
Making kombucha is easy, and here are 5 practical and useful tips to help get you started.
Making your own kombucha is much simpler than you might think. Once you start brewing, everything you’ve read that seems over-complicated starts to fall into place. While it is simple, I have outlined a few things to consider before you begin brewing that will help you succeed the most.

I’ve heard so many times, “I would LOVE to make my own kombucha, but I just don’t have the time.”
In reality, kombucha doesn’t require a lot of maintenance and can be easily brewed and bottled in under an hour per week.

There will be a little learning curve for the first few brews, but once you’ve got the basics down, you will have freshly brewed kombucha regularly without much time, input, or effort.
From start to finish, brewing a new batch will take no more than 20-30 minutes. This includes boiling (a small amount) water for tea, steeping the tea, stirring in sugar, and then adding cool water to dilute the concentrated tea solution and cool it to room temperature before adding your SCOBY, covering it, and putting it away to ferment.

A batch of kombucha can take 7-21 days to ferment, depending on the temperature and your desired flavor between sweet and tart.
After fermenting your batch, you’ll want to bottle and flavor it. Depending on how you plan to flavor, the time required could vary. If you’re in a hurry, adding fruit juice is an easy, quick way to add lots of flavors.
When choosing a spot for your kombucha brew jar, you want to consider temperature, airflow, sunlight, and smell.

Every microbe has a temperature in which they are most active and a range that it can tolerate. Kombucha is special because it is a community of different microbes that work together and tolerate different temperatures. The ideal temperature range for kombucha is where the most microbes will be the most active, which is 75-85F. While this might seem high for some, it is again the “ideal” temperature and can be flexible to suit the environment of your home to a certain degree (pun intended). If your house tends to be on the colder side, see this post, which goes over ways to keep your kombucha warm during the fermentation.
Since kombucha is an aerobic fermentation, placing your vessel in an open space helps promote oxygen flow and makes for a healthier ferment. Many people suggest keeping it in a cabinet, which I did for a few years when I was starting out. So while it can work fine if it’s your only option, it’s important to note that this is not necessarily ideal, as reduced airflow and dampness can increase the chances of mold. I found that another bonus of keeping it out of the cabinet was that I could see it. This allowed me to take better care of it, simply by remembering it was there which helped prevent over-fermentation.

It is best to keep your vessel out of direct sunlight if you’re using a clear glass container. Indirect sunlight is okay, but direct sunlight can disrupt microbial processes.
The last consideration is that kombucha can give off a potent vinegar smell, especially if you prefer a longer fermentation time. You will probably get used to it pretty quickly, but if you care what your guest thinks, you may want to consider this when choosing a location for your kombucha brew.
For most people, the place that fits each of these qualifications will be on top of the fridge. The heat radiating from the fridge helps warm the brew up, it is open-air, usually out of direct sunlight, and the smell rises, so no one will really notice.
A bit of practical advice here is to calculate how much you will drink a day and then whether you are just brewing for yourself or will your family drink your kombucha with you.
Your kombucha will be ready every 7-21 days, depending on various factors, mostly temperature and how tart you like it. For me, I like to start tasting around day seven, and continue tasting daily until my preferred sweet vs tart balance is achieved, then I’ll move on to the bottle and flavoring stage.
A gallon batch is pretty typical for a homebrewer and is a really good place to start. Every gallon of kombucha you make will produce about seven 16oz bottles of kombucha every time you make a batch. If you start getting overrun with kombucha, you can always take a break from brewing; for details on this process, visit our post here on how to take a break from making kombucha. Alternatively, you can simply make smaller batches and keep brewing. If you’ve run out of kombucha way too early, then you can increase your batch sizes. If you’re looking to scale up your batches, our post on kombucha-making ratios will be extremely helpful.
A gallon batch is pretty typical for a homebrewer and is a really good place to start. Every gallon of kombucha you make will produce about seven 16oz bottles of kombucha every time you make a batch. If you start getting overrun with kombucha, you can always take a break from brewing; for details on this process, visit our post here on how to take a break from making kombucha. Alternatively, you can simply make smaller batches and keep brewing. If you’ve run out of kombucha way too early, then you can increase your batch sizes. If you’re looking to scale up your batches, our post on kombucha-making ratios will be extremely helpful.

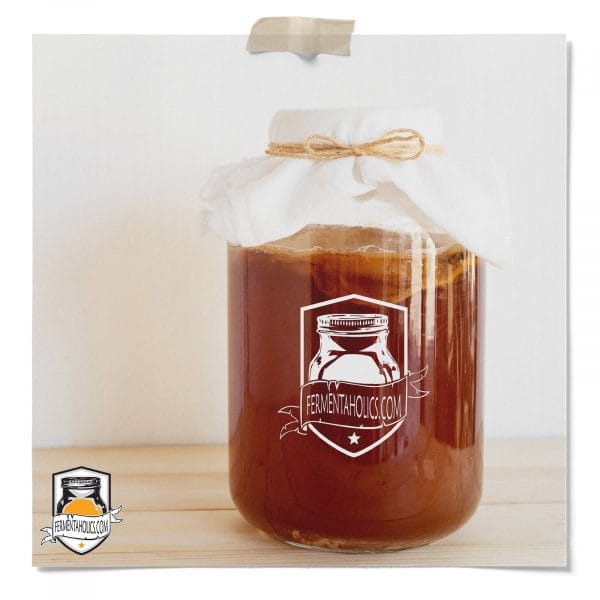
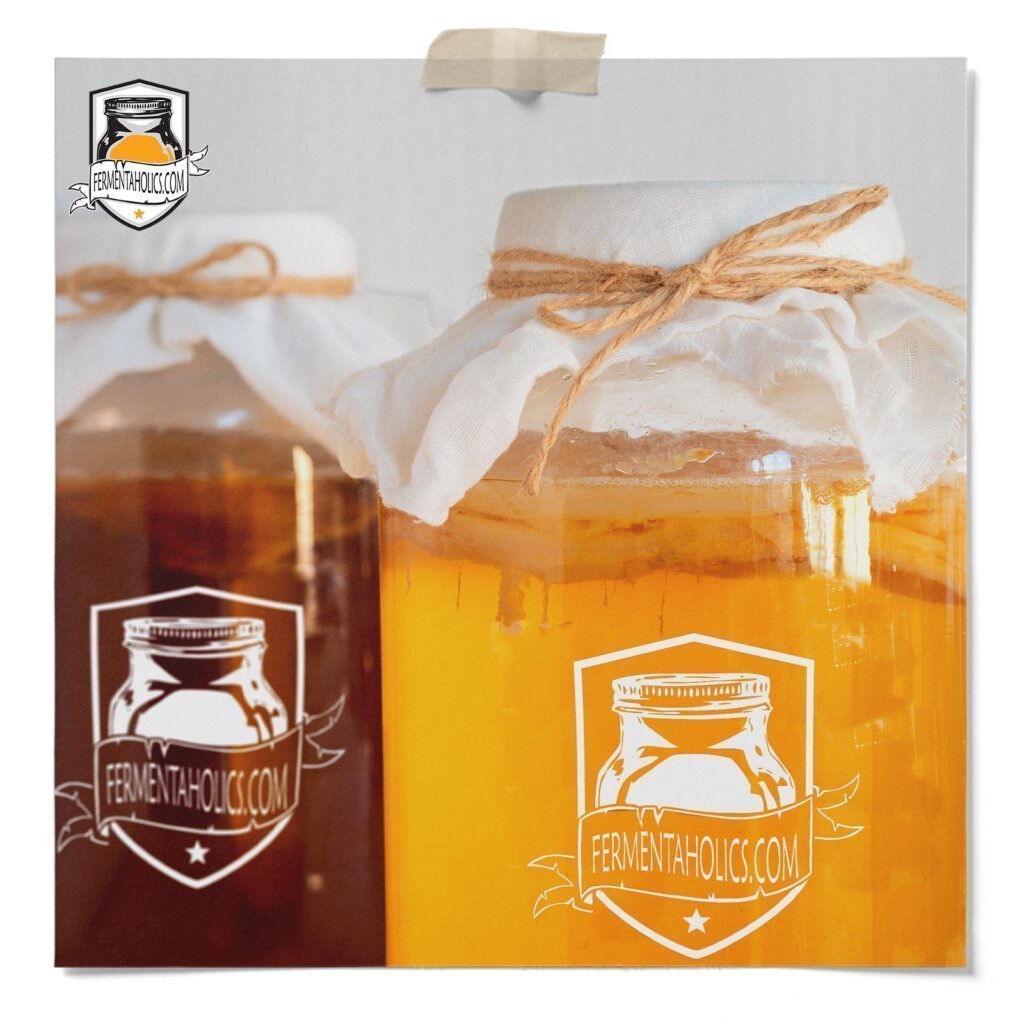
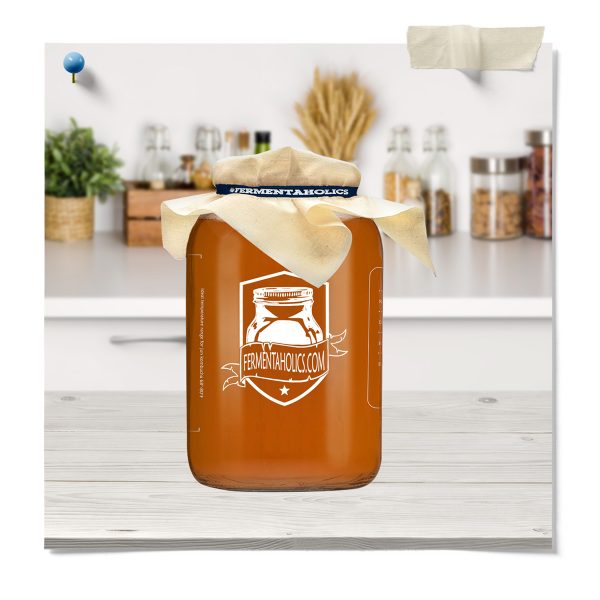
The main piece of equipment you may need to buy is a kombucha brewing vessel. The classic choice is a gallon glass jar (or whatever size brew you’ve decided on). You can use an old pickle jar or whatever you might have. Glass is an excellent choice because you can watch what is going on in your brew, and it doesn’t leach chemicals. For more information, see our post on choosing a kombucha brewing container.
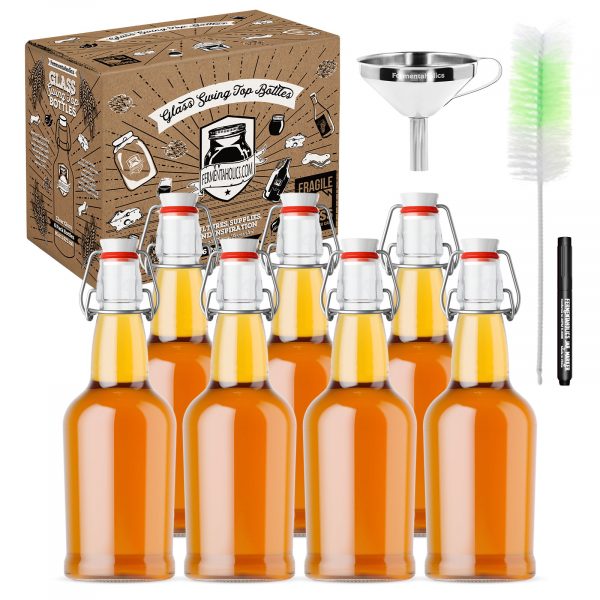
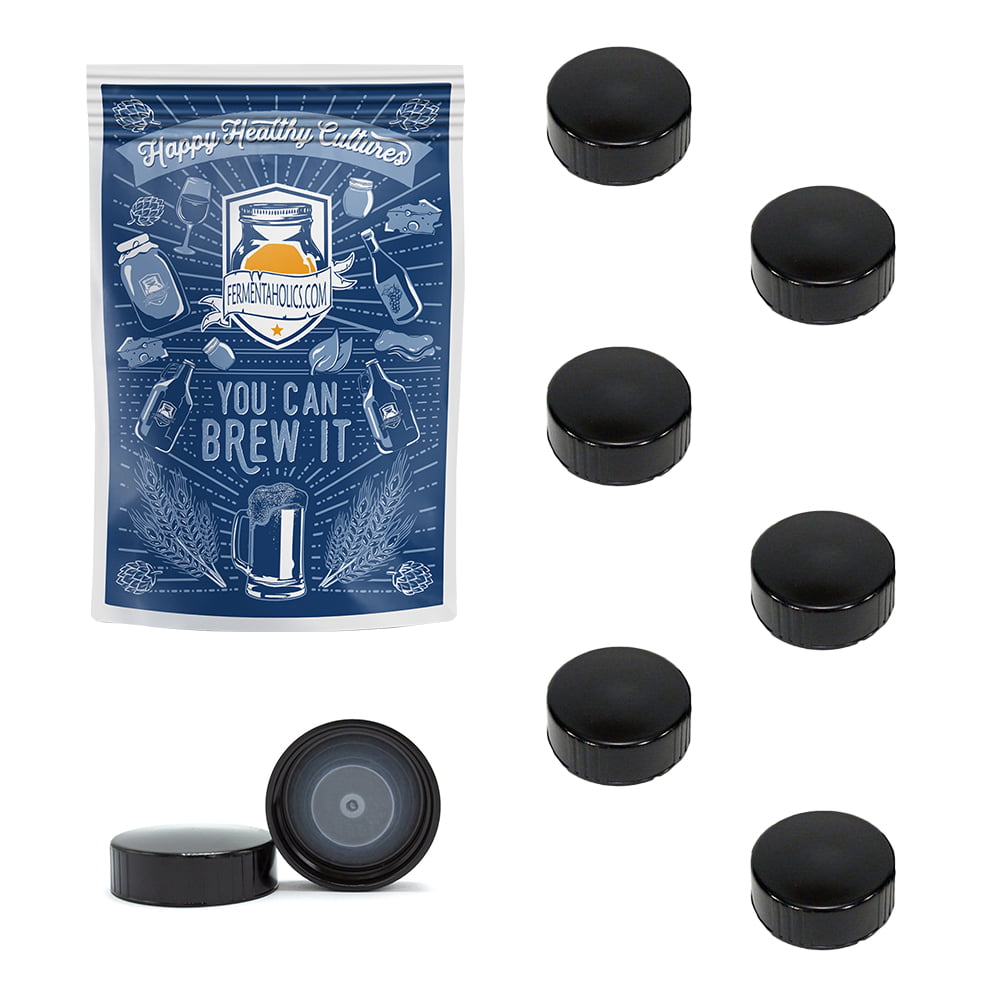
You will also want some bottles to store, flavor, and carbonate your brew. Again, for each gallon, you’ll end up with 7 16oz bottles full of kombucha. I prefer glass swing-top bottles as they’re easy to use and are pressure-resistant (to a certain degree!). Our kombucha bottling kit is perfect for one-gallon batches. It comes with seven 16 oz bottles, a funnel, and a bottle brush. You can also save and re-use store-bought kombucha bottles; these lids work great as store-bought kombucha bottle replacement lids.
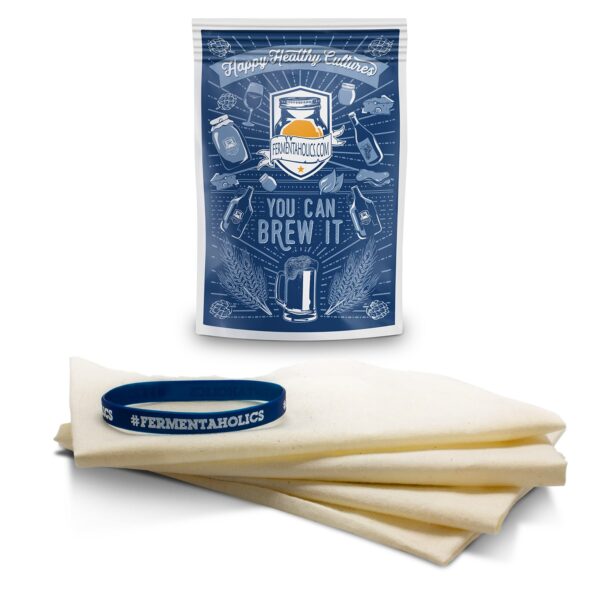
You’ll want to cover your jar with a breathable cover. This could be a coffee filter, paper towel, thin kitchen towel, or our unbleached muslin cover, secured with a rubber band. The idea is to keep bugs out (which is why I don’t recommend cheesecloth) while letting the ferment breathe.
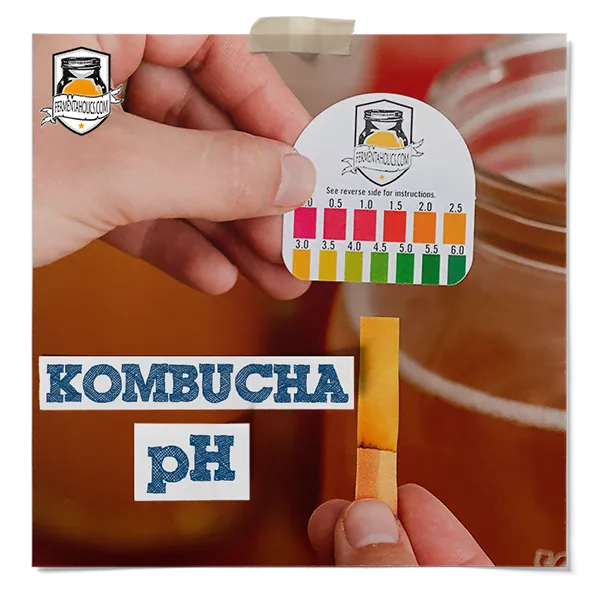
Optional but helpful equipment that provides peace of mind and precision in kombucha brewing includes an adhesive thermometer and pH strips. Why pH is important for kombucha? Other than those things, you only need a small pot and something to stir your sugar.
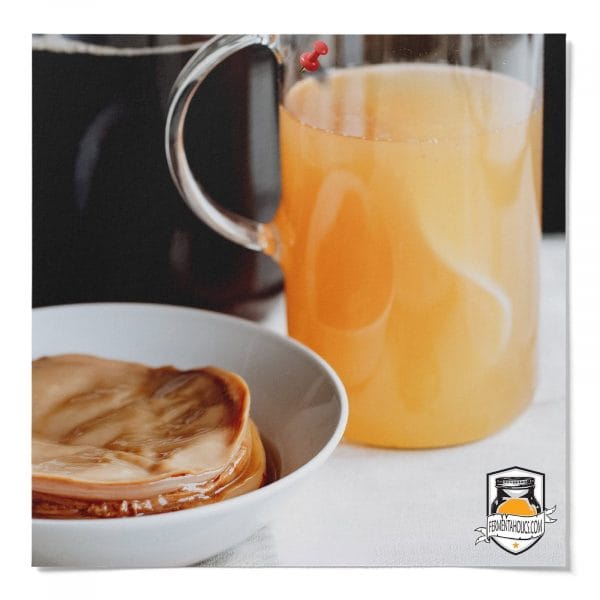
Luckily for new and old brewers alike, wiping out your entire culture is pretty tough. SCOBYs are way more resilient than they get credit for and can survive pretty large swings in temperature as long as they are not sustained.
There are billions, if not trillions, of microbes in your kombucha starter tea liquid, so if you do screw something up, odds are a good majority of them survived.
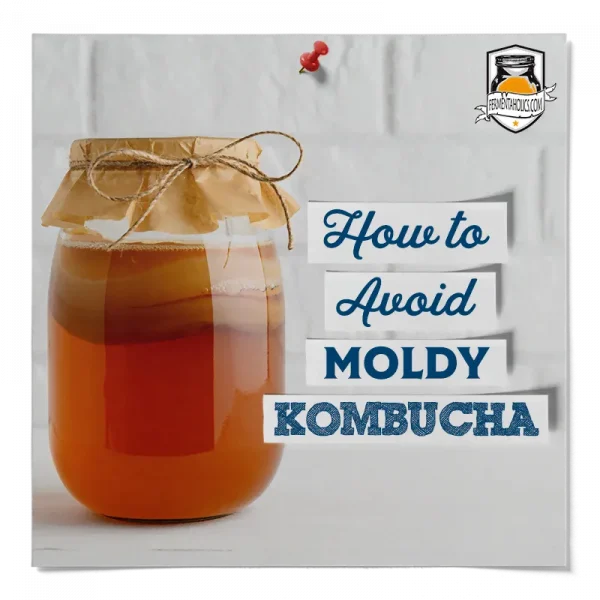
The most common reason to have to toss out an entire brew is because of mold, though this is rare. Here’s an article that talks more about mold and how to avoid it: Avoid Moldy Kombucha With These 3 Steps
Taking on brewing kombucha can seem daunting at first, but I would advise all new brewers to relax, trust the SCOBY, and learn from their mistakes because your SCOBY can handle most of what you will throw at it. Brewing recipes are flexible, and most of the work will be done for you by the microbes. If you can brew sweet tea, you can make kombucha!
💡 If you have questions about the brewing process or any of our products, we’re here to help! Either ask in the comments or use the contact form. Cheers!