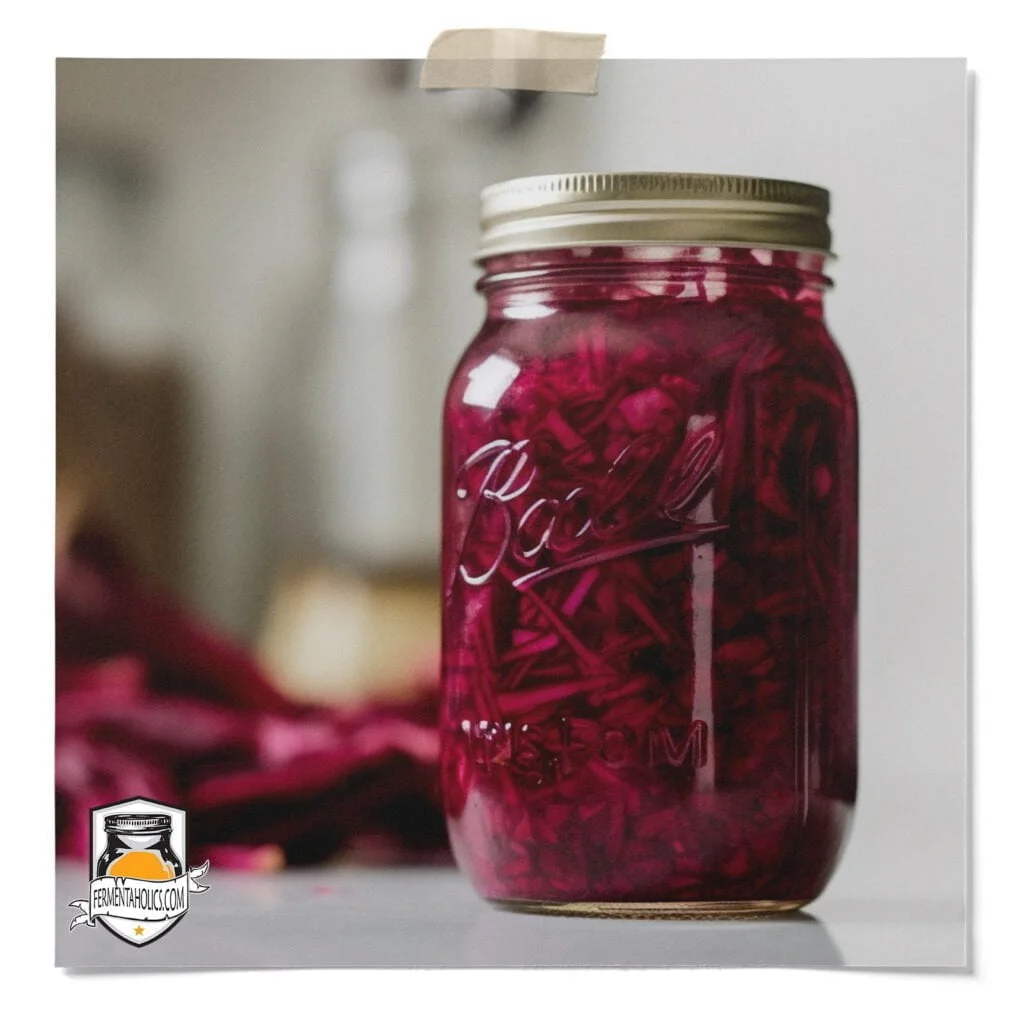
With recipes, there are traditional, and then there are progressive twists on the traditional, giving us both a lesson plan and the freedom to explore wherever our culinary minds take us. Take this sauerkraut recipe for example; you can use this as a guideline and really get creative. This beet & kombucha sauerkraut recipe is no different, it’s a product of exploration.

When playing with this recipe, so many thoughts came to mind. What role does kombucha play? Do the kombucha microbes compete with the lactobacilli? Is it an aerobic or anaerobic fermentation? Since the kombucha pH is so low, does it pickle the vegetables like vinegar would, or is it more of an active fermentation? Thinking through these thoughts a bit, this is what I’ve come up with.
1. First, it provides a safe environment to promote positive microbe growth without having to use a hefty amount of salt like traditional sauerkraut recipes. Fermenting is all about controlling the environment, but who says there’s only one way to do that?
2. Second, kombucha is loaded with beneficial yeast and bacteria, which are welcomed guests to the party. With typical vegetable fermentations, the main superstars are lactic acid bacteria (LAB). LAB naturally resides on the skins and outer layers of fruits and vegetables and can thrive in both saline and acidic environments, making them a friend of fermentation.
Fermentation is the process by which bacteria and yeast consume sugars, digest them, and transform them into byproducts such as alcohol, organic acids, and gases. Although there are many different forms of fermentation, the one taking place in this recipe is lacto-fermentation. Lacto- fermentation is performed by a group of bacteria called lactic acid bacteria (LAB). This produces lactic acid, which is most famous for cheesemaking due to its ability to process lactose, aka milk sugar.
The process of making fermented foods like hot sauce and pickles begins when the vegetables are submerged in salt water. One of the best ways to make sure your vegetables stay submerged is with glass fermentation anchor weights. LAB is already present on all plant matter, especially those that grow close to the ground, which makes the fermentation process easy for all vegetables. This process also creates enzymes and vitamins that make nutrients more bio-available in your body. Lacto-fermentation has been around as long as humans have been preserving food and is the reason we have classics in global cuisines like sauerkraut, kimchi, sourdough, and so much more! Be sure to check out our other fermented food guides, like our traditional sauerkraut recipe.
I’m voting anaerobic on this one. Kombucha is an aerobic fermentation, meaning that it requires oxygen. The oxygen provides the bacteria with the tools to synthesize organic acids, resulting in a fermentation that is much like vinegar.
Well, both. A well-fermented kombucha contains similar organic acids like vinegar, which is why it is referred to as kombucha vinegar. This low pH and high acid content acts as a preservative for whatever enters its environment and will “pickle” in the sense of a vinegar pickle. The concentration of the acid will vary depending on the length of fermentation, temperature, and surface area of the kombucha brew.
Acid-rich kombucha is also rich in living probiotics, which will actively ferment as long as there is food for it to eat.
32 oz
Jar10
Minutes4-14
Days1 Head Cabbage
1 Julienned Apple
1 Julienned Beet
1 Inch Grated Ginger (Optional)
2 TSP Sea Salt
1 Cup Kombucha
1 Quart Mason Jar with Airtight Lid
Large Bowl
Prep all ingredients – Shred cabbage, julienne (thinly slice) beet and apple with skins still on, grate ginger if using, measure out the salt.
Place prepped cabbage, apple, beet, and ginger in a large pot or bowl and sprinkle with salt.
Take your kraut pounder and, using the larger end, begin to bruise the cabbage, incorporating the salt and beginning to break down the cell walls. Don’t be shy.
Work in 1-2 minute intervals, continue to pound the mixture, and let it rest in between to develop the brine.
Once you have a pooling of brine on the bottom of the bowl, stir in the kombucha to combine.
Begin packing jar with the mixture, making sure to press it down firmly with the pounder as you go.
Pour the remaining liquid from the bowl into the jar and place your weight on top to submerge everything under the brine.
Place lid on the jar and keep at room temperature, out of direct sunlight for 4-14 days. At 4 days, you will still have a crunchy texture and a mildly sour taste, On day 14, the texture will be softer, and the sourness will have developed further. Taste along the way to decide when you like it best!
