
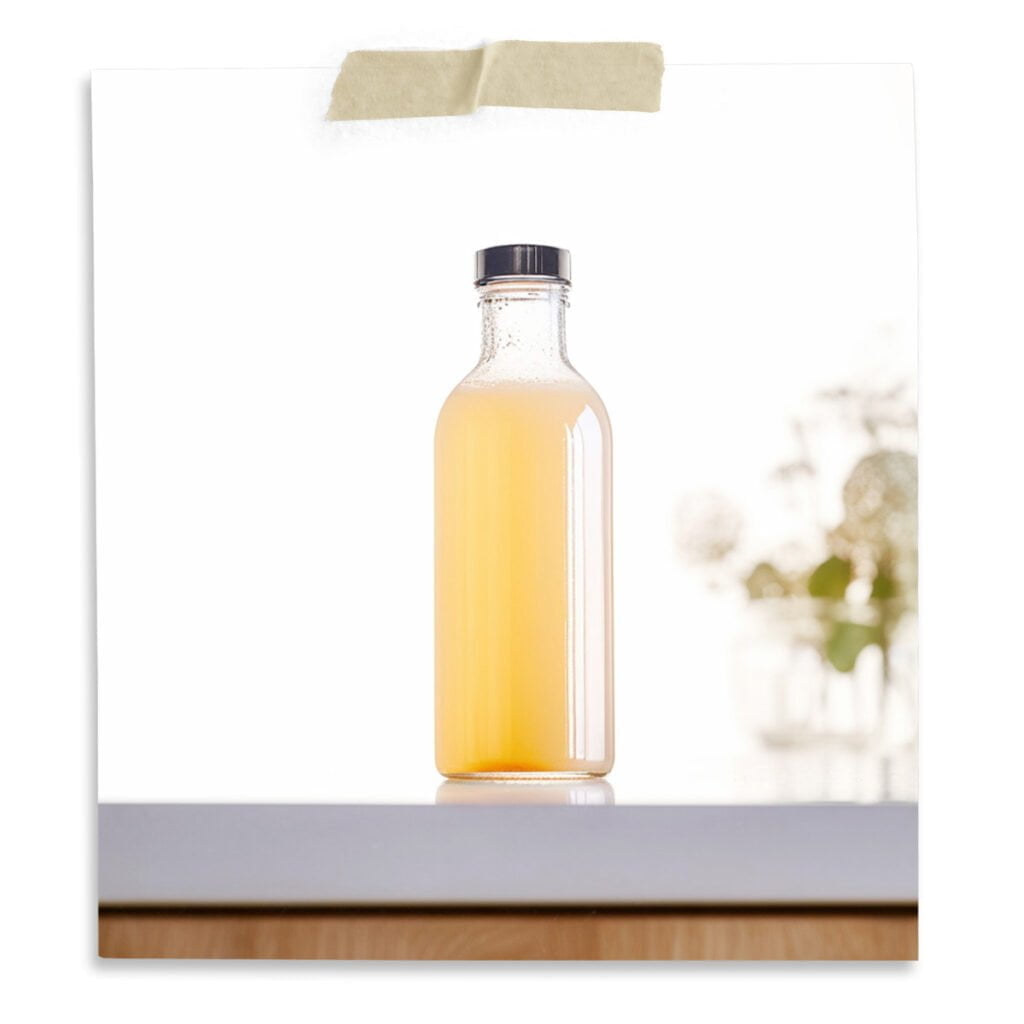
If you read our previous post on how to make kombucha, you know that kombucha is a two-part process consisting of primary and secondary fermentation. The primary fermentation is where kombucha is made, but when it’s finished, it will be unflavored and still (flat). The secondary fermentation, or 2F, is when kombucha is bottled, flavored, and carbonated. In this post, we’re taking the finished kombucha from the primary fermentation and bottling it up, flavoring, and carbonating. It’s this step that really brings the kombucha to life.

Bottling your kombucha serves a few purposes. First, bottling is required to create carbonated kombucha. When using proper bottles, this process provides an environment where carbonation can build up but not escape. When co2 cannot escape from the bottles, it forces the co2 back into your kombucha, which in turn, carbonates it. Carbonation adds so much to the finished product in terms of brightness, texture, and flavor. In addition to carbonation, bottling is the step where you add flavor, more on this later. Bottling also provides secure storage to place in the fridge neatly or to travel if you want to bring your kombucha on the go or to share with a friend.

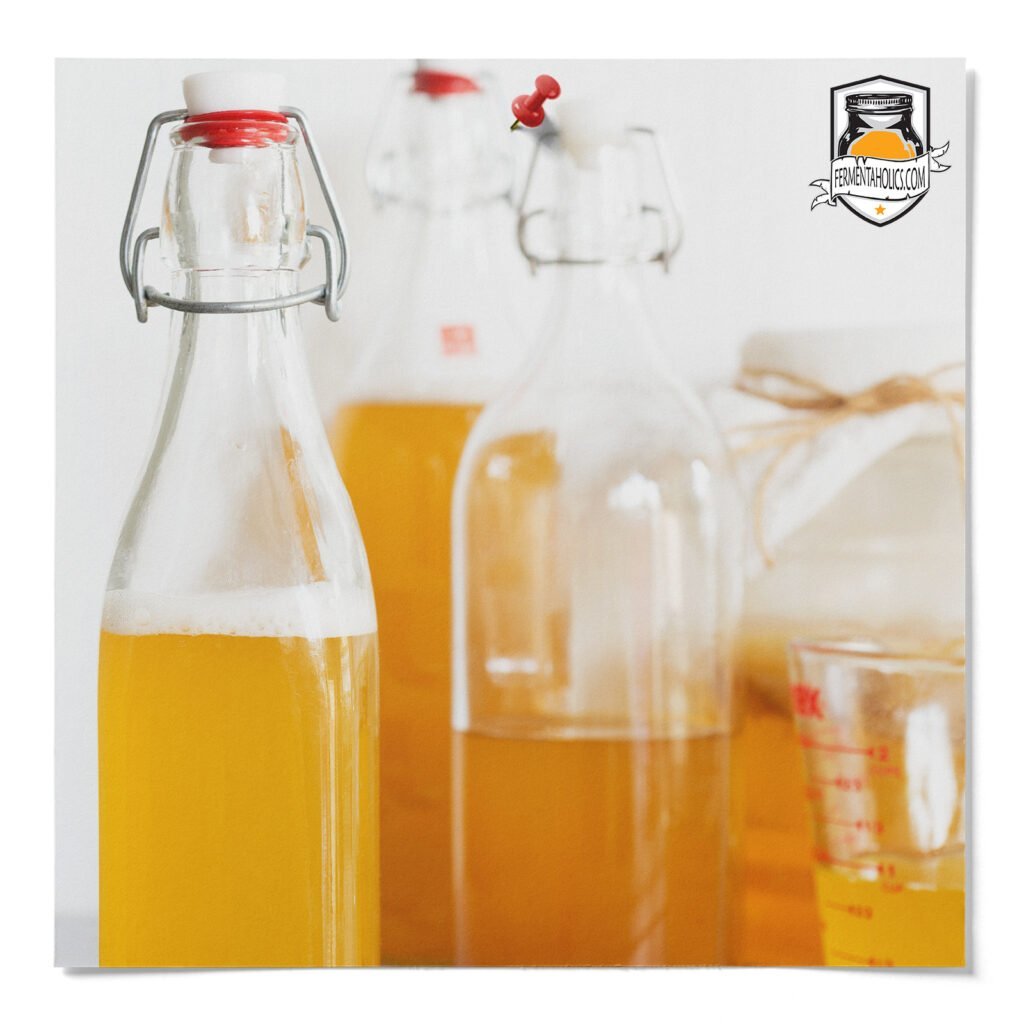
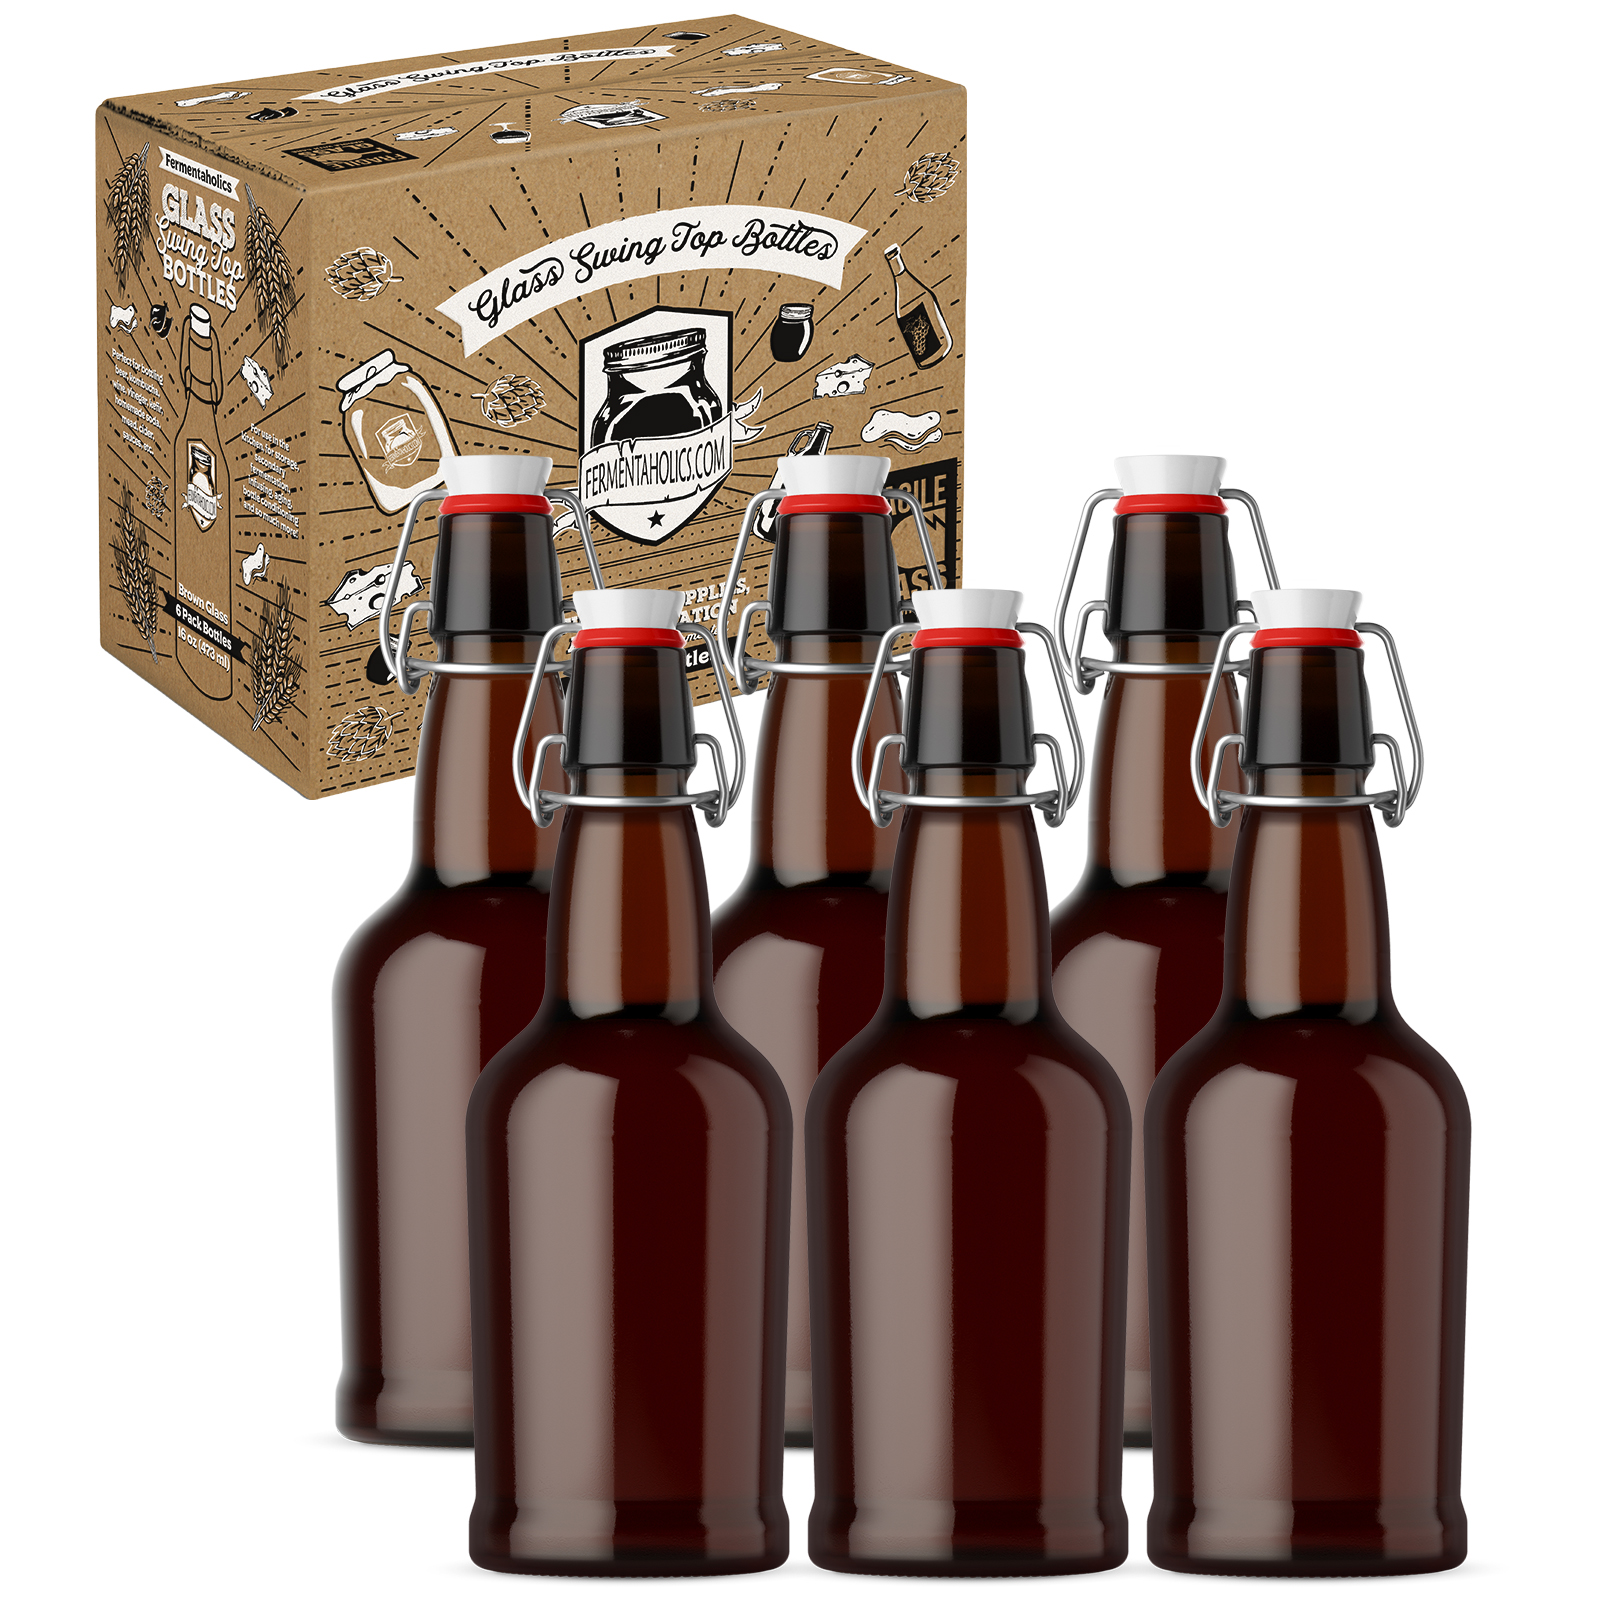
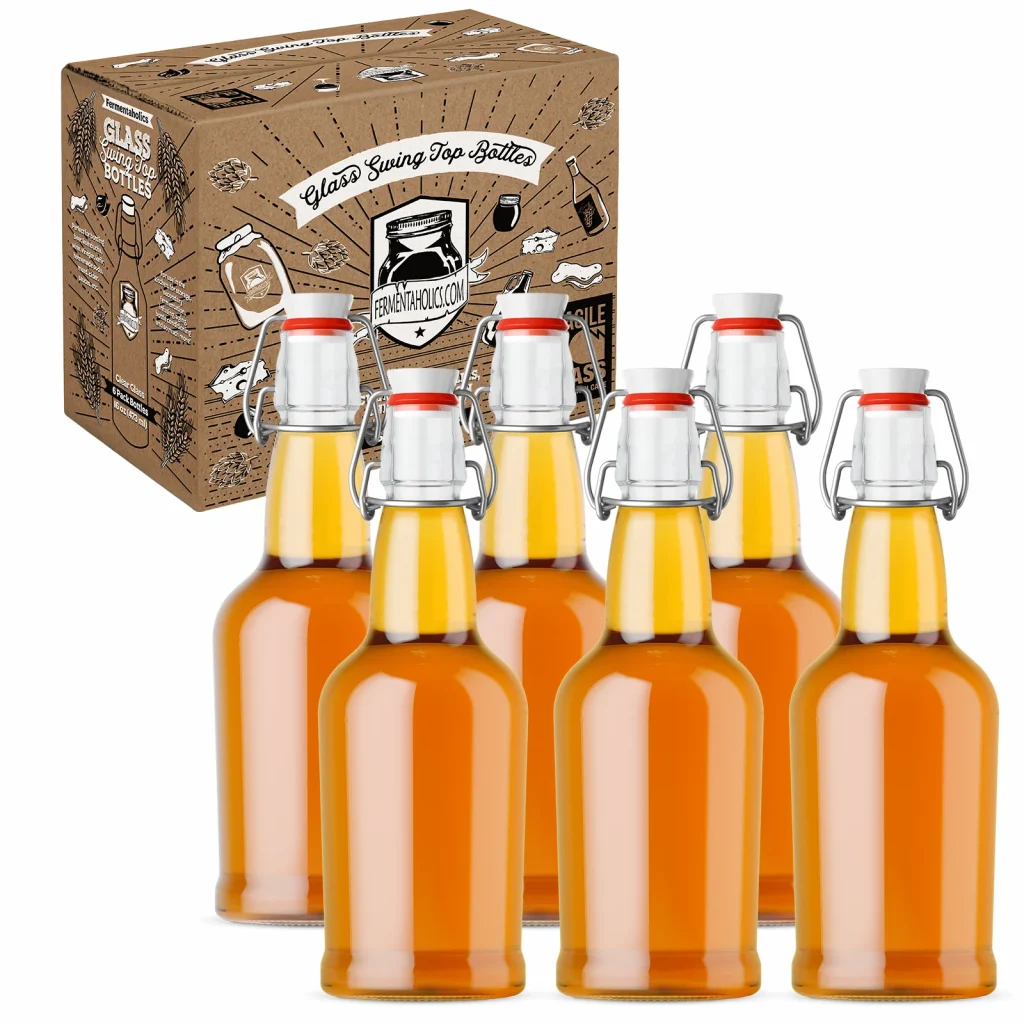
Bottles with lids that are designed to hold pressure! When choosing kombucha second fermentation bottles, the most important thing is that the lids are designed to hold the pressure pressure of fermentation. There are a variety of kombucha bottles that will provide an airtight seal, but aren’t designed to hold the building pressure of carbonation. So make sure the bottles and lids you choose are designed for this task, otherwise, you will struggle with carbonation. What I recommend is either using swing-top bottles or stout bottles; both of these are made for fermentation and have lids designed to hold pressure.

Bottling occurs after the primary fermentation has finished. The first fermentation is complete when the pH is between 2.5 and 3.5, and you have achieved your preferred flavor balance of sweet and tart. This process typically takes about 7-21 days, depending on temperature. At this point, we have finished kombucha, but again it will be plain and flat. If you prefer an uncarbonated, plain kombucha, then simply bottle and place in the refrigerator to cool before drinking. If you prefer to flavor and carbonate your kombucha, you’ll need a kombucha second fermentation in the bottles.
To get carbonation in our kombucha, we need to feed the yeast sugar in a closed environment like a bottle. Adding sugar, fruit, or juice to the bottles during the 2nd ferment will feed the yeast.
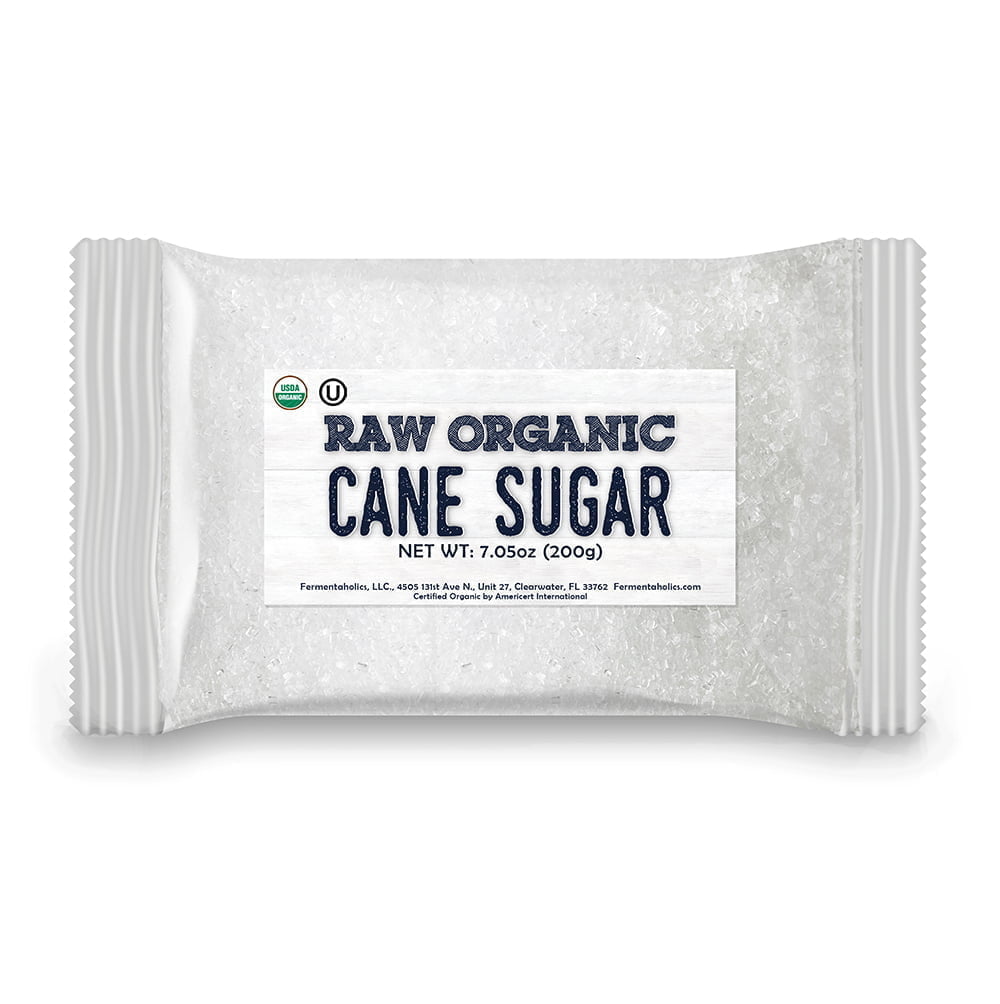
As the yeast begins to consume the sugars, they will create co2. In the primary fermentation, the co2 escapes through the opening in your brewing vessel. Allowing the co2 to release is why you will never have carbonation after the primary fermentation. Now, since this time around we have an sealed chamber, the co2 has nowhere to go. Now, the co2 will build up inside the bottle, which in turn forces or dissolves the co2 into your kombucha, which carbonates it. Carbonation and flavoring go hand in hand. We can get creative when adding sugars to carbonate. If we want plain kombucha, add cane sugar. If we would like peach kombucha, add sugar i.e., fresh peaches or peach juice. Bonus – the fruit or fruit juice both flavors and provides the sugar needed for your yeast to carbonate.
After adding sugar/flavorings to the bottles, we’ll let them sit out, tightly capped, for 2-10 days at room temperature (75-85°F). Don’t forget to burp your bottles!
As you may have noticed, we are capturing carbonation in a glass bottle. In other words, the co2 is building pressure inside a sealed container. Burping kombucha is designed to alleviates excess pressure as this can get ugly if we allow this to build for too long. An essential step in this process is to “burp” your bottles after one day. This is done to check on how the pressure is building and releases any excess co2. To burp, pop open the cap and then put it back on, releasing excessive built-up CO2. If you don’t do this, you may end up with a geyser, or even worse; you may wake up at 4:30 AM to the sound of the infamous “bottle bomb” and waterfalls of kombucha dripping down your cabinets (I speak from experience).
If you burp after a day and not much is happening, stop burping. We need to keep the caps on for a few more days to allow the carbonation to build up, assess the temperature and make adjustments as necessary.
When it comes time to bottle your kombucha, there are a few key tips that’ll make the process smoother and help you avoid common carbonation mistakes down the line.
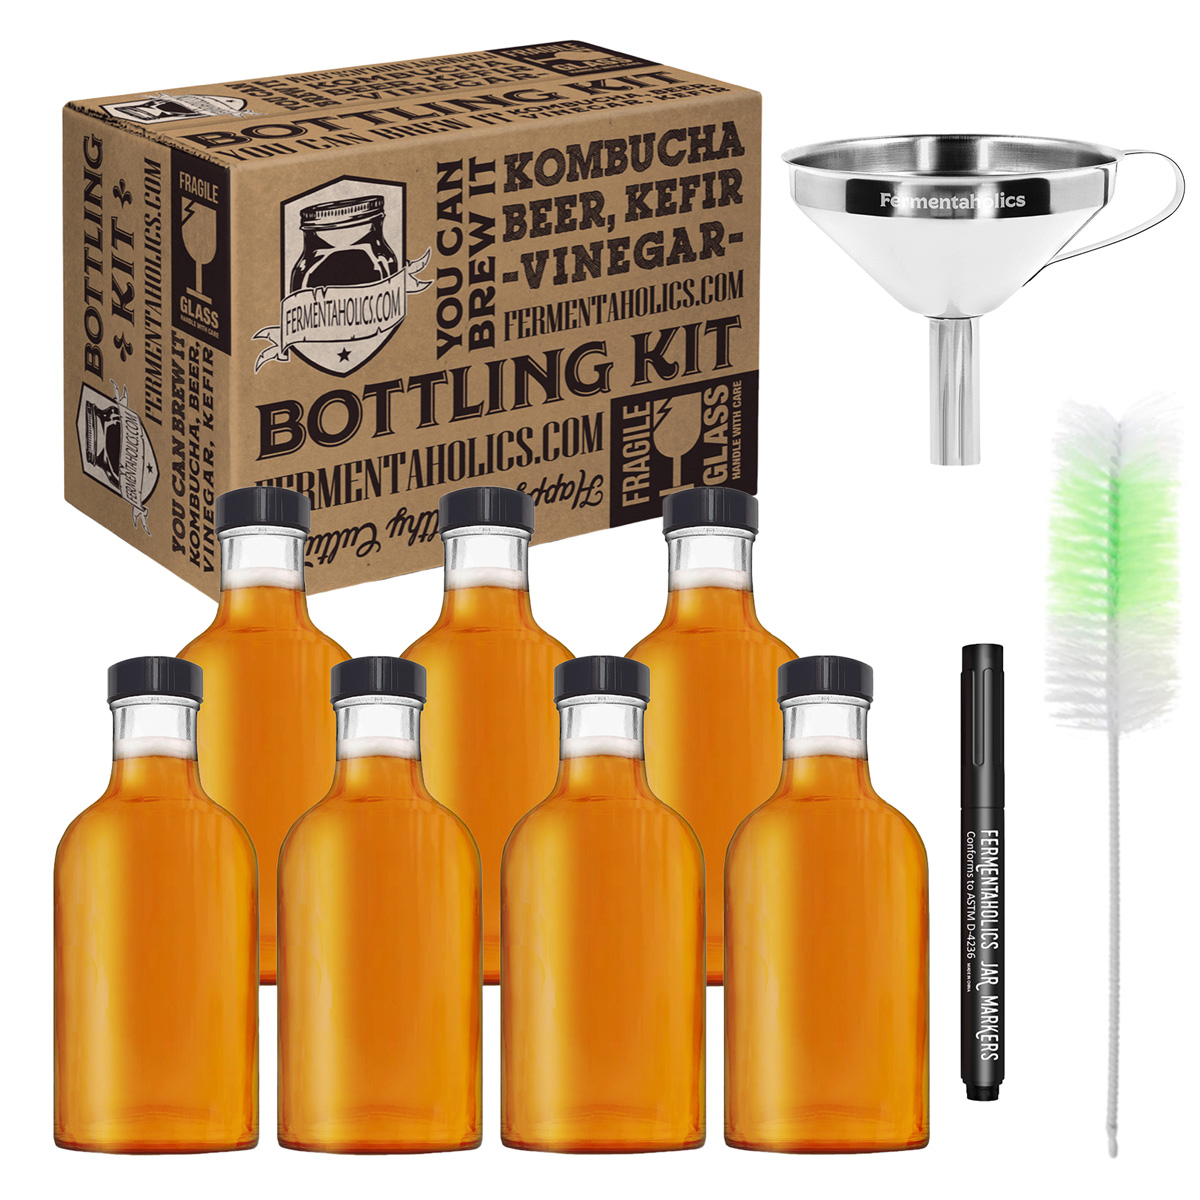
Before you start pouring, make sure you have everything ready to go:
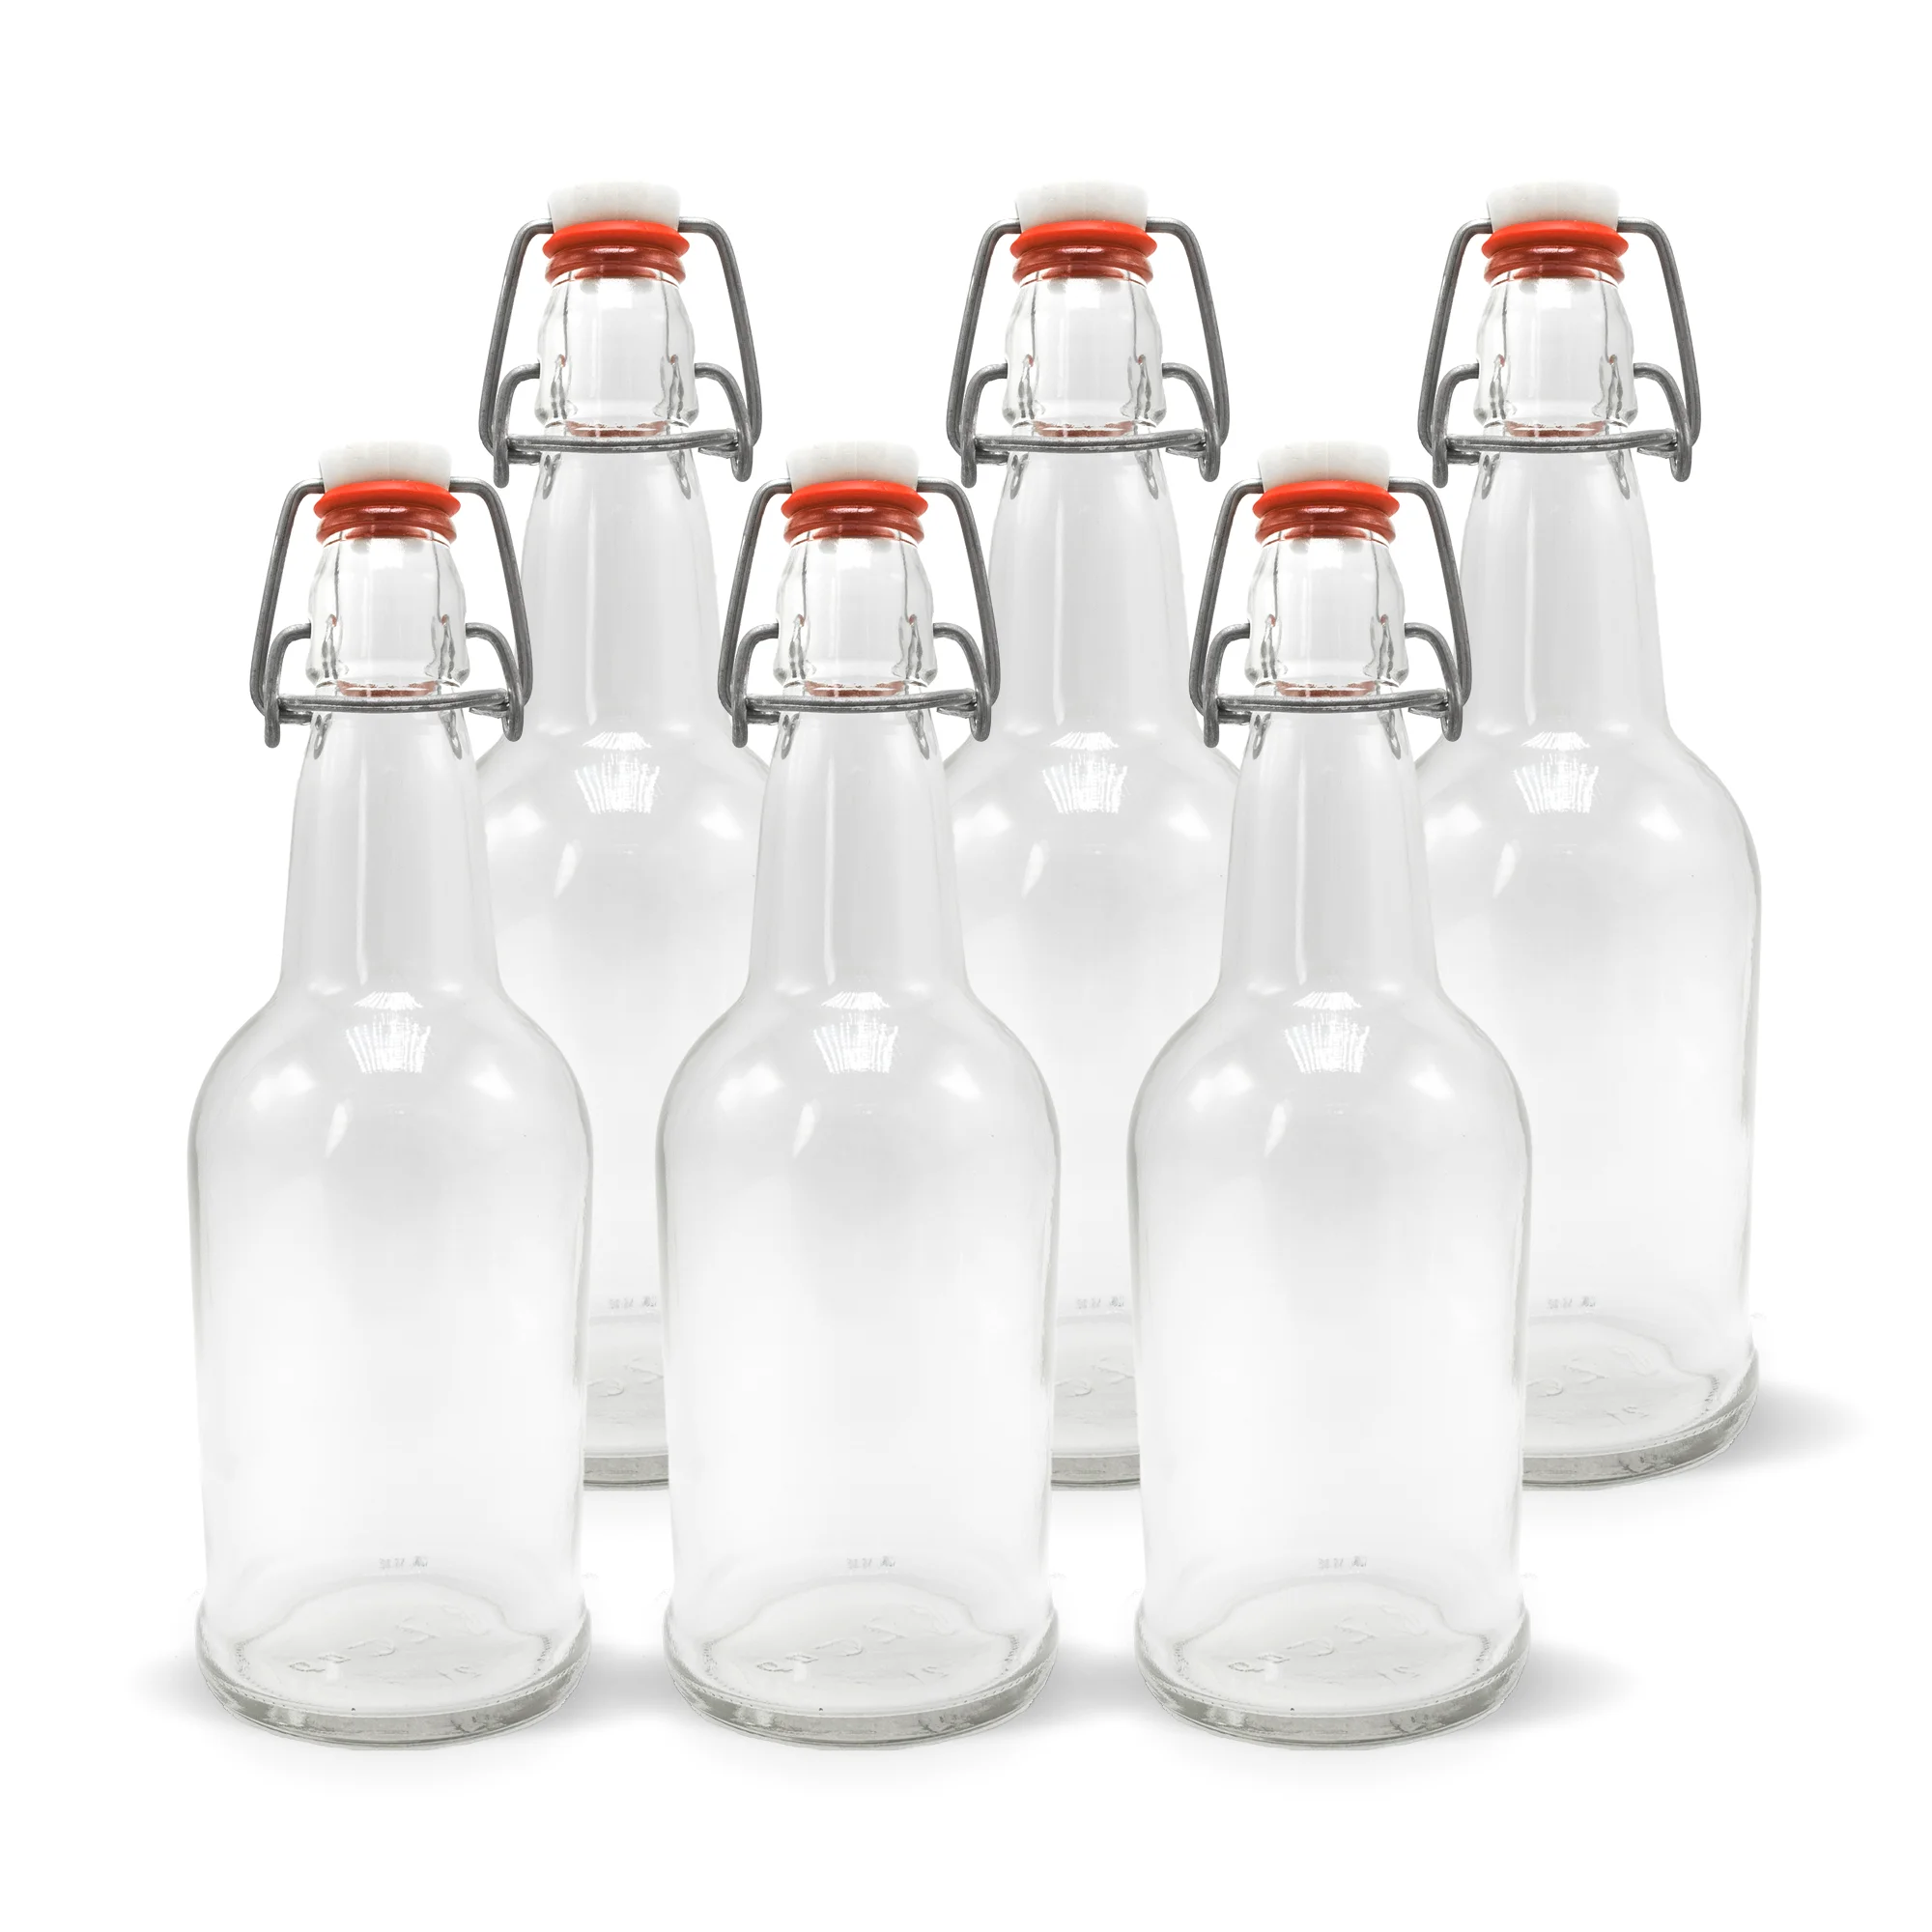
Bottles – For each gallon of kombucha, you’ll need about seven 16 oz bottles. Use bottles with lids designed to hold pressure, like swing-tops or stout bottles with polyseal caps. Standard airtight lids won’t cut it—they’re not designed to hold pressure, and you’ll likely end low or no carbonation.
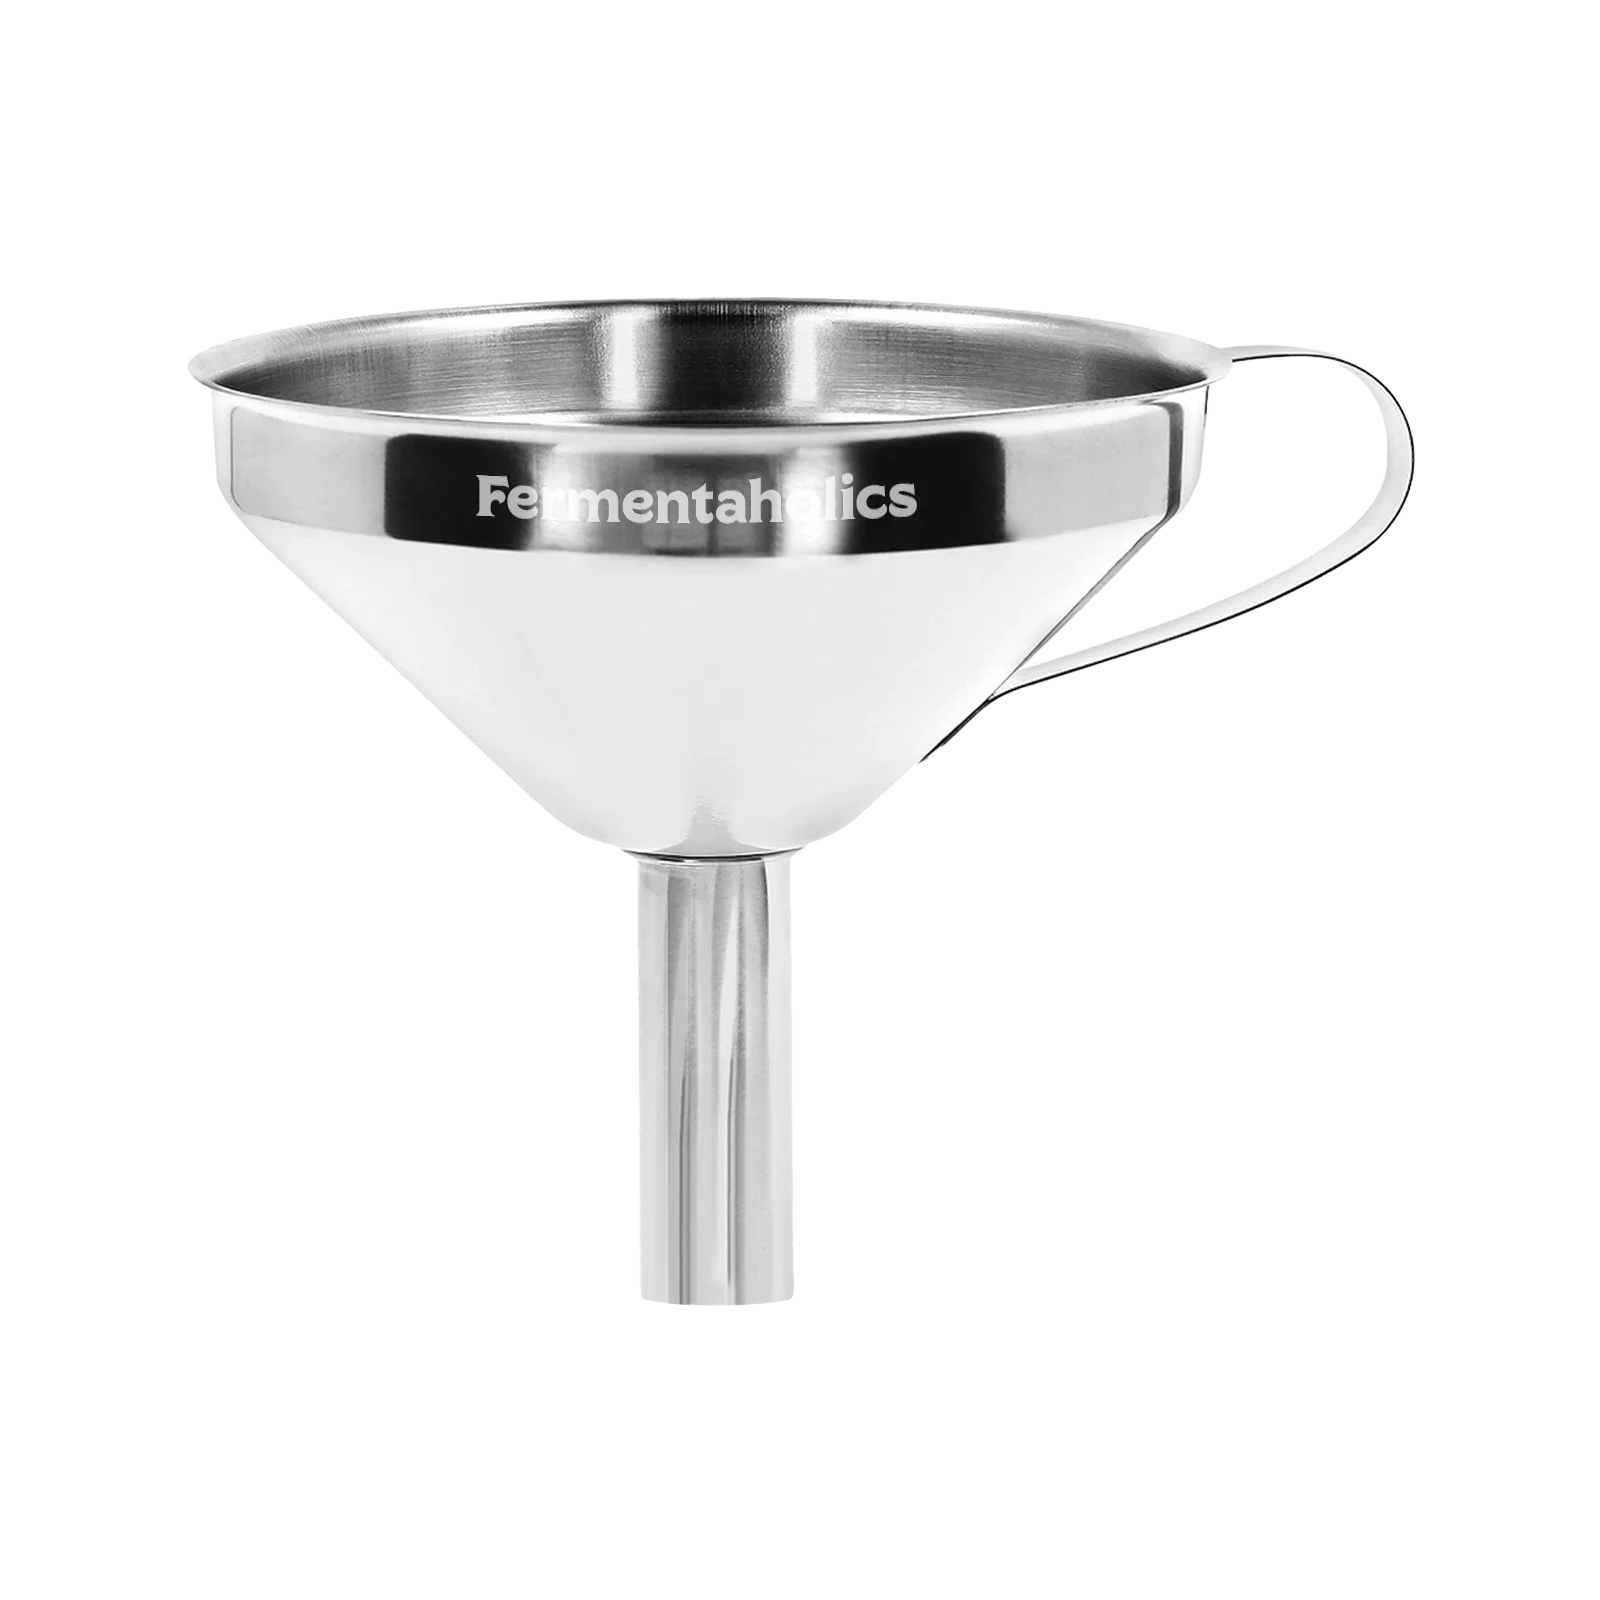
Funnel – A funnel makes pouring easier and cleaner. A stainless steel funnel is always a solid pick.
Pitcher (or jar) – Optional, but makes transferring your kombucha from the brew jar into the bottles way easier—especially if you’re straining.
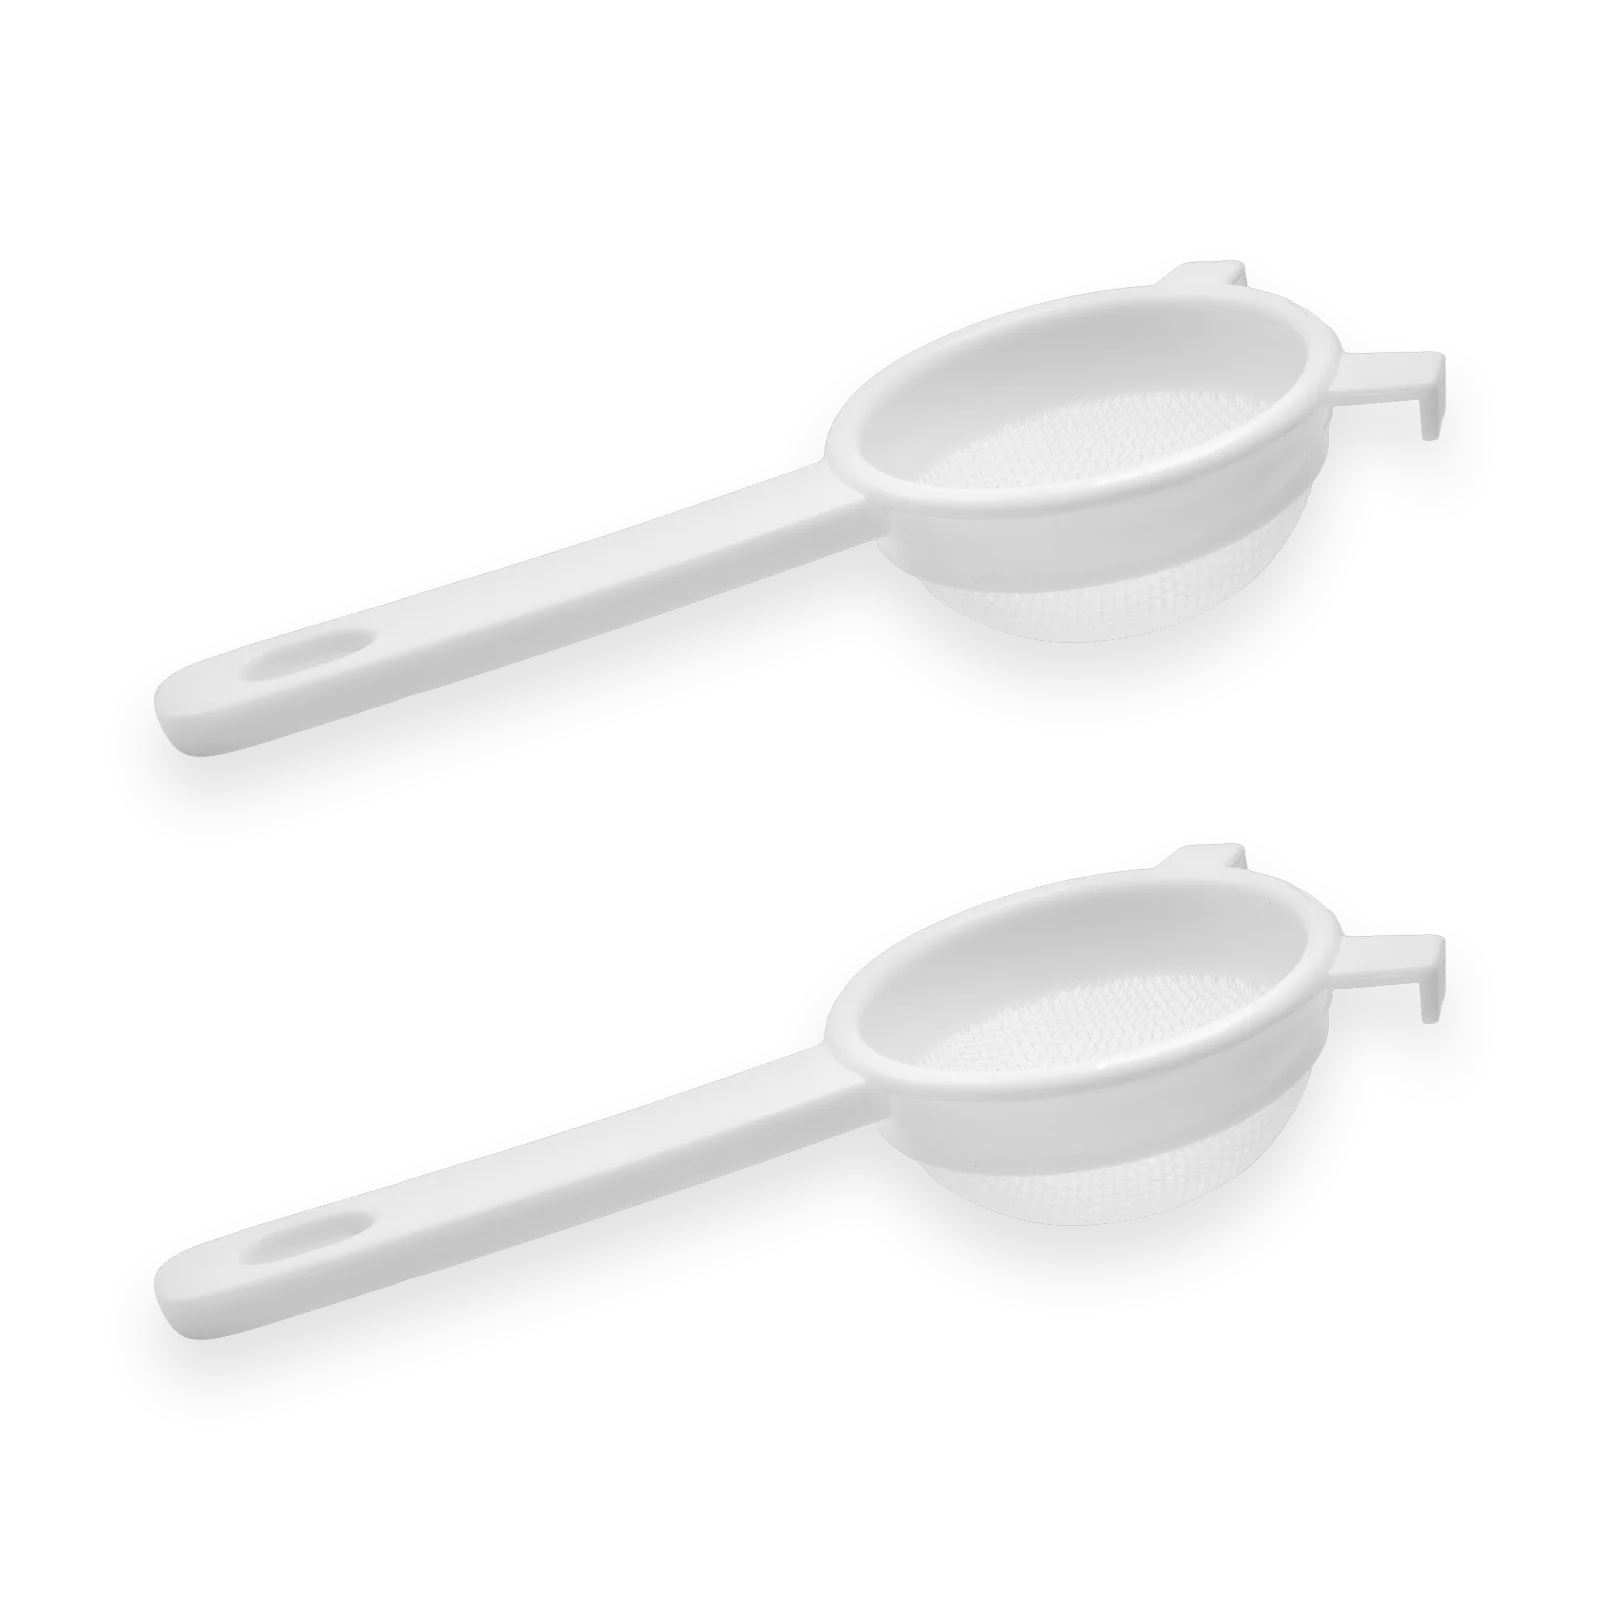
Strainer – A fine mesh or nylon strainer if you want to filter out any yeast strands or sediment during bottling.
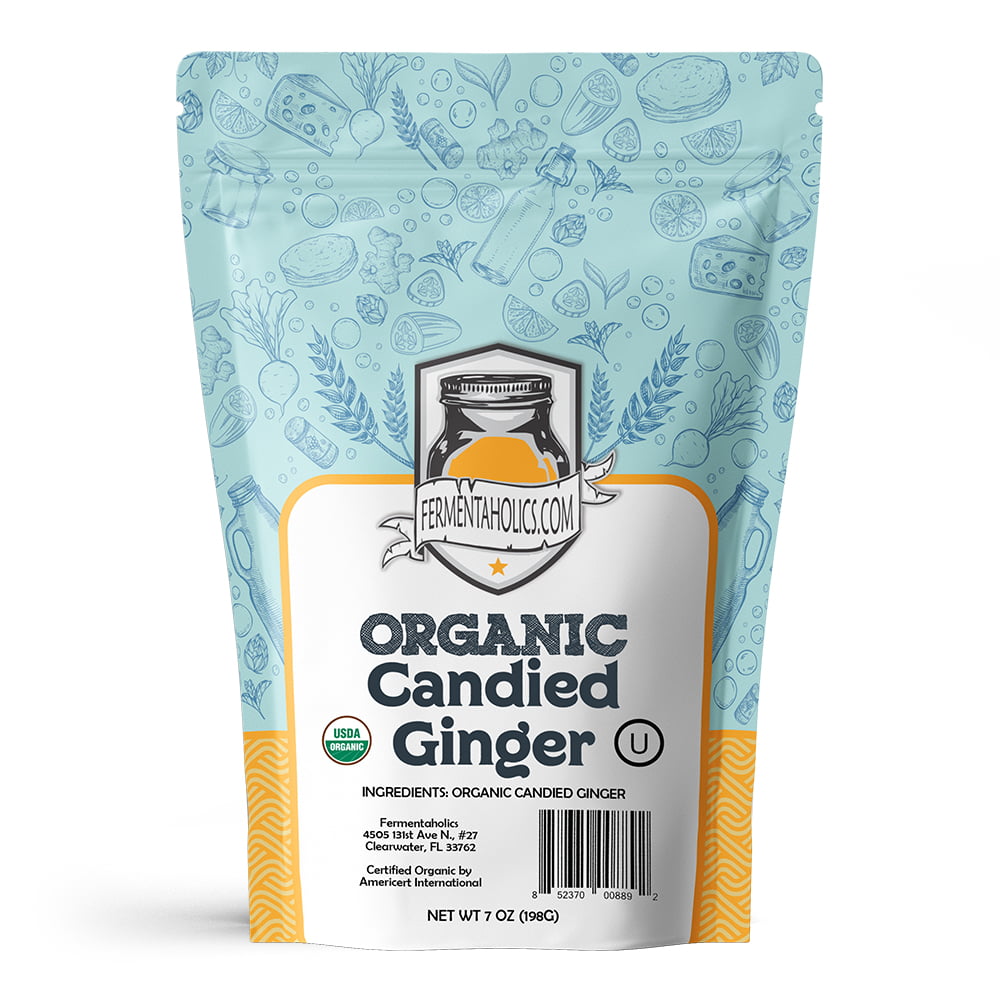
Flavorings – Fresh fruit, sugar, herbs, juice, syrups, ginger, or spices. You can get creative here, but just remember: whatever you add isn’t just for you, it also doubles as a sugar source needed to renew fermentation in the bottle for carbonation to happen. So don’t skip this step.
Clean workspace – Do everything over the sink or a big bowl to catch drips and spills.
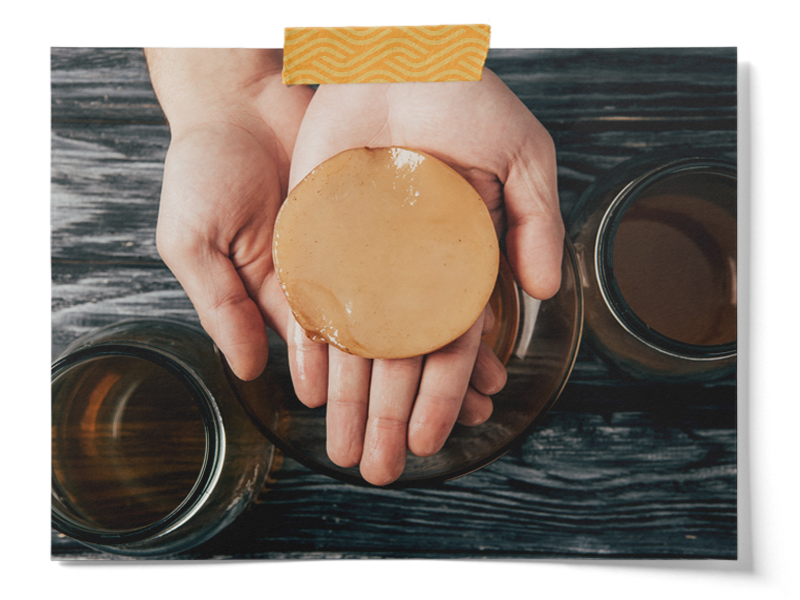
With clean hands or some type of scoop, gently lift your SCOBY out of the fermentation jar and place it into a clean container. Scoop or pour out 1½ to 2 cups of finished kombucha and add it to the same container; this becomes your starter liquid for the next batch.
Take your clean bottles and add your flavorings, such as fruit, juice, herbs, and spices, directly into each bottle. Chop, mash, or crush things small enough that you can eventually get them back out. (Bonus tip: strain the finished kombucha through a fine mesh or tea ball when serving to remove any loose bits.) If you need help with flavoring and ratios, you can use one of our recipes found here: kombucha recipes and flavors
Most of the original sugar gets fermented out during primary fermentation. So what you add here isn’t just for flavor, it gives the yeast something new to ferment during secondary fermentation, and this renewed fermentation is what creates CO₂.
Place the bottles in the sink (trust me: it will cut down the mess with spillage). Using your funnel and pitcher (or carefully pouring straight from the jar), top off each bottle with kombucha, leaving about 1 inch of headspace at the top. You can strain out yeast strands or floaties if you’re not into the texture, this is totally personal preference.

Tightly cap each bottle. Again, make sure you’re using bottles with lids designed to hold pressure—this part really matters. If your lids can’t hold CO₂, it will leak CO₂ before it can build, which will result in either low or no carbonation.
Store the sealed bottles in a warm place out of direct sunlight—ideally somewhere you’ll see them so you don’t forget about them. The sweet spot is 75–85°F, which allows fermentation and carbonation to happen naturally.
The time needed to carbonate typically takes between 2–10 days
• At 85°F, carbonation will develop faster
• At cooler temps, you can expect this process to take longer
• Below 70°F, fermentation slows dramatically, and the timeline needs to be increased
🏡 Keep Room Temperature Changes in Mind: Room temp can swing throughout the day (warm in the afternoon, cool at night). These dips slow fermentation. If you’re brewing in a cooler season or climate, consider using a fermentation heat mat and weave it through your bottles to keep things steady.
After 24 hours, burp one bottle to get a sense of how your carbonation is progressing. To do this, quickly crack the lid open slightly and immediately close it—as you open and close it, you are listening for any hissing sound and looking for any bubbles rising to the surface of the liquid. If you’re not sure what you are looking for, open a bottle of soda and pay attention to the sound and the bubbles rushing to the surface. This is what you are looking for.
The steps from here will all depend on what we see after 24 hours.
• No hiss at all? We can assume that tomorrow will probably be similar, so we need to estimate how much more time it will need—this could be 3 more days or 8. So seal it up and check again later.
• Light hiss? CO₂ is building. Probably still a few days or longer away from your goal.
• Strong pop or fizz? You’re there or getting close. You need to decide when it’s ready to put in the fridge.
Don’t burp daily.
Opening your bottles too often is counterproductive. Every time you release pressure, you’re letting CO₂ escape before it can build up to the levels you want. Think of it like running the A/C with the windows open. If there’s no sound on day one, just seal it back up and give it another few days before trying again. The goal is to let pressure build—not release it too early.
Once your kombucha is as fizzy as you like it, put the bottles in the fridge to halt fermentation. When you’re ready to drink, open the bottle and serve. When serving, sediment can be decanted off as needed by slowly pouring into a glass and leaving it behind.
Bonus Tip: If you used fresh fruit, herbs, or other solids in the bottle, you can strain the finished kombucha through a strainer into your glass to remove any leftover flavoring ingredients.
Once you’ve done it a few times, bottling kombucha becomes second nature. The key is getting the basics right—bottle type, flavoring (sugar), temperature, and time. Nail those, and you’ll get reliable carbonation every time. If you’re still having trouble getting carbonation, be sure to check out our post here: Why is My Kombucha Not Fizzy?
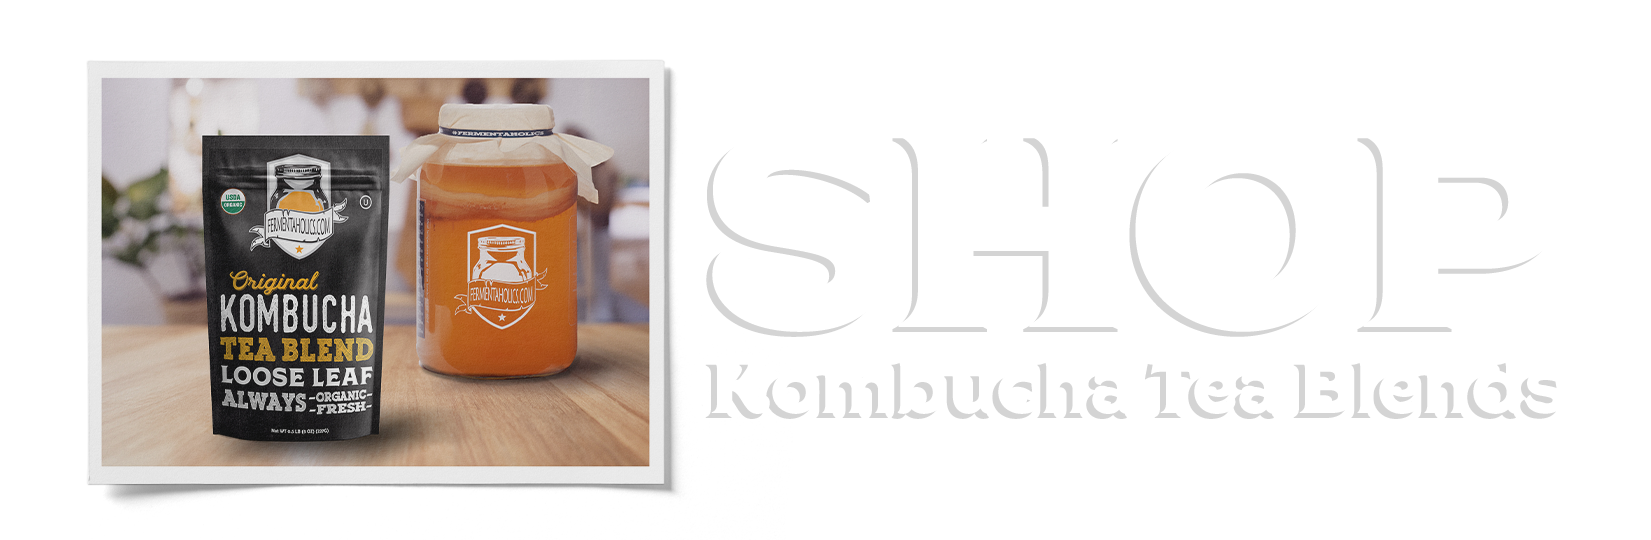
Need flavor ideas? Want to see the bottles and gear we use? Check out our full range of kombucha bottling kits and flavoring blends.