16 FL Oz Bottles
10
minutes2-10 Days
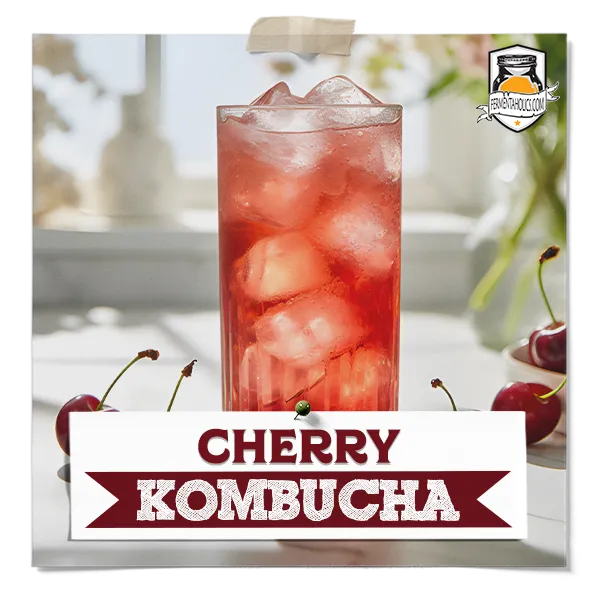
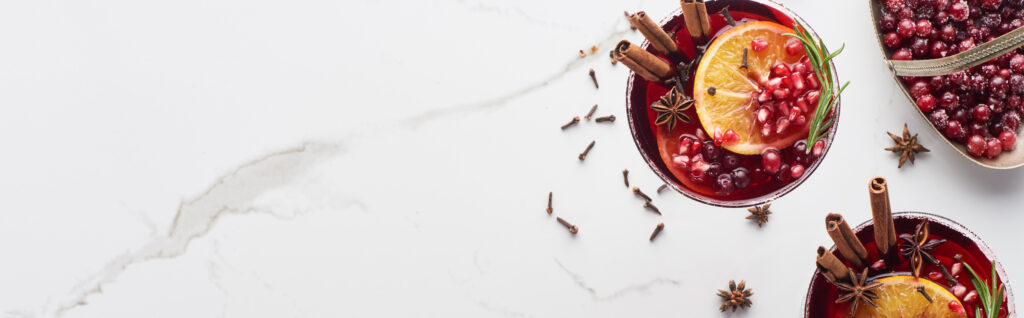
This cranberry cinnamon kombucha recipe is for one 16 fluid ounce bottle. For a gallon batch, make seven bottles. To scale this recipe to a gallon batch, multiply the ingredients by seven or toggle the serving size up to seven above. Before bottling your kombucha, remove the SCOBY pellicle along with 12-16 ounces of kombucha starter tea from your brew, and reserve for your next batch.
16 Oz Kombucha from a completed primary fermentation.
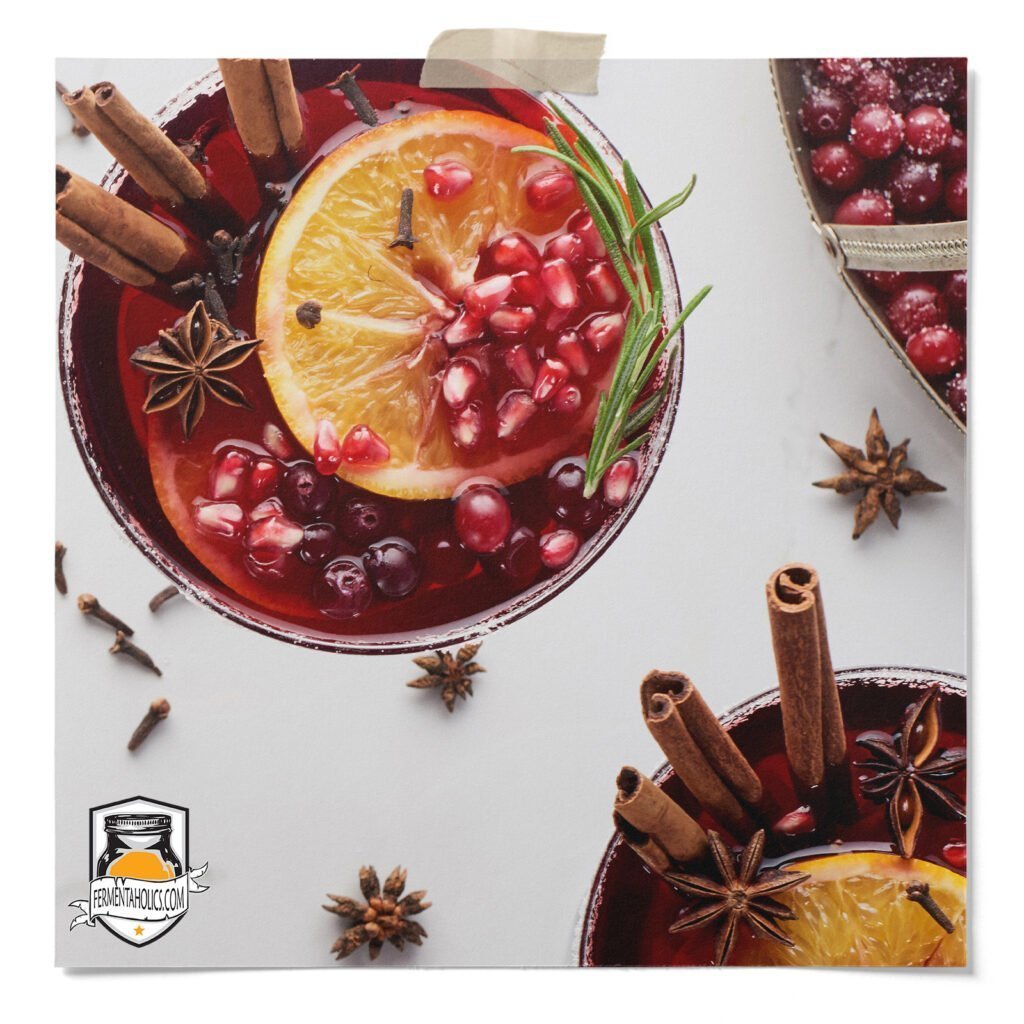
8-10 Quartered Cranberries
1 Cinnamon Stick
1/8 TSP Brown Sugar
1/2 Juice From A Lime
1 16 Oz Kombucha Bottle(s)
Measuring Spoons
With clean hands, remove the SCOBY from your brew jar and place it in a clean container. Measure out one to two cups of kombucha and add it to the container with the SCOBY. This is the starter tea for your next brew.
Take your clean 16 oz bottles and place them in the sink.
Add the cranberries, cinnamon sticks, and sugar to each bottle. Swirl slightly to incorporate sugar with the cranberries. The sugar is only there to reactivate the yeast, so they produce a lot of C02 in a short amount of time. You can omit the sugar here but understand that your kombucha might not get super bubbly.
Using a funnel, squeeze half of a lime into each bottle. This is optional, but it adds an element of brightness to round out the flavors.
Using a funnel, slowly pour kombucha from the brew jar into the bottles, leaving about one inch of headspace from the top of each bottle. The kombucha may foam up with the puree, so just go slowly and let it settle in between. Leave about 2 cups of kombucha in the jar with the SCOBY for the next brew.
Tightly place the caps on each bottle.
Keep bottles at room temperature for 2-10 days, depending on temperature.
Once per day, you’ll want to “burp” the bottles by removing the cap to allow built-up pressure to escape and place the cap back on. As soon as you put the cap back on, the carbonation will begin to build back up, so no worries about it getting flat. Try not to skip this, or you will have kombucha all over your face and your kitchen when you do go to open it.
When you are happy with the flavor and fizziness of your kombucha (1-3 days), place bottles in the fridge to chill and halt the fermentation.