When it comes to fermentation, pH and food safety go hand in hand, and kombucha, of course, is no exception! Monitoring the pH during fermentation also provides valuable insight into its progress. This article will give an overview of pH and its role in kombucha brewing. We’ll cover how it’s measured and the practical benefits of monitoring pH during fermentation. We’ll also discuss how to use pH readings to track the fermentation process and troubleshoot any issues that may arise. By the end of this article, you’ll firmly understand pH and its importance in kombucha brewing, as well as the tools and techniques to measure and maintain a healthy pH in your brews.

Before we cover pH levels in kombucha, let’s review the basics. pH is a measure of the acidity or alkalinity of a solution, and plays a vital role in various chemical and biological processes. The pH scale ranges from 0 to 14, with 7 being neutral, defined as neither acidic nor alkaline. A pH below 7 indicates an acidic solution, while a pH above 7 indicates an alkaline solution. While pure water has a pH of 7, the pH of tap and well water can vary due to impurities and minerals. At the two extremes of the pH scale, we find battery acid, with a highly acidic pH of 0, and drain cleaner, with a highly alkaline pH of 14.
Now, let’s turn our attention to the chart below, which lists the general pH values of some everyday items. As you can see, lemon juice is also quite acidic, with a pH between 2 and 3. On the other end of the pH spectrum, bleach is highly alkaline, with a pH of around 13. Knowing the pH of an item can help in many applications, and when it comes to kombucha making, adjusting the pH is one of them.

Adjusting the pH means intentionally changing the pH of a solution to a desired level. This is commonly done in various industries to ensure the pH is within the acceptable range for the intended use.
For example, pH adjustments are crucial in winemaking to balance acidity and prevent spoilage. The optimal pH range for finished red wine is 3.4-3.5 pH; if it falls outside this range, the winemaker may correct the pH by adding potassium bicarbonate or calcium carbonate to raise the pH or tartaric acid to lower it.
When it comes to adjusting the pH value of a liquid, the process is straightforward. All you need to do is introduce a substance that is either more acidic or more alkaline, and it will shift the pH value in the desired direction. For instance, if you begin with pure water and add lemon juice, you’ll quickly observe a change in the pH reading. The water’s pH will no longer remain neutral at 7 pH; instead, it will fall somewhere between 2 and 7, depending on the amount of lemon juice you add. As the amount of lemon juice increases, the acidity of the liquid increases, and the pH value decreases accordingly. So, the lower the pH number, the higher the acid content. This simple adjustment method allows you to fine-tune the pH levels of liquids to suit your needs, whether for culinary purposes or other applications.
Now that we better understand pH and the adjustment process, let’s bring it all together and explore how it relates to kombucha brewing.
In kombucha brewing, the pH of the liquid changes throughout the process. To simplify this, I’ve broken it down into four distinct stages: the pH of the sweet tea before adding the SCOBY, the pH at the start of fermentation after adding the SCOBY, the pH during fermentation, and the pH of the finished kombucha. Let’s go over each.
Making kombucha always starts with brewing sweet tea. Before adding the SCOBY, the sweet tea’s pH will generally fall between 5 and 6.5, which is not acidic enough to discourage the growth of harmful bacteria during fermentation. Luckily, we now know how to adjust the pH, making it sufficiently acidic for kombucha fermentation. By lowering the pH to 4.5 or below, we can inhibit the growth of harmful bacteria, ensure the safety of the kombucha, and create the perfect environment for fermentation. So, how do we adjust the pH in this situation? Well, we do this by adding acidic, mature kombucha starter tea.
The next step in brewing kombucha is to add your kombucha culture, which consists of a pellicle (SCOBY) and liquid mature starter tea. Of these two, the starter tea is responsible for lowering the pH. Kombucha starter tea is acidic, with a pH value typically 3.5 or less, depending on how long the kombucha has matured. This level of acidity quickly lowers the pH when added to the sweet tea. Typically, a ratio of 12 fluid ounces of starter tea per gallon of sweet tea results in a new pH value between 3.8 and 4.4, depending on the strength and acidity of the starter tea. It is important to verify the pH using a pH test to ensure it is at or below 4.5, the threshold for inhibiting unwanted bacteria growth.
Once you add your kombucha culture to the sweet tea, fermentation is officially underway. During this process, the yeast consumes sugar to produce alcohol, and then the different bacteria consume the alcohol and create various beneficial acids like acetic and gluconic acid. As fermentation progresses, more sugars are converted to acids, so the sugar content decreases and the acidity increases. This shift gradually lowers the pH value. For example, if your kombucha batch starts at a pH of 4.2, this number will lower during fermentation as more acids are produced. This gradual shift in pH is easily measured with a pH test, allowing you to monitor the fermentation’s progression in real-time.
The concept of “finished” kombucha is subjective, as it ultimately depends on the brewer’s personal taste preference. Some brewers may prefer their kombucha to be sweeter, in which case they may end fermentation earlier. In contrast, others may prefer a more tart flavor and allow fermentation to proceed longer. From a pH perspective, finished kombucha is generally considered in the range of 2.5 to 3.5, with this acidic level providing the tangy taste that kombucha is known for.
pH readings are a scientific way to verify that your kombucha starts at a pH below 4.5, which provides reassurance that harmful microbes are unlikely to grow. By monitoring the pH, you can be confident that your kombucha is safe and eliminate potential food safety concerns.
pH monitoring is also an effective way to track the progress of your kombucha fermentation. As the pH decreases, it’s a measurable signal that the beneficial bacteria and yeast are actively consuming sugar and creating byproducts, aka fermenting.
While kombucha brewers often use visual indicators to assess the health of their culture, these methods are not scientific or precise. After all, microbes are microscopic, making it impossible to gauge their health with just the naked eye. This is where pH comes in handy. Quick pH readings throughout fermentation are helpful because they tell us, scientifically, if fermentation is occuring and how it is progressing. A dropping pH indicates that the fermentation is progressing as expected, even without noticeable visual changes. On the other hand, if the pH does not change, it’s a clear sign that fermentation is not happening. Therefore, regular pH monitoring during fermentation is a simple yet powerful tool for keeping track of the fermentation’s progress and troubleshooting potential issues.
There are two ways to measure kombucha pH:

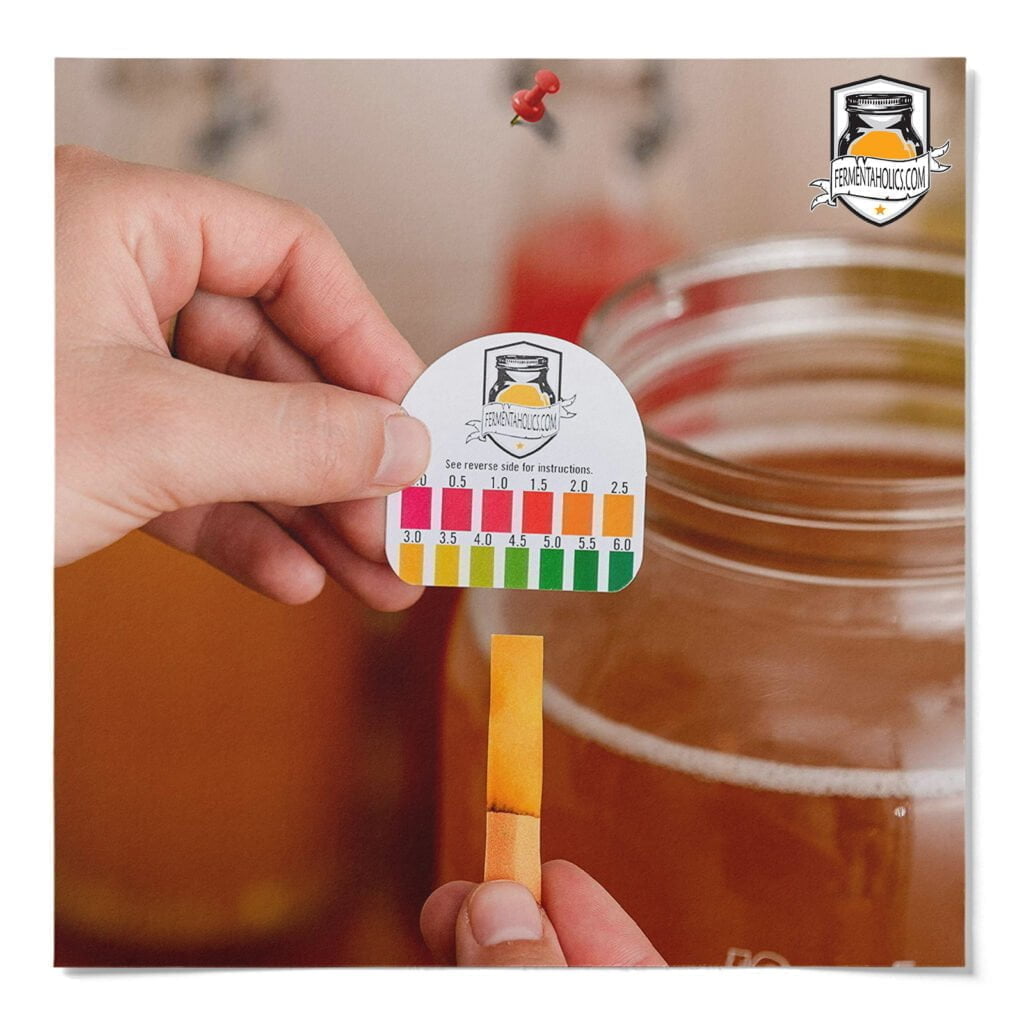
pH strips, also known as litmus paper or pH indicator paper, are a simple tool used to measure the acidity or alkalinity of a solution. They consist of a small strip of paper dipped in a pH-sensitive dye that changes color when exposed to a liquid, indicating its pH level. This color-coded scale allows for quick and easy interpretation of results.
To take a pH reading with test strips, remove a small sample of liquid from the batch and wet the end of the pH test paper. Once wet, the pH paper will change colors, so you just need to compare the strip’s color to the color chart indicator provided. The closest color match will be the current pH reading.
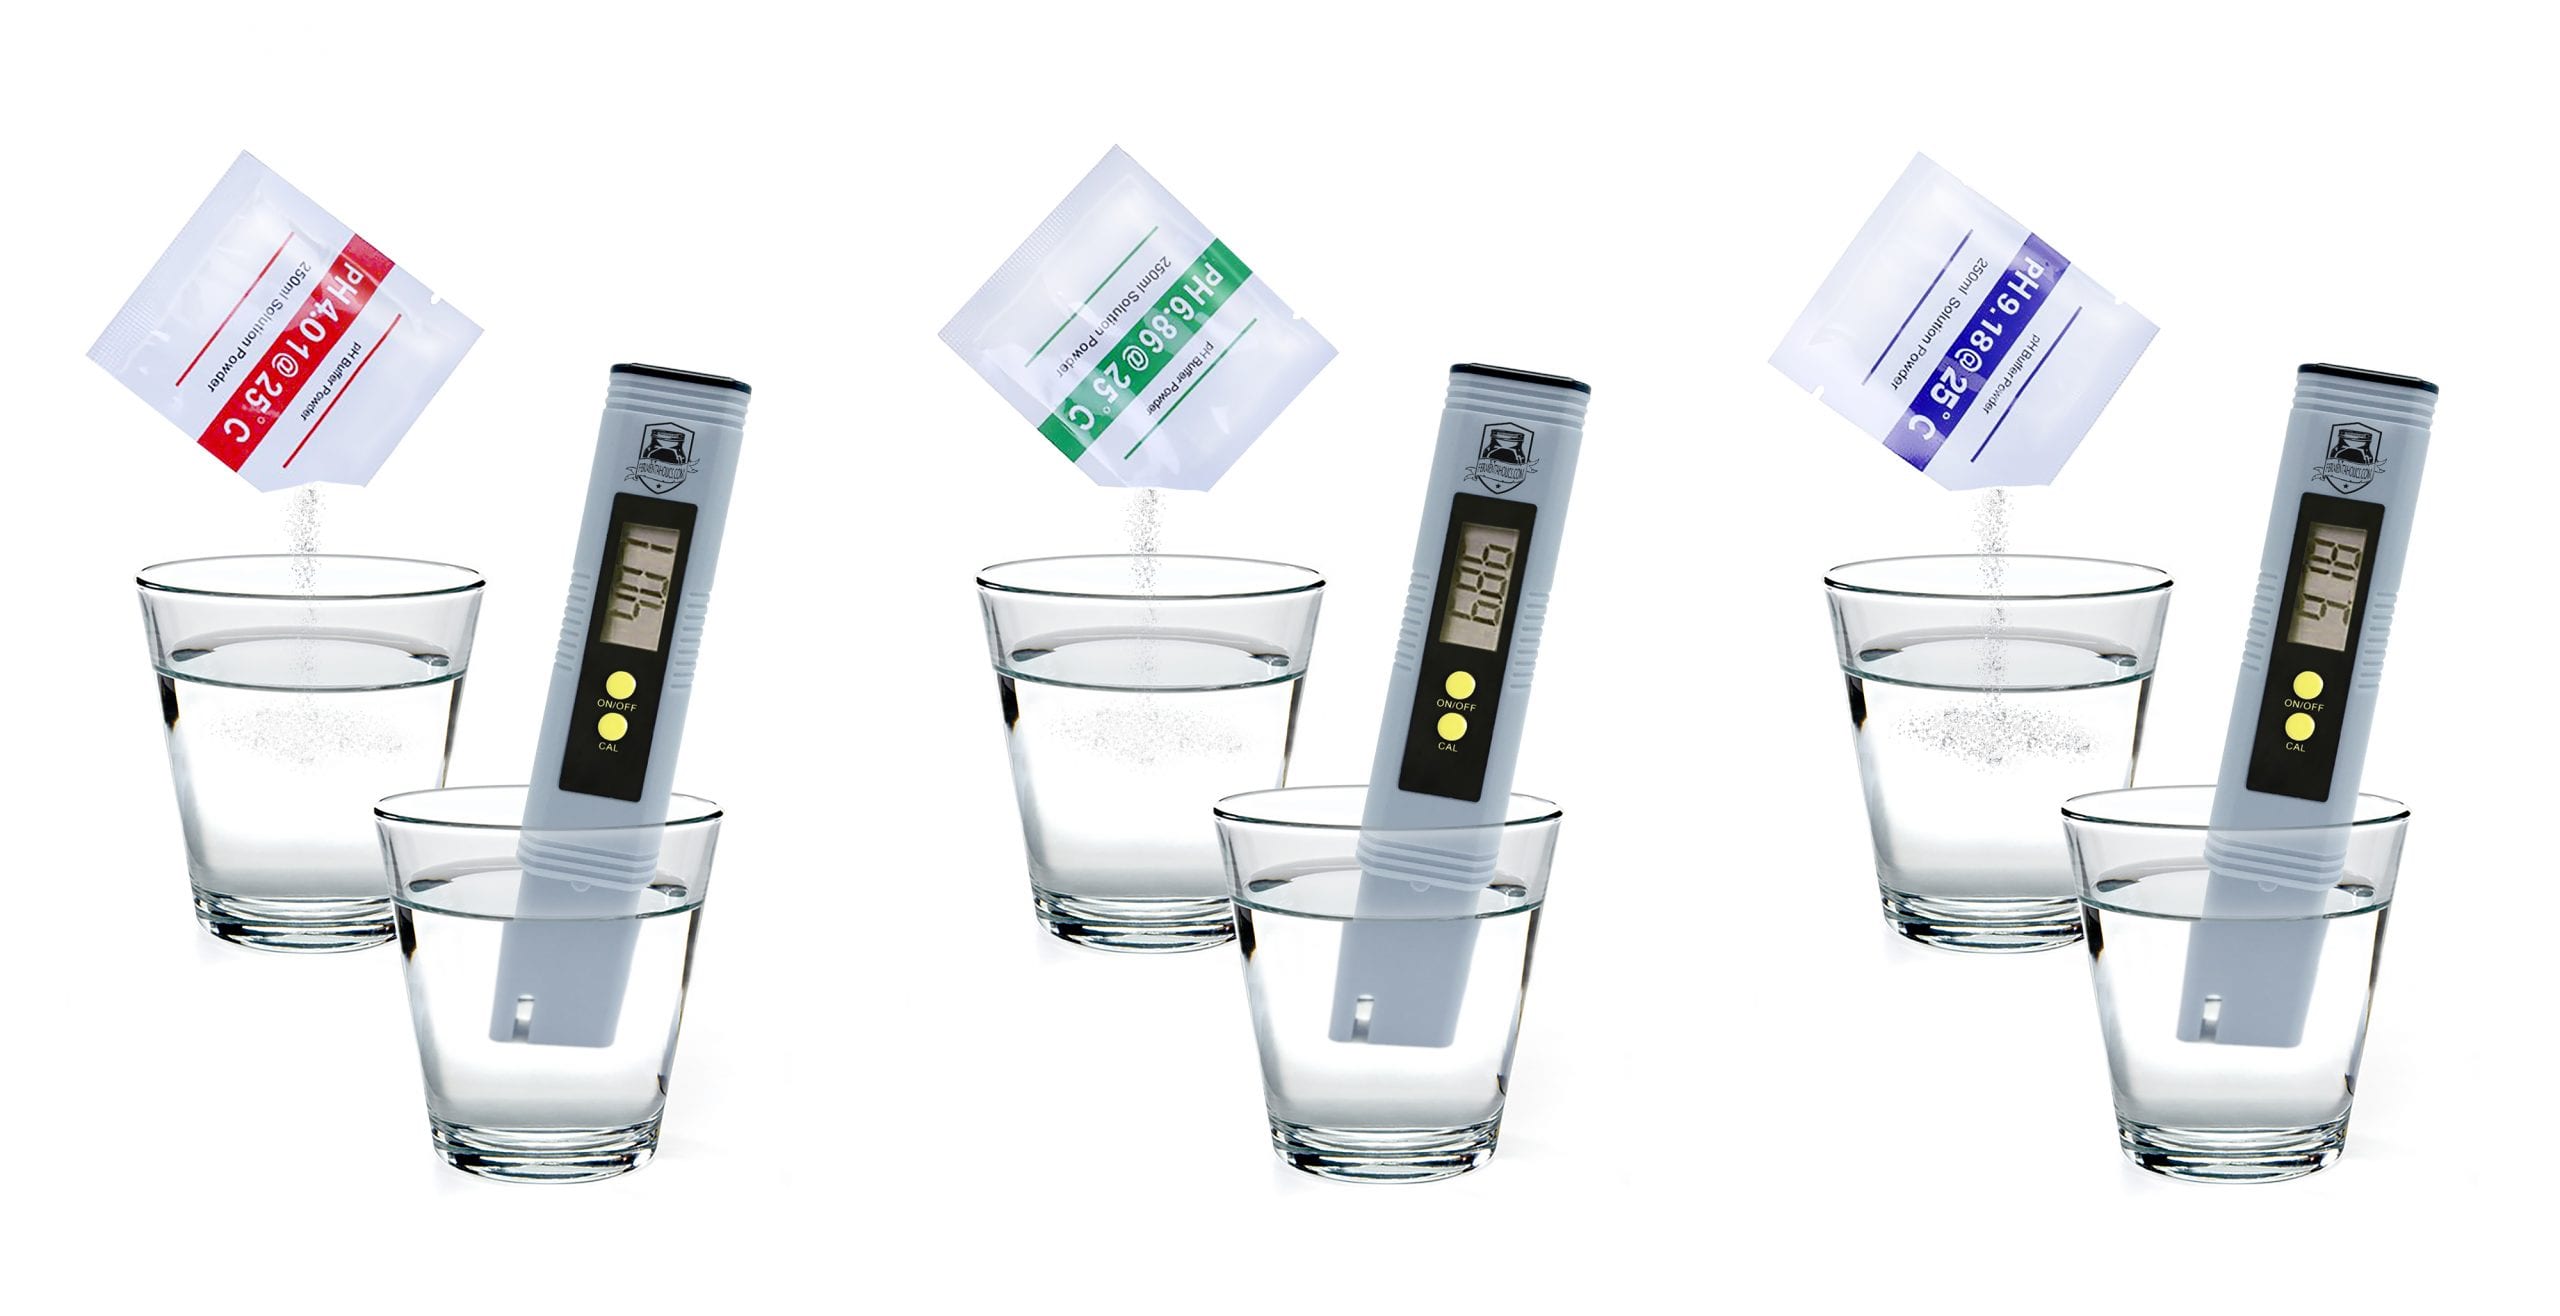
Taking a pH reading with a pH meter is easy. You simply turn it on and insert the pH test probe in the liquid solution being tested. The meter’s LCD will display the pH value on the side of the meter. pH meters are extremely helpful but it’s important to note that all digital pH meters need to be periodically calibrated. Calibration (pictured above) starts with adding a pH powder packet to a glass of distilled water. Each meter is a little different here but you will ultimately hit an autocalibration button on the meter and submerged the testing probe. The meter will eventually flash when the autocalibration is complete and you are now ready to use your meter.
To ensure the safety, and track the progress of your kombucha brew, it’s a good idea to test the pH several times throughout the fermentation process. However, the frequency of pH testing is up to you. Here are three spots along the way when pH is commonly read.
From this list, the first test is most important, but the other two are completely optional.
To sum up, pH monitoring plays a crucial role in kombucha fermentation, offering numerous benefits such as ensuring food safety, monitoring fermentation progress, and troubleshooting potential issues. By investing in reliable pH testing tools, such as pH strips, you can gain a deeper understanding of the fermentation process as it’s happening. Don’t wait any longer – get some pH test strips and start your pH journey today! And be sure to check out our shop for all your kombucha brewing needs.

$14.99 Original price was: $14.99.$13.49Current price is: $13.49.
In stock
$10.99 Original price was: $10.99.$9.99Current price is: $9.99.
In stock
