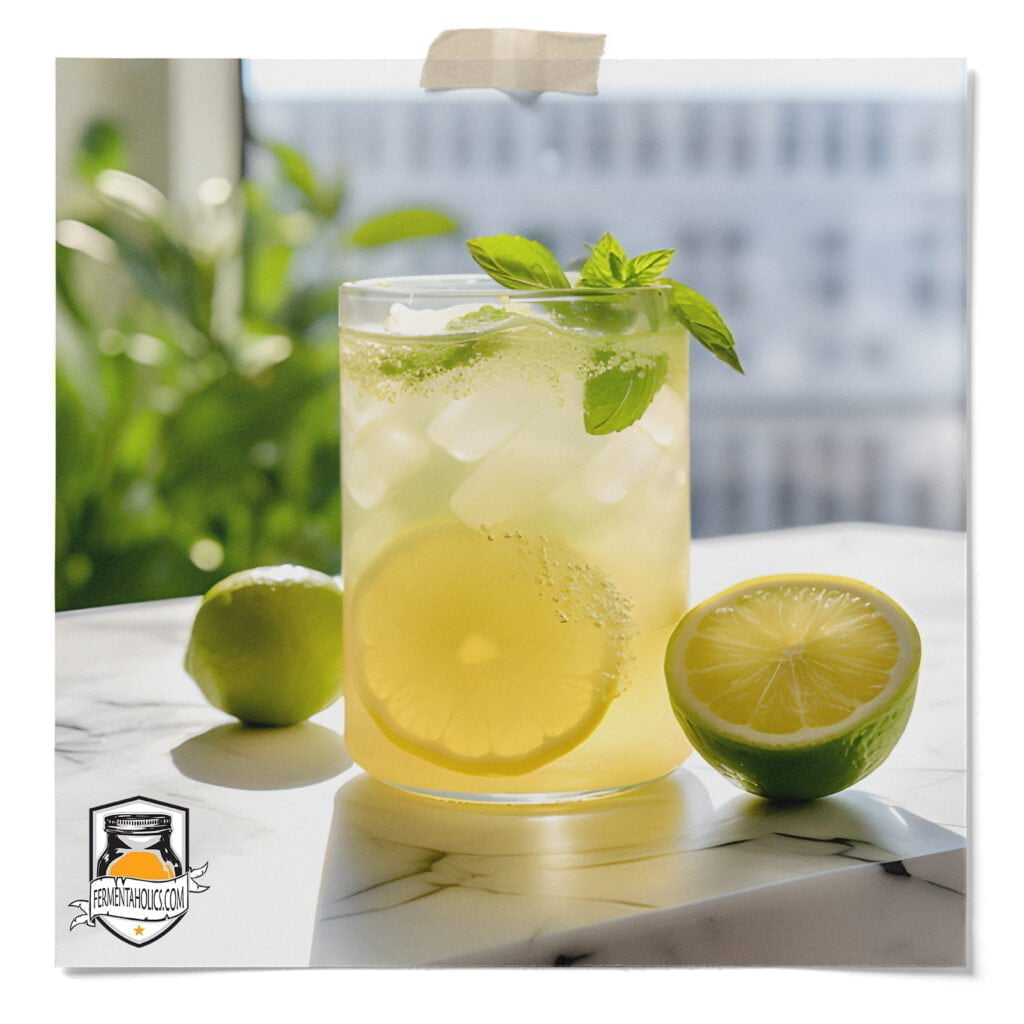
Simplicity wins again. We love when simple components come together to yield bold results. Our minds often persuade us to think we want more: more energy, more food, more money, more things. In reality, more doesn’t mean better. More means more things to manage, thoughts to declutter, calories to burn. There’s an art in simplification that is refreshingly beautiful. Allow this kombucha to be a practice in enjoying less.
We’ve found that letting the citrus rinds sit in any liquid for longer than a couple of hours creates a very bitter beverage. Since we’re going to let the kombucha go through a secondary fermentation for about 2-10 days, it’s best to use citrus juice rather than slices to avoid the bitterness. When serving this drink, add a fresh slice of lemon and lime to each glass and get the full effect.
For the mint, it’s pretty straightforward. Break off a sprig, or a few big leaves, and drop it right in the bottles!
For each bottle, squeeze the juice from half a lemon and half a lime, which should yield approximately 1 tbsp of each. Add it right to a clean 16 fl oz bottle.
After you’ve added the citrus juice and mint, it’s time to fill the bottles with kombucha. Fill each bottle up, but leave about 2″ of headspace. Cap the bottles tightly, label your bottles and place them in a warm location for 2-10 days for the secondary fermentation. When you’re happy with the flavor, place the bottles in the refrigerator to halt the fermentation.
It’s important to note that making homemade kombucha is almost always a two-step fermentation process. Brewing kombucha is only a one-step process for those who prefer an unflavored flat kombucha. Otherwise, the steps consist of a primary fermentation and a secondary fermentation.
Primary fermentation is the first step of the kombucha brewing process. This is where your SCOBY transforms regular sweet tea into the tart and slightly sweet kombucha we love. At the end of this stage, you will have finished kombucha, but it will be flat and unflavored. Have you skipped this step? Then check out our guide on how to make kombucha at home, and for jun kombucha, see our post on how to make jun kombucha tea at home. Traditional kombucha is going to yield a bolder brew, while jun kombucha is milder and can be a bit tarter.
Secondary fermentation is the step where you bottle, carbonate, and flavor your kombucha with the addition of sugar and flavors. In this step, the finished kombucha from the primary is mixed with sugar, fruits, or other flavors before bottling it with specialized lids that can hold pressure, like flip-top bottles. The bottled kombucha is then left at room temperature for natural fermentation, where yeast carbonates the kombucha within the sealed bottle. The ideal temperature range for this process is between 75-85°F. The amount of time needed to carbonate within the bottle is highly tied to temperature, which can take anywhere from 2-10 days.
💡Since this recipe is for the secondary fermentation, to make this recipe, you’ll need to have kombucha that has finished the primary fermentation and is ready to bottle.
This recipe makes one 16-fluid-ounce bottle. A 1-gallon batch of kombucha will make seven 16-ounce bottles, so for one gallon, you will need to multiply the ingredients by 7. Before beginning this recipe, you will need to:
16 FL Oz Bottles
10
Minutes2-10 Days
This lemon-lime mint kombucha recipe is for one 16 fluid ounce bottle. For a gallon batch, make seven bottles. To scale this recipe to a gallon batch, multiply the ingredients by seven or toggle the serving size up to seven above. Before bottling your kombucha, remove the SCOBY pellicle along with 12-16 ounces of kombucha starter tea from your brew, and reserve for your next batch.
16 Oz Kombucha from a completed primary fermentation.
1-2 TBSP Lemon (1/2 Lemon)
1-2 TBSP Lime (1/2 Lime)
1 Sprig Fresh Mint (or 3-5 large leaves)
16 Oz Swing Top Bottles
Citrus Juicer
Using a funnel, fill clean bottle with juice from lemon and lime, add mint.
Top bottle off with kombucha, leaving about 1 to 2 inches of head-space. Tightly place the caps on each bottle.
Keep bottles at room temperature for 2-10 days; it will carbonate faster at higher temperatures and slower when cold.
Burp the bottles as necessary to release excess pressure. This is done by removing the cap to allow built-up pressure to escape then placing the cap back on.
Chill in the refrigerator once you’re happy with the carbonation levels. Based on preference, you can serve as is or strain before drinking.
