
16
fl oz Bottles10
minutes2 - 10
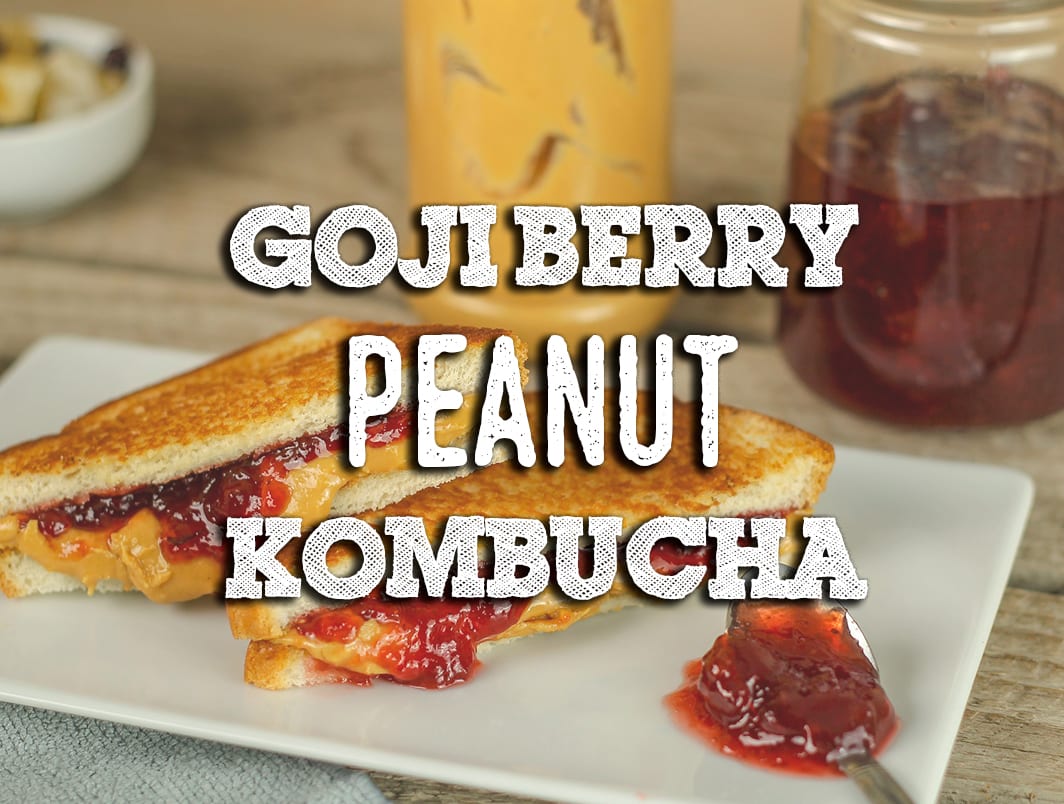
daysThis Goji Berry and Peanut Kombucha recipe is for seven 16 fluid ounce bottle. Before bottling your kombucha, remove the SCOBY pellicle along with 12-16 ounces of kombucha starter tea from your brew, and reserve for your next batch.
3.5 Cups Shelled, Salted Peanuts
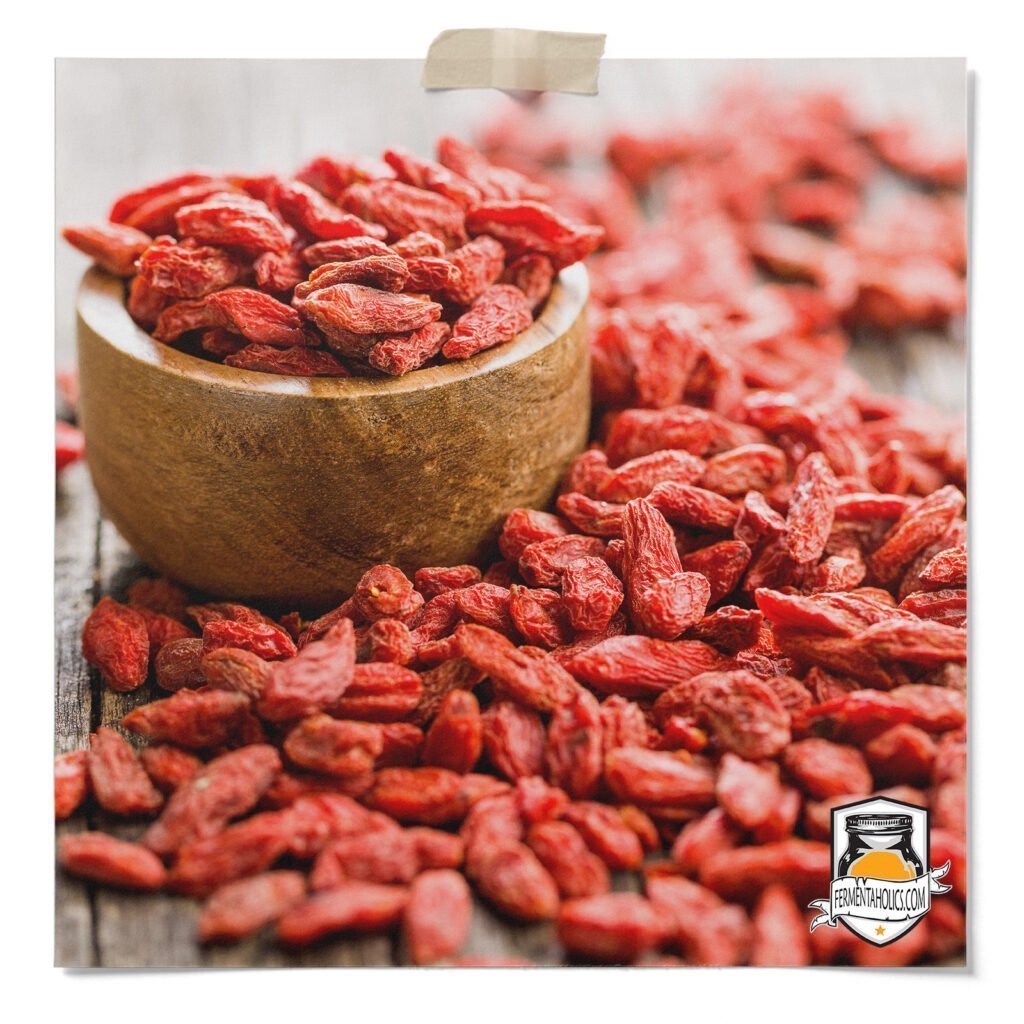
6 TBSP Dried Goji Berries
1 Gallon Fermented Kombucha
16 oz Swing Top Bottles
1 Funnel
Small Strainer
Small Pot