

1
gallon batch30
minutes7 - 21
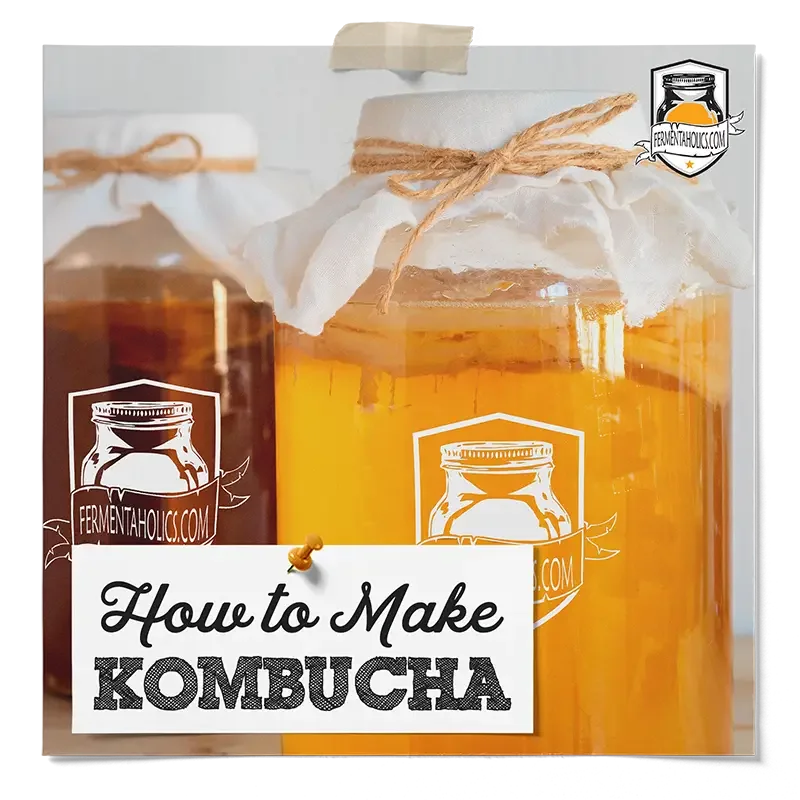
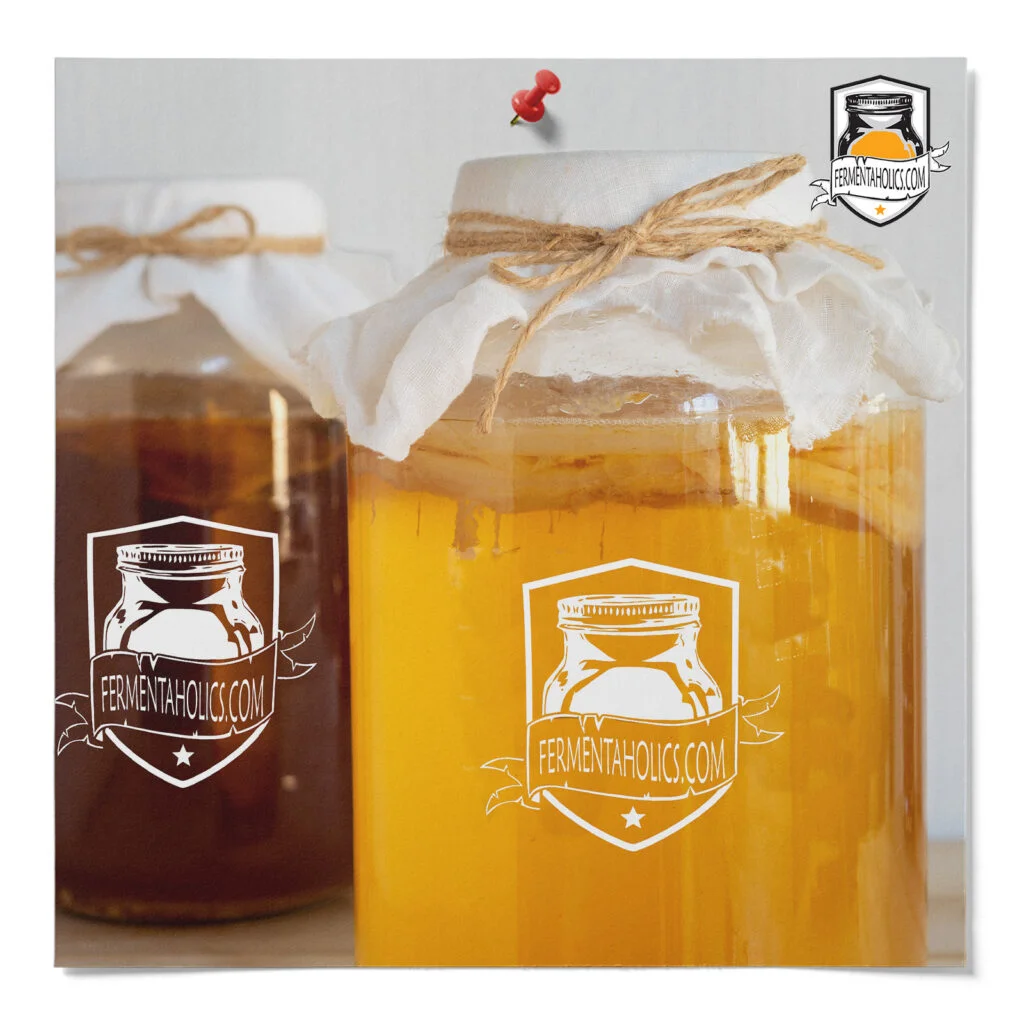
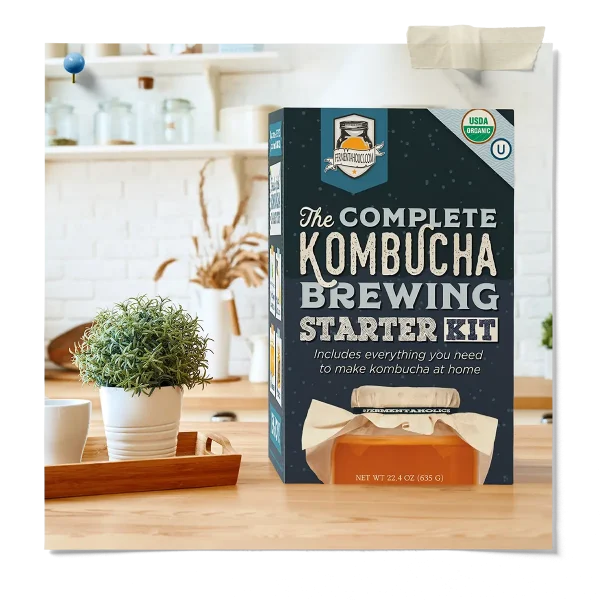
daysKombucha Primary Fermentation One Gallon Kombucha Recipe.
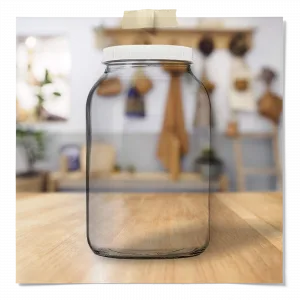
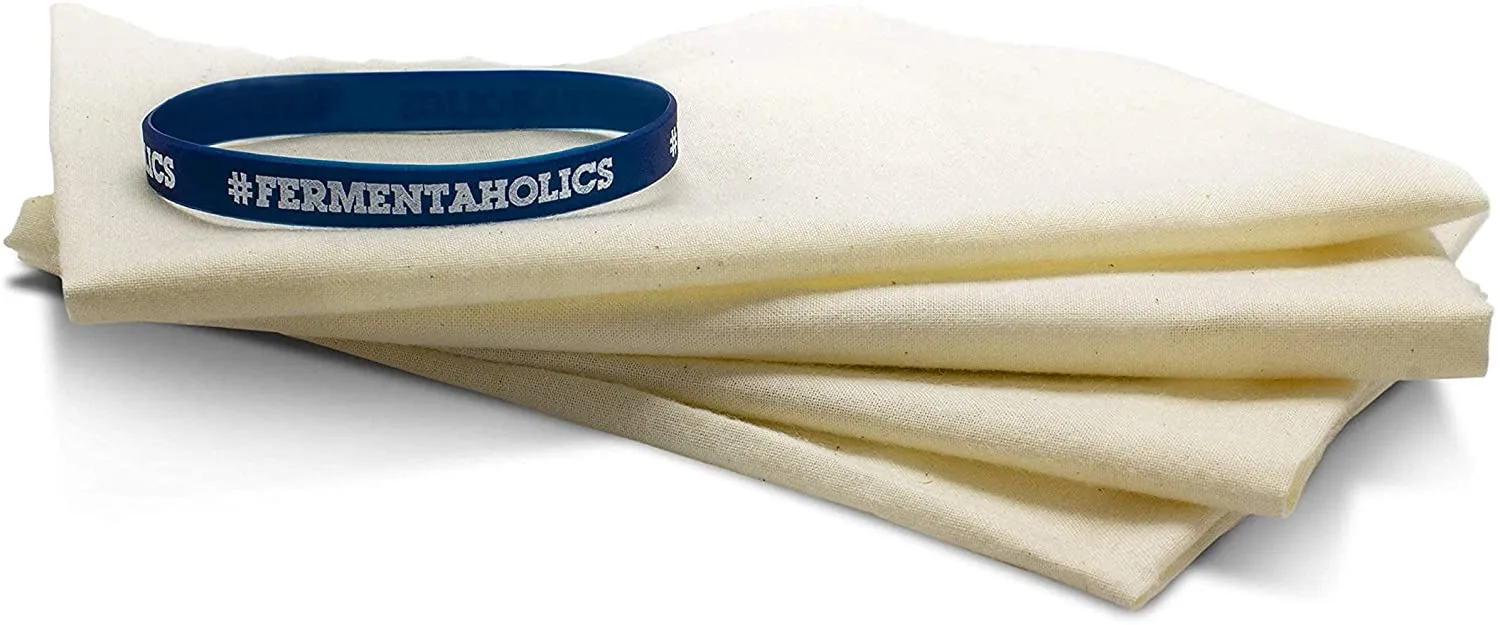
1-Gallon Kombucha Brewing Jar, Small Pot, Breathable Kombucha Cloth Cover, And A Rubber Band.
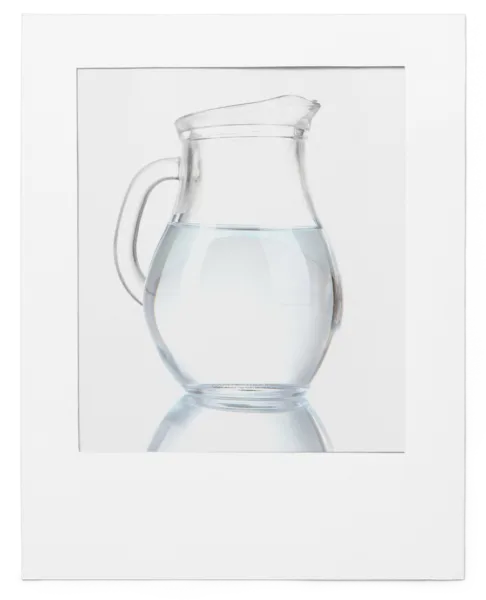
1 Gallon Filtered Water*
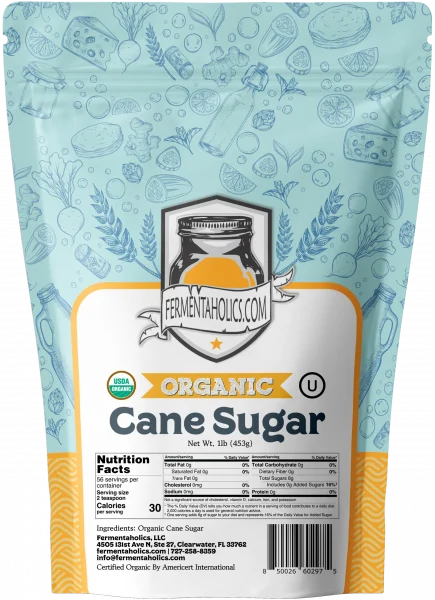
1 Cup Organic Cane Sugar
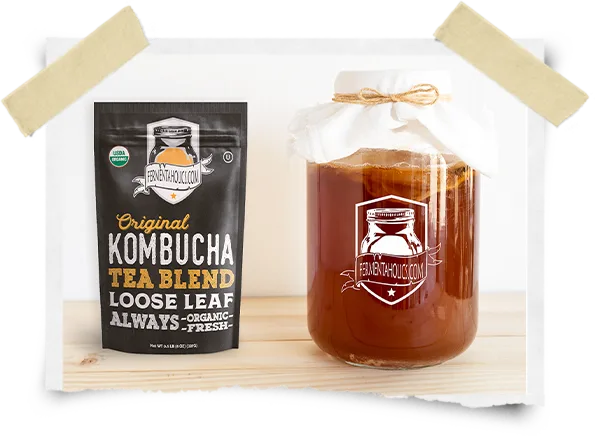
2 Tablespoons Loose Leaf Black Or Green Tea Or 6 Tea Bags
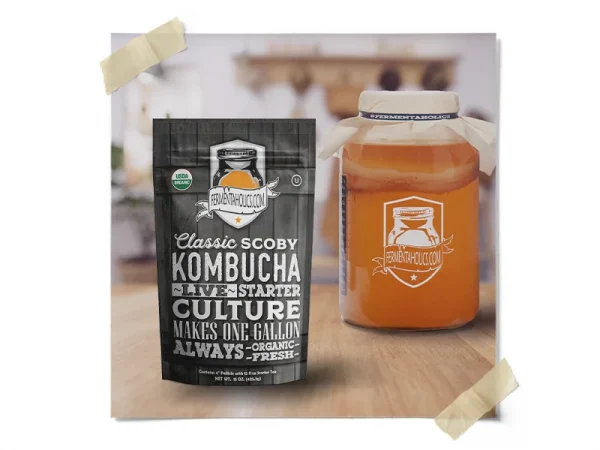
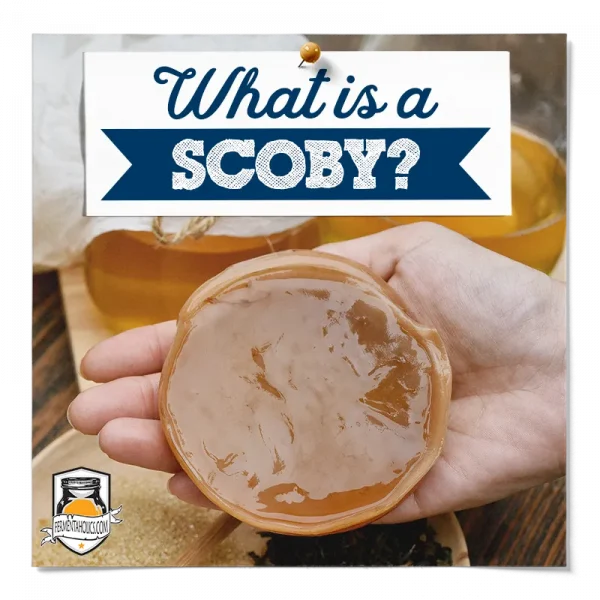
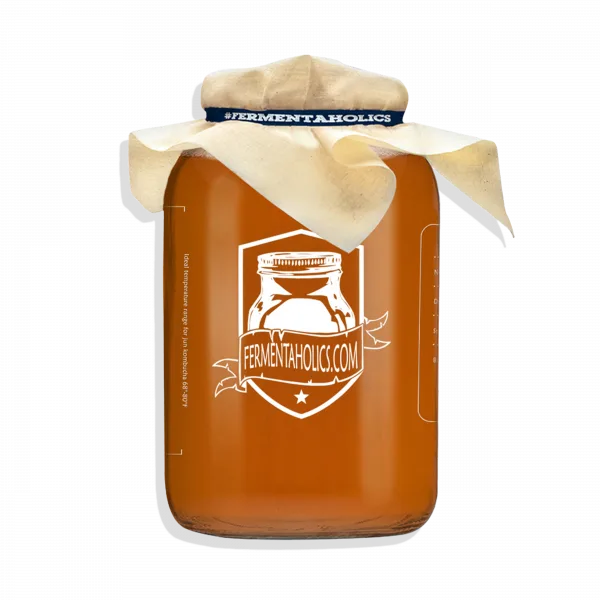
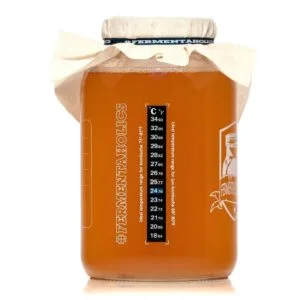
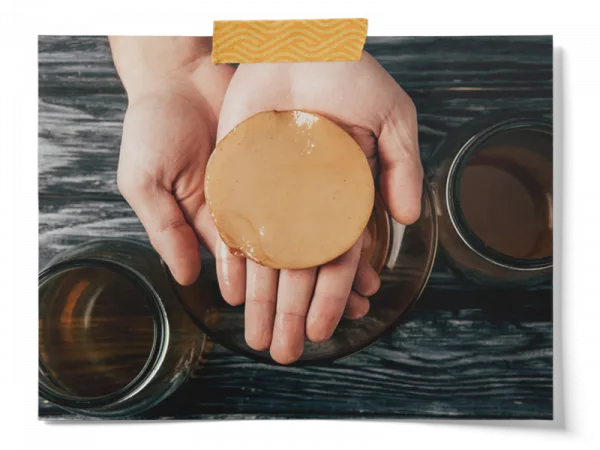
Kombucha SCOBY– 1.5 Cups Kombucha Starter Tea + SCOBY Pellicle
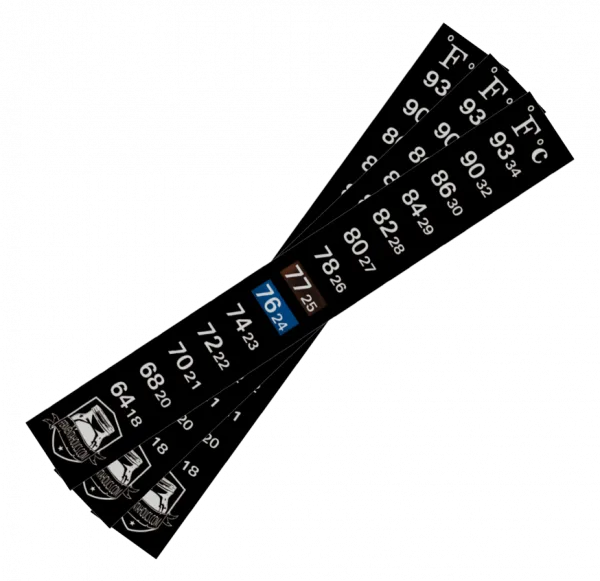
Thermometer Or Adhesive Temperature Strip
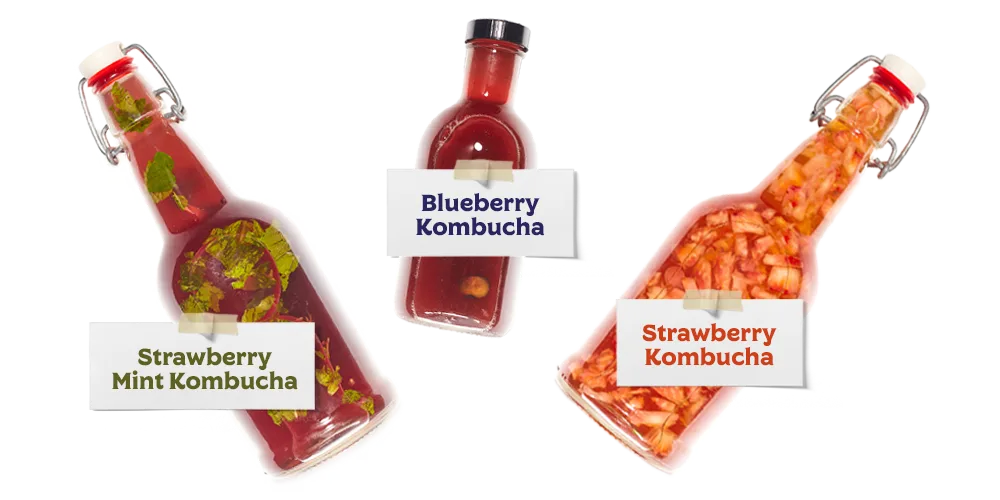
Kombucha Bottles – Pressure Holding, Airtight Bottles For The Secondary Fermentation, And Storing Your Finished Brew.