16
fl oz Bottles30
minutes2 - 10
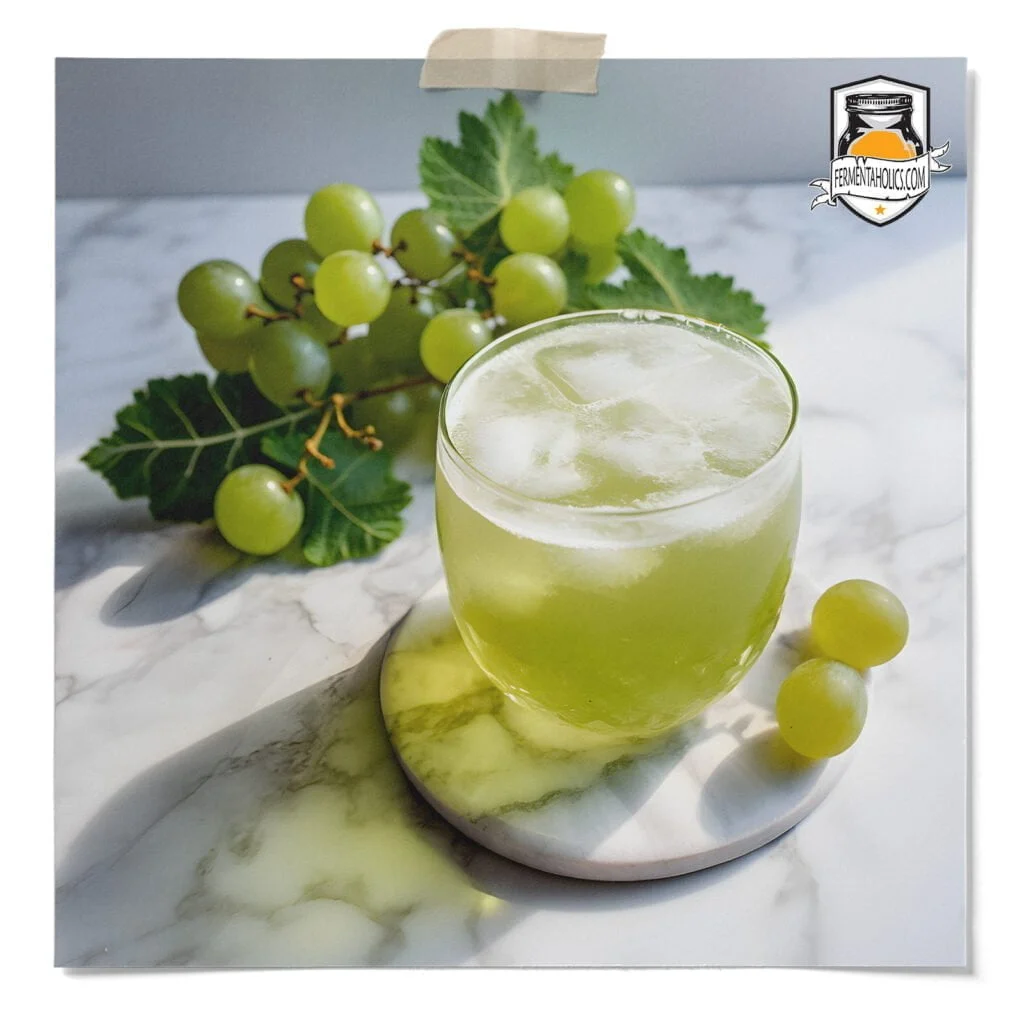
daysA beginner-friendly green grape kombucha recipe with a mild, fruity flavor and soft champagne-like aroma. Fresh or frozen green grapes are blended into finished kombucha for secondary fermentation, creating a lightly sweet, fizzy brew with a smooth body and refreshing grape finish.
30 Green Grapes
1 gallon Fermented Kombucha (reserve 2 or more cups as the starter for your next batch)
6-7 16 OZ Flip top bottles
1 Funnel
7 16 oz Kombucha Bottles
Blender