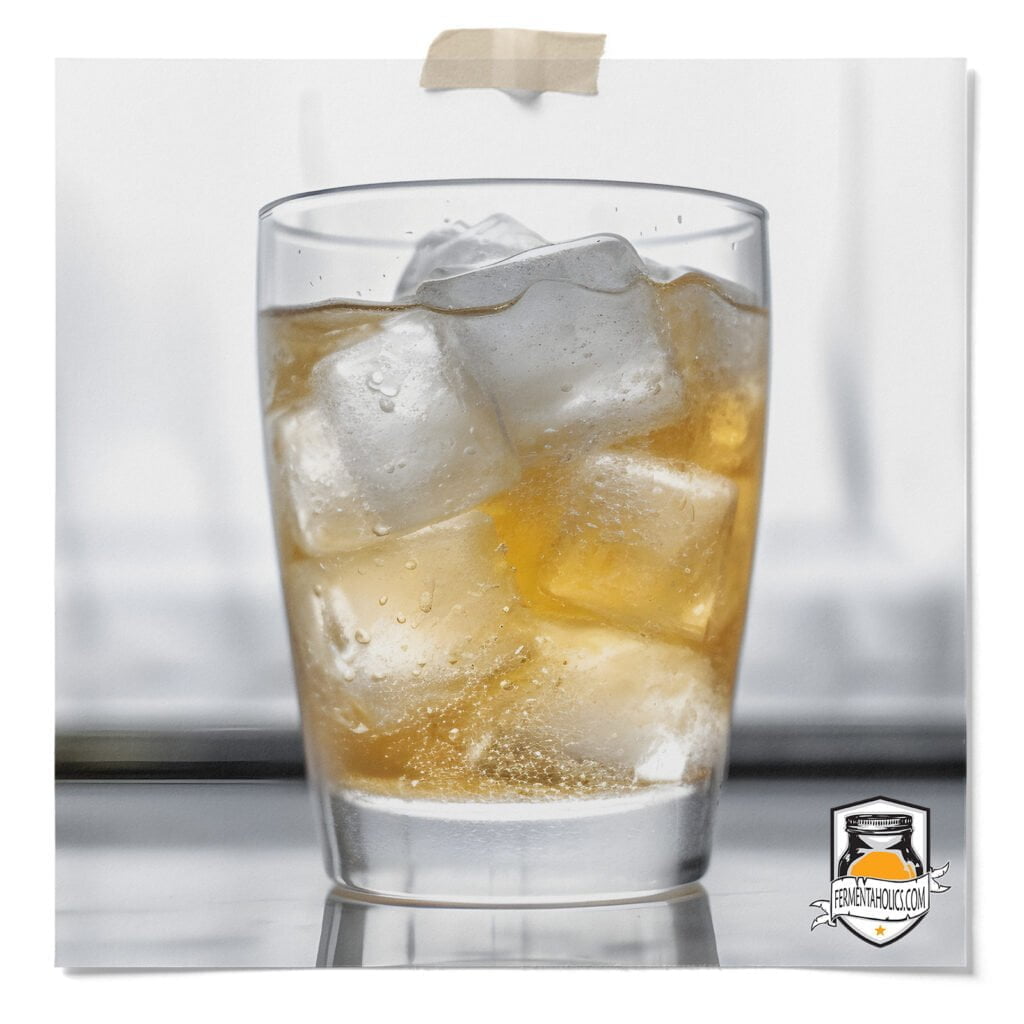
Most of us are in it for the bubbles, right? Bubbles add a burst of freshness and flavor enhancement that elevates your kombucha to the next level.
The fizziness in kombucha is all due to our lovely, gassy friend, CO2. CO2 is a gas that is naturally produced during fermentation. When yeast eats sugar, two things come out the other end–alcohol and CO2. This is true with all yeast ferments. When brewing kombucha, our little bacteria buds come in and eat up the alcohol that is produced by the yeast–this is what puts the S in SCOBY (Symbiotic).
Because CO2 is a gas, it easily escapes out of the liquid and into the air. During the primary fermentation, a breathable cover is used over the opening to allow air to flow freely, a necessary part of the aerobic fermentation process. This is what also allows the carbonation to escape. In order to capture the carbonation, you will need a secondary fermentation.
The secondary occurs in air-tight bottles after the main ferment has run its course. Creating an air-tight seal forces all of the carbonation that is produced in that time period to dissolve into the liquid, not to be released until it has a means of escaping (opening the lid).
It is important to note that if you have let your kombucha ferment to the point that there is no sugar left, then the yeast will have no sugar to convert into CO2, and you will not get the fizz that you are after. To remedy this, add a few pieces of fresh fruit. Not only does this provide a little sugar for the yeast, but it also adds great flavor and added nutrients from the fruit.
2. Take seven, clean, 16oz air-tight pressure rated bottles. Add a few pieces of fruit or 1/8 tsp of sugar to each bottle.
3. Using a funnel, or ninja pouring skills, transfer your kombucha to each bottle, leaving an inch or two of headspace at the top.
4. Tightly cap each bottle and let sit on the counter for 2-10 more days. If it is cold (75 or below) in your kitchen, opt for a longer fermentation.
5. You can test to see if the carbonation is building up by releasing the cap a little bit. If you hear a hissing sound–you know its working!
6. When you’ve built up the desired fizziness, place the bottles in the fridge to halt the fermentation.
To learn more about secondary fermentation, check out my post on bottling kombucha, where I go into detail about the whole process.
