How to Make Kombucha
Discover the Magic of DIY Kombucha

Wondering how kombucha is made? Well, it’s simple. You’ll need a few basic ingredients and supplies. Let’s jump right in; we’ll show you how to brew kombucha from start to finish!
Have you Fallen in Love with Store-Bought Kombucha?
The good news is brewing your own kombucha at home is easy. It not only saves you money, but it puts you in total control of your brew, which unlocks the unlimited flavoring world, allowing you to customize your kombucha with your favorite flavors, fruits, spices, and herbs. All you need to know is that if you can make sweet tea, you can brew kombucha.
In this article, we will go over exactly what you’ll need and how to get started brewing your kombucha at home. Let’s learn!

What is kombucha?
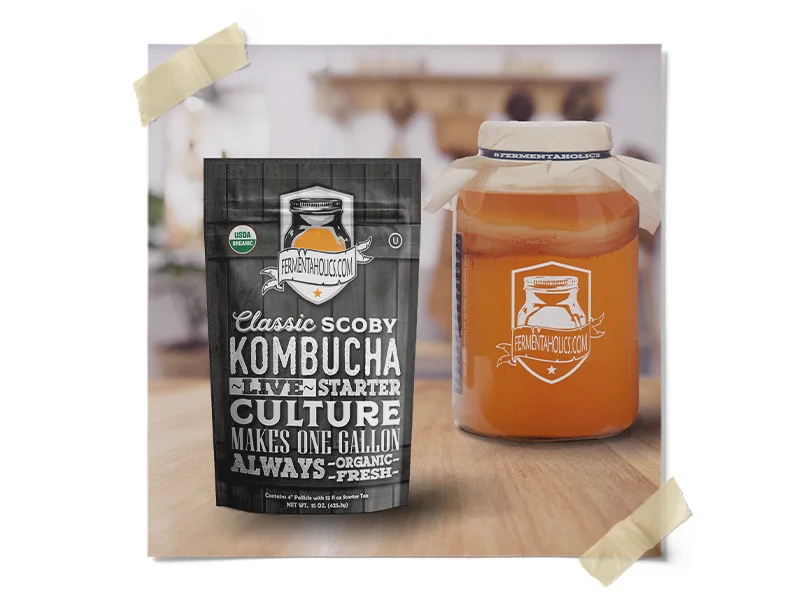
Kombucha, simply put, is fermented sweet tea. It is made by adding a kombucha culture to a batch of sweet tea and allowing it to ferment at room temperature. Fermenting the sweet tea transforms it into a massively flavorful, tart, effervescent, and healthy beverage that we know as kombucha. The culture used to ferment kombucha is called a S.C.O.BY., an acronym that stands for Symbiotic Culture of Bacteria and Yeast. During the fermentation, the SCOBY converts sugar into alcohol, which further breaks down into vitamins & enzymes. The resulting beverage is packed with probiotics, vitamins, and enzymes, plus the added health benefits of the tea. For a deeper dive into the kombucha culture, check out our post here, What is a SCOBY?
This fizzy, tangy drink has been brewed for centuries as a health tonic or “elixir of life” and has been recently growing again in popularity. This recent spike can be attributed to the newest health craze: a healthy gut. Remarkable research is being done on our microbiome, revealing the importance of our gut health to the basic functioning of our body and our immune systems. Here, Harvard University calls the microbiome “…a supporting organ because it plays so many key roles in promoting the smooth daily operations of the human body.”
While store-bought kombucha is great, and there are many great choices on the shelves, regularly drinking kombucha at $3-$5 per bottle adds up quickly.
The good news is that you can easily make it at home for a fraction of the cost of store-bought. Check out this post on the cost of kombucha to see which option is best for you!


Kombucha Brewing Basics
Brewing kombucha is almost always a two-step process. Brewing kombucha is only a one-step process for those who prefer still kombucha. Otherwise, the steps consist of primary fermentation and secondary fermentation. The primary fermentation is when you make kombucha, and the secondary fermentation is when you take the kombucha and bottle, flavor, and carbonate.
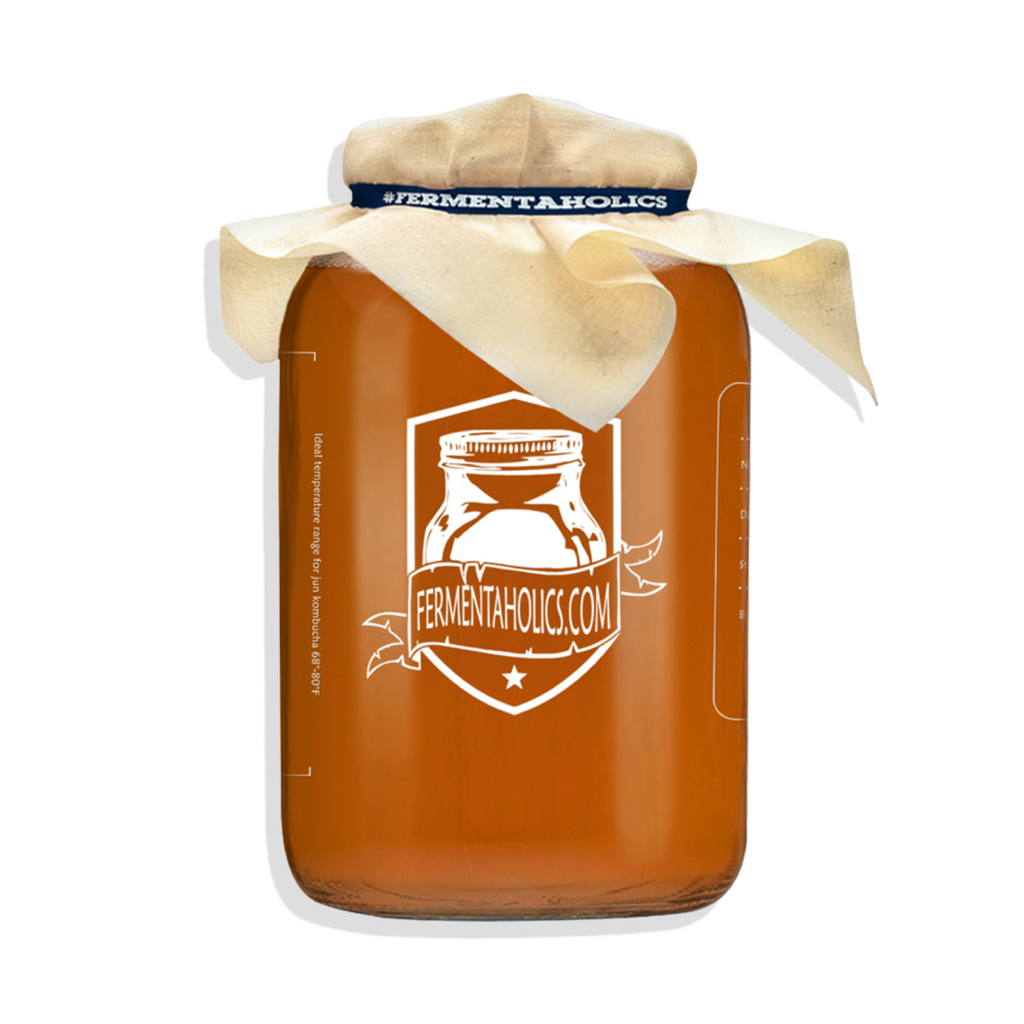
- Primary Fermentation: The primary fermentation is the first step of the kombucha brewing process. This is where your SCOBY transforms regular sweet tea into the tart and slightly sweet kombucha we love. At the end of this stage, you will have kombucha but it will be unflavored and flat.
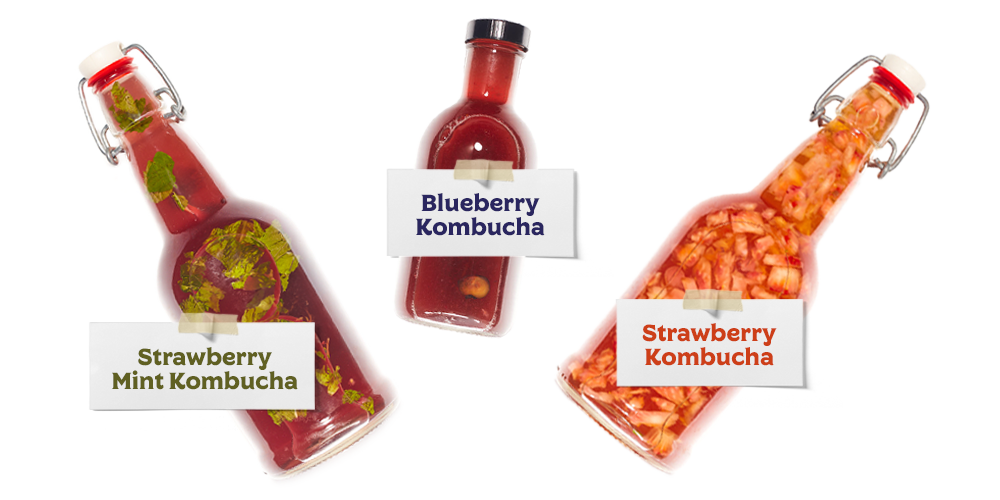
- Second Fermentation: This is the step where you bottle your kombucha. In addition, this is where you carbonate and/or flavor your kombucha by the addition of sugar and flavors. This step is essentially adding a bit of sugar/flavor to each airtight bottle and letting it ferment a little longer, allowing the yeast to naturally carbonate the beverage in an airtight environment. Have questions about the process? See our guide on kombucha secondary fermentation here.
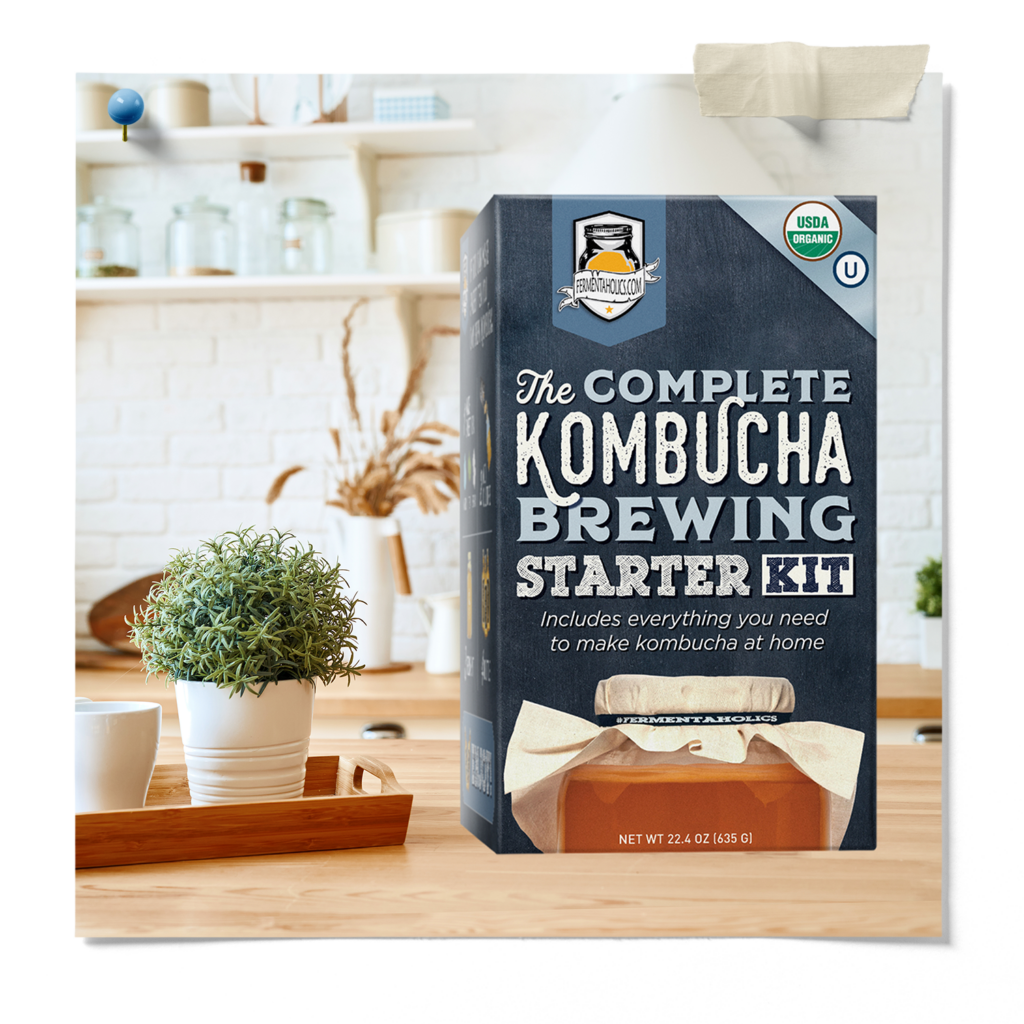
What do you Need to Brew Kombucha?
To start brewing kombucha, you’ll need a few supplies:
Supplies Needed:
- Kombucha Brewing Jar : Glass or lead-free porcelain are popular options for home brewing. Choose anything non-porous and non-reactive. See this post to help determine what is the best container for brewing kombucha.
- Kombucha Culture | SCOBY (Symbiotic Culture of Bacteria and Yeast): The SCOBY is the group of living microbes responsible for transforming sweet tea into kombucha. They reside in previously brewed kombucha as well as in the cellulose film that grows on the surface. If you’re looking for a SCOBY, you can purchase an organic SCOBY from us, here!
- Organic Sugar: Without sugar, there wouldn’t be any fermentation taking place. The yeast eats sugar, breaking it down into carbon dioxide and alcohol, which then gets broken down by the bacteria into healthy organic acids, enzymes, and vitamins. Since you’re saving so much money making your kombucha, I recommend purchasing organic ingredients. Read more about what kind of sugar to use in our post here which will help you determine what is the best sugar for brewing kombucha.
- Organic Tea: Tea provides the SCOBY with nutrients that help facilitate the fermentation. It’s traditional to use black tea, which has high tannin and nutrient count, however, you can experiment with all types of different teas. Check out our hand-blended, organic kombucha tea blends specifically formulated for brewing kombucha, here!
- Filtered Water: As the most abundant ingredient in kombucha, you want to make sure that the water you use is high quality. Tap water contains chlorine and chloramines that inhibit microbe growth (not good for fermentation). Most cheap, carbon water filters will remove chlorine and chloramines so those will suffice. Questions on water sources? See our post on brewing kombucha with tap water.
6. pH Strips: Testing the pH at the start of your kombucha brew is essential. Testing the pH tells us that our kombucha is brewing safely in the proper pH range, with a starting aim at 4.5 or below. Also, we can monitor the brew as it ferments and track its progress as the pH lowers. Finished kombucha, depending on preference, will have a pH anywhere from 2.5 – 3.5.
7. Temperature Strip: Attach an adhesive temperature strip to the side of your brewing vessel. These temperature strips allow you to monitor the temperature of your kombucha brew, so you know if your batch is being kept at the proper temperature.
How to Make Chamomile Tea?
How to Make Chamomile Tea? Chamomile Tea: Brewed Tranquility in Every Sip A Beginner's Guide on How to Make Chamomile Tea Are you a tea lover looking to explore [...]
Kombucha Making Glossary of Terms
The A to Z of Kombucha Making: A Glossary of Key Terms Master the Lingo and Art of Kombucha Brewing with Our Kombucha Making Glossary of Terms and Definitions. [...]
How to Make a Cup of Pu-erh Tea
Pu-erh Tea Pu-erh tea is a type of fermented tea that originates from Yunnan Province in China. It is made from the leaves of the Camellia Sinensis plant and is known for [...]
Shop Now
On my first batch, there was this mucous looking blob on top of the tea. What was this?
I threw it away and made a fresh batch. What did I do wrong? It did not grow a scoby? Why??
thank you,
Arlene
Hi Arlene,
At what point did you throw it away? A new SCOBY looks like a mucous looking blob to begin with before it fully forms which could take a few weeks. Sometimes before the brew is fully established, the yeast can dominate the tea, shutting out the bacteria that create the cellulose layer which is the SCOBY. If this continues, use a little less sugar the next time around to try and balance out the population. Let me know how your next batch goes or if you have any other questions!
-Ruthie
what about the 8 cups of water, it will come from my ro system but may be about 60 degrees. do i need to heat it or anything?
Hi Maryann,
60 degrees is a little bit cold. The fermentation should take place between 75-80 degrees F in order to keep mold at bay, and to align with the 7-10 day fermentation time. It would not hurt to slightly warm the water, however, be careful to not overheat as it can kill off some of the cultures. 75-80 degrees is best :). If your kitchen is naturally cold, above the fridge is probably the warmest spot so I would keep it there. You can also purchase a heating pad if necessary!
-Ruthie
I ordered my kombucha from you on amazon. In the bag is Scoby with a bit of liquid. I’m hoping that is the starter tea so I don’t have to use vinegar. This is my first time doing Kombucha. How is it supposed to look and taste so that I know that fermentation is going as it should? Since it’s kind of ugly (in a beautiful way?) How will I know if something is wrong ?
Hey Lori!
Yep in the bag is the starter liquid, enough to get your first brew going! For the first day or so it’s hard to tell because not much goes on. Around the second day, you should begin to see a thin film start to form on top, and this is your new SCOBY! Taste-wise, with each passing day, it will get more tart and less sweet. It is then up to you to decide when that balance tastes right to you. Leave it going for at least 7 days, and then begin the taste testing. Sometimes the first brew will take a bit longer to get adapted to its new environment (your home) so day 1 and 2, i suggest stirring/disturbing the surface of the brew to prevent mold from being able to colonize on top. If your kitchen is below 75 degrees, I would either find the warmest spot in the house or purchase a seedling warming mat/fermentation heat belt to make sure everything goes as it should!
Hope this helps!
Ruthie
Kombucha has been going for a week.. no film at top but looks like baby SCOBY starting on side..acidity is a 3.. tastes a little sweet for me. I’m just worried the temp has been too hot.. it’s staying around 80 but goes up to 85-88 occasionally..
Hi Danica,
Its okay if as pellicle doesn’t form on the first brew. I would give it a little more time until a vinegary flavor develops. If you can find a cooler area, that would be ideal but those temperatures wont kill the culture. It may perhaps tilt the balance more towards the yeast and result in a weaker bacteria population but it will still ferment.
Hi there,
I just got scoby package delivered to home. I was wondering how long can I keep it in the package that I received for? Can I keep it as it is in the fridge for 2 months? Unfortunately I have to be away….
Thank you kindly
Hi Emily!
I would not put it in the fridge as it can damage some of the bacteria populations. The best thing to do would be to brew a batch of tea and leave it in a cabinet. It can easily stay there for two months and it will just be extra strong starter tea ready for when you come back to brew. The starting pH needs to be below 4 so that it will not grow mold, if it is not there already, add distilled white vinegar until it reaches that point. I would just brew a half gallon batch, that would be enough so that all of the liquid doesn’t evaporate but enough to where you won’t have to dump a bunch out when you do get to brewin.
Another option is to have a friend look after it! By the time you get back there’ll be plenty of new SCOBYs so that you both can brew!
Hello,
Am I to continue to use the original scoby or is the 1-2 cups of kombucha my new scoby from my 1st batch?
Thanks,
Mary
Hi Mary!
Transferring the SCOBY is the traditional way to do it, however, 2 cups of kombucha will be equally as effective. I will often times leave the SCOBY out and just use starter tea and I get excellent results every time. The starter contains all of the necessary microbes to inoculate your next brew :).
Hello,
I made my first batch. Do I need to continue to use my original scobe for the next batch,, or do I throw it away?
Thank you,
Mary
We used organic, all natural ginger green tea bags to start our brew, but have been told by friends that this could have a negative effect on the fermentation. Is this true?
Hi Juli,
Flavored teas can sometimes interfere with the fermentation because the SCOBY will process those added ingredients and could produce off flavors. I would imagine for this first time you will be fine, but for future brews, just use plain green and black tea. Carefully monitor your brew and keep in in the proper temperature range of 75-85 degrees F. Adding flavors is much more effective during a secondary fermentation. Grate up some fresh ginger and put it in your bottles before you transfer the kombucha into them and let them sit out for 2 more days and you’ll get a wonderful ginger spice from that! Hope this helps :)
Hi,
Im on day 7 and I can see a film forming at the top! What do I do with it? Do I leave it there? how do I reuse for another batch? how do I do a second fermentation?
Hi Maria!
Take a clean straw or spoon and taste the kombucha. Does it taste slightly vinegary? If so, you can go ahead and bottle it. I have written out a post on this which may be helpful in answering all of your questions: https://fermentaholics.com/bottle-your-kombucha/
Check it out and if you have any other questions, feel free to message me!
As for the film forming on the top (your new SCOBY), transfer it to the next brew along with 1-2 cups of the finished tea. This will be the starter tea for your next brew.
I’m making my first batch from the Amazon pouch. I still don’t have the right pH strip, so I am winging it, but now am worried I have mold. I’m on day 6 and haven’t done anything yet. I just smelled it and it smells like kombucha, but how do I know if the thick film surrounding the scabby isn’t mold? It is kind of bluish in color. Where do I get the correct food pH strips? Thanks!
Hi Chantel! When the SCOBY first begins to form, it starts as a very thin layer and you can see all of the yeast forming underneath which tends to appear blueish. Send me some pictures to ruthie@fermentaholics.com and I’ll take a look for ya. The pH strips don’t have to be food grade because you can remove a little tea from the jar and test that. The best pH strips are in the acid range from 0-6 and you can find them online or a pet store in the fish tank section :).
oops – scoby, not scabby
Hello. I’ve just made my first batch of Kombucha using one of your SCOBYs! Its in 2ndary fermentation stage now with lots of lemon, ginger and chili — looks terrific!
A question for you — if I want to continuously brew, should I remove the SCOBY from the jar and wash the jar before starting again? I’m nervous about contaminating the SCOBY with more bacteria… so am hesitant about touching it with anything or moving it to a new location…
Any guidance much appreciated!
Hey Jessica!
You can leave your SCOBY right in the jar every time you brew, continuous or not. Just make sure the tea is cool enough before you add it in so it doesn’t harm the cultures. If you prefer to remove it and clean the jar, do so with vinegar instead of soap.
Chili sounds like a great addition to ginger and lemon! Let me know how it tastes :).
Hi,
Can I use raw honey fro JUN that is gathered from meadow foam flowers? It has a strong flavor but it is 100% in natural raw honey state.
Yes, I advise using raw honey when brewing Jun tea as it comes with its own population of microbes that increase the biodiversity of your kombucha. To preserve these microbes, add the honey once the tea has cooled down a bit so you don’t scorch the little guys!
It’s been ten days and things are going well PH is fine. Flavor is great but the temp is low so it may take a few more days to use up more sugar. I have a 2.2 gallon fermenter with a spigot and want to do continous brewing. I followed your method for a one gallon batch. How should I transition into using that fermenter space?
Hi Anthony!
Now you basically have 1 gallon of “starter” tea so you can scale your brew accordingly. For a 1-gallon batch, you want to use 1-2 cups of starter (depending on the pH). For a 2 gallon batch you just double it, using 2-4 cups of starter. You can start with 2 cups and set some aside to adjust the starting pH if it is still to high. You want to get it down to around 4.5 to begin.
Hi, Day 7 of my first batch and I followed the directions on the pouch exactly-except for the 1 gallon jar. I think a jar with a spout will be easier for tea transfer but I could only find a 1.5 gal jar. Somewhere in my readings there were some concerns about having too much/not enough space for your brew to ferment. Is this a valid concern-jar being too big? I tasted the day 7 results and I didn’t feel/taste anything.!!I don’t know what I am doing!!I put it back-will check on day 9. *my biggest concern though is that my Scoby is laying at the bottom of the jar-quite lifeless. Is that something to be concerned about?
Hey Zoe!
As long as you are brewing with the proper measurements (including starter tea proportions) brewing vessel size can be flexible! A 1.5-gallon jar is totally fine for a 1-gallon batch, as long as you actually brewed for one gallon. If you brewed a full 1.5 gallons, then I would be worried that you didn’t have enough starter tea. As for the scoby floating on the bottom–that is just made of cellulose so shouldn’t be too lifelike :)! The millions of microbes are working away in your brew and will form a new scoby on the top of the surface if all is going well. Are you noticing new scoby growth? And also, at what temperature are you fermenting? You can send me pictures to ruthie@fermentaholics.com and I’d be happy to take a look!
Hello!
I’ve successfully made 2 batches of kombucha with your SCOBY & instructions & am working on my third batch! I’ve been experimenting with green & black teas & a combination of them. My questions are: should I be cleaning my fermentation jar? If so, how? You mentioned that the new SCOBY is the thin film on the top of my brew… I’ve poured new water over the top for my second batch, is that okay? Should I be doing it differently? Will the SCOBY I got from you grow? I know it’s okay for the SCOBY to sink, but it floats for the first 2 days and then sinks after that, will it ever float?
Thank you!
Elizabeth
Hi Elizabeth!
Congrats on your successful brewing!! So exciting! The SCOBY you got from me will never grow as the new growth occurs only on the surface of the brew. If your original scoby happens to float(which it may not) then the new scoby will form around it, giving the appearance that it is growing. In between ferments if you’d like to clean your vessel you can do so with distilled white vinegar and a paper towel to just get off any yeast particles that have adhered to the glass. You can pour water over the top, that’s not a problem :) even if the scoby is disturbed, a new one will grow so no worries there!
Hi and thanks for this site! I just received your SCOBY from amazon. I have a 2 gallon vessel with a spigot and want to start continuous brewing. Is the one scoby enough to get started? If it is, do i need more starter tea? I’m assuming I would double up the process for a 1 gallon batch?
Hey Roger! You will want to start by brewing 1 gallon and then scale up from there. Once you have a one gallon brew, you can drink some but save enough to get your two gallons ready. In general you want at least 10% starter tea. For two gallons, it’s safe to reserve 4-5 cups from your previous batch. If you really wanted to, you could brew a two gallon batch from the start and use distilled white vinegar until your pH is below 4.5, though you run the risk of stressing your culture out. As far as making a 2 gallon batch, you are correct–just double up on everything :) Let me know how it goes!!
Thanks for your quick response! Do you think i can make my first 1 gallon batch in my 2 gallon vessel? Or do need to get a 1 gallon bottle?
oh, yeah absolutely! I should have mentioned that before. The higher surface area will help it brew faster, too so it’ll be great for your first brew.
I just received my Scoby Kombucha Live Starter Culture that I ordered off Amazon. I am a bit confused with the different instructions and in terms of amounts of liquid/ water for my first batch. I see on this site that you say to use a gallon size glass jar but I have nothing that large in my home. Is there a way for you to give me different variations? The largest glass container in my home can hold 8 cups of water. I would really appreciate any feedback! Thank you
Hi Sasha! The scoby you ordered is portioned our for a one gallon batch, however if you wanted to just brew a half gallon (8 cups) you can do that, too, by just cutting the recipe in half. Go ahead and use the full contents of the starter pouch but use half a cup of sugar and 4 tea bags.
Thank you for your response Ruthie. I have had my SCOBY in tea fermenting for going on 15 days now, There is a film at the top that I saw someone named ARLENE CHAVEZ asked about as well she
Posted at 15:22h, 15 November
“On my first batch, there was this mucous looking blob on top of the tea. What was this?”
your response was that “the new SCOBY looks like a mucous looking blob to begin with before it fully forms which could take a few week”
That confused me a little bit.
OK so my question is that I have that film at the top but I also see the SCOBY floating around the bottom as well. Can I send you pictures and you tell me what to do next? Please and thank you very much!
Hi Sasha,
Send me your pictures to Ruthie@fermentaholics.com and I will surely take a look :) With each batch of kombucha you brew, a new SCOBY, like your original one, will form on the surface of the tea. This disk is produced by the bacteria in your brew and is made up of cellulose. I’ll look forward to your pictures!
Another question, do I have to use the glass swing lid bottle jar when bottling the tea? Or can I use a glass container from a store bought Kombucha and seal with the plastic lid it came with?
Thank you
You can use whatever bottles you have. Swing top bottles are best because they form an airtight seal and don’t let any carbonation escape. Your bottles from store bought kombucha will not be airtight as the seal has already been broken so just take care to twist the lids on tightly. Either way, this gives you the opportunity to flavor it and you should still get carbonation to build up a little.
I’m starting my third batch. The top surface layer is forming a Scoby. It’s just stuck to the sides as I drain out the remaining kombucha. Is it ok that it broke and can I leave it in there for my new third batch?
Hi Carlo,
Yes it’s okay that it broke. Go ahead and leave in there and continue brewing as usual :)
Cheers!
Do I continue to use a heating pad for secondary fermention in the vessel
For the secondary fermentation, you will want to transfer the kombucha to airtight bottles. This allows you to capture the CO2 produced by the yeast. If you’re using a heating pad for your primary fermentation then you will also want to keep your bottles near the heat pad for the secondary to maintain proper fermenting temperatures.
Hope you can answer this question. My first batch got the scum on top. My directions said to let it set for 14 days. When I looked there were two greenish dots on top of the scum. Is this bad? Is the tea tainted?
Hi Joyce! If the green looks more like bread mold, then yes, I would definitely say dump it and start over. However, if the green is under the SCOBY (scum lol) then it is most likely just yeast buildup which can have a greenish hue to it and is perfectly normal. If you want to send me a picture I’ll take a look! Ruthie@fermentaholics.com Cheers!
I bought cambucha on the internet and the first butch was ok. It was done in one week. But second time after 7 days it wasn’t taste sour at all. My room temperature is below 70F that why I am using heating pad and temperature is around 75-82F. I let it stay more then 7 days and, it’s started grow grey stuff on the surface f kombucha and Scoby. I finished brewing it at 11 days, but I still don’t know what is it?
I filtered kombucha and distribute it in the bottles. After that I started new batch.
P.S. To preparing tea I am boiling 3 litters of facet water (I am assuming that chlorine is gone after boiling?) and then put in it 7 bags of black tea. After 10-12 minutes add 1 cup of sugar, stir it e.c. I have RO filtered water. May be I shall do it from the beginning?
Hi there! The gray stuff growing on the top is probably a combination of yeast flocculation and pellicle formation, both a totally normal part of kombucha brewing. The brewing time and taste can certainly vary from batch to batch due to it being a live culture. I would just keep brewing with and allow it to fully adapt to your environment. RO water would be better because the boiling it only removes the chlorine, not the more stable chloramines.
Hi there,
Thank you for responding on my Letter. I think I read somewhere on internet, if mold appearing it’s easy to treat by adding some distilled vinegar.
I don’t know if it’s good thing to do and if YES how match vinegar I shall add to a gallon of tea, so next butch I will do it.
Thanks, Valery F.
My SCOBY I received from you has created quite a lot of new SCOBY. My question is should I take all but one out and make SCOBY Hotel or brew with all of them at the same time? What are pro’s and con’s?
Thanks
I started my first (virgin) batch in February. Since my house was cooler than standard brewing temps things progressed slowly but surely. Life happened and now I’m dealing with this almost 5 month old brew. The PH was 2.65 and it had a couple of white flat scobies with globs of “mucus” drifting through the brew. The vinegar smell has disappeared. So I brewed more tea, added sugar, cooled things down, and added the various scobies and most of the liquid. The PH was still a little low so I added baking soda to raise it around 4.0. I’ll check things in a week or so.
My question is…….. am I about to do myself harm using 5 month old scobies and liquid? There was nothing about the old brew to set off alarms, it looked and smelled okay, it was just a batch of vinegar.
If I’ve set off alarm bells for you, please let me know.
I’m off to brew a virgin batch of jun from a scoby you sent. Thanks for a great start and all the knowledge you share. Annie
Hi Annie,
There’s nothing alarming about using a 5 month old SCOBY. The only thing to look for at that point is if the pellicle on top was dry, it’s possible that it mold could grow but you would definitely see it on the surface. Other than that it is perfectly safe to use kombucha vinegar as starter. I am not sure how baking soda would affect the SCOBY, however, as I have never used or heard of that. Let me know how it turns out!
Ruthie
I inherited a thin SCOBY which I used to create another baby in a starter tea. Now that I’ve used them both in a first batch of brew, following your recipe, what can I do with the leftover starter tea? (is it the same as regular kombucha- able to secondary ferment?)
Hi Janine. Yes, it is the same! Starter tea is simply kombucha from a previous batch, so if you have brewed your first batch, you can go ahead and do a secondary ferment. How big of a batch did you brew and how long has it been?
My first batch is ready for the secondary fermentation. Should I use the original SCOBY and the new one in my second batch or just the new one?
Thanks
You can use either one or transfer both. Just be sure to use enough starter tea and you’ll have a great brew. Eventually you will want to thin out the SCOBYs because they’ll take up too much room in your jar. I will typically transfer the newer ones but it truly doesn’t matter.
Awesome Thank you. I’m super excited for my first batch.
My first batch came out great. I brewed my second one and today I tasted it to see if it was ready. It just tasted like watered down tea. I believe I forgot to put the sugar in. Its day 8 today. Can add the sugar now or did I damage the populations and should I start over with a new SCOBY.
Hi there, I note in your comments above you mention honey is ok to use, does that mean I can replace the organic sugar with honey instead (as I have my own hive).
Also, my scoby sits on the bottom of my jar and is very thick and new ones grow that float on the top, I have read some posts where the scoby should float so should I remove the old thick scoby and just leave the new one to grow? I have never used ph strips or even told you need to in past but may try finding some.
My regime is to put 2 teaspoons of black loose tea, 2 teabags of elderberry/apple teabags, 2 teabags of raspberry teabags into the water once it has boiled with the 1 cup of organic sugar and leave to completely cool (usually overnight) before adding to scoby fermentation jar – at 8-10 days I taste and bottle. I have never done a second ferment. I get mixed results where it might be too vinegary and too sharp to drink so gets tipped out. Other times is nice subtle sweet and carbonated, sometimes doesn’t carbonate. What would you suggest I change to ensure the ‘perfect’ result a greater percentage of the time? The flavours are always good and when I get a good brew get lots of positive comments about that.
Hi Sharon,
Thanks for reaching out. The position of the pellicle/SCOBY throughout your brew isn’t important. Sink, float, or hover in the middle, it’s irrelevant and in no way should be used as an indicator of the health of your brew. The SCOBY pellicle is nonliving cellulose, which contains living beneficial bacteria and yeast, which you can’t see with the naked eye. Since we know the SCOBY pellicle is a structure, we don’t need to worry about keeping it alive. Please see our post – My SCOBY sunk and How SCOBYS Grow. Next, if you want to use honey we highly recommend you switch to a Jun Kombucha SCOBY which is brewed with honey instead of sugar cane – how to brew jun kombucha Last, it’s usually best to keep all flavoring to the secondary fermentation. This way, you keep your source culture plain and flavorless for each batch. I would also try the traditional brewing directions on this post. This should help with your consistency issues, and you will definitely fix your carbonation issue by implementing the secondary fermentation.
My first batch got us all hooked. We’re all about trying new flavors for 2F (for example, we have ginger-chili mango in 2nd fermentation right now – you’re not gonna find that flavor from a bottle of soda!).
I was wondering about using candied citrus peel. I candy my own for making Stollen at Christmas, and thought the sugar content would be adequate. But I read someone somewhere on the interwebz who said “absolutely no rinds.” Would this go for candied peel as well? Candied peel is totally different than raw peel, but I don’t want to ruin a batch (afraid my guys will run out and buy soda, which I finally weaned them off of, if the kombucha is late).
Hi there and happy to hear you guys are enjoying some tasty experiments!
Our experience with citrus rinds has been wildly bitter and undrinkable kombucha. That said, we have never tried candied citrus peels which as you mentioned are different. I would recommend trying it with a single bottle that way you don’t ruin the whole batch, and start small! The sugar content will help build up carbonation and with the candying process, much of the bittering oils are released so I would imagine you would be successful after finding the right ratios.
Hope this helps and feel free to reach out with any other questions or comments. Cheers!