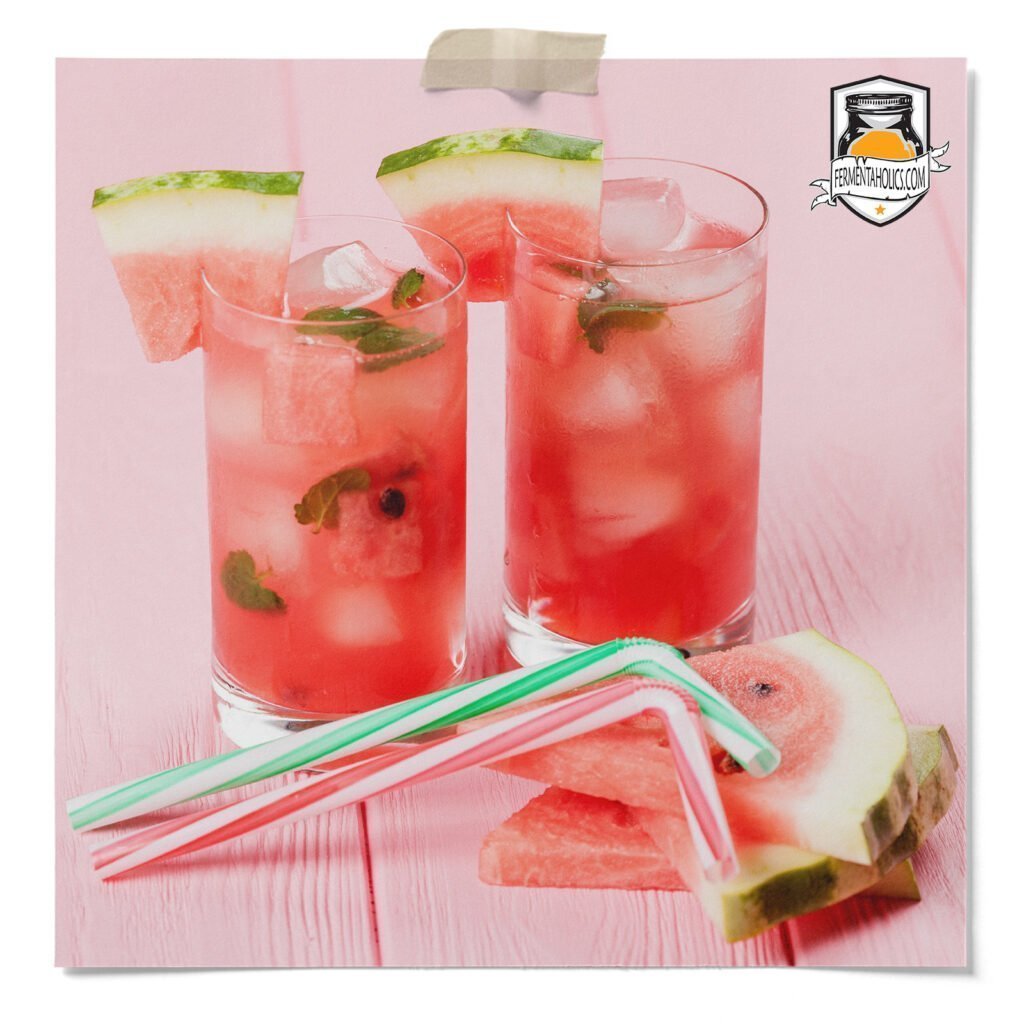
Looking for a refreshing summertime kombucha recipe? Be sure try this! Juicy, ripe watermelon pairs with fresh squeezed lime and fresh mint to create a flavor trifecta that you can’t resist.
Watermelon reaches its peak sweetness during the height of summer, right when you need it most. It’s hot outside and it’s the simple things that bring the most joy—like a perfectly cold piece of fresh watermelon.
This recipe is great for any leftover watermelon you have but is also worth the effort to take a trip to the store to grab some.
It’s important to note that making homemade kombucha is almost always a two-step fermentation process. Brewing kombucha is only a one-step process for those who prefer an unflavored flat kombucha. Otherwise, the steps consist of a primary fermentation and a secondary fermentation.
Primary fermentation is the first step of the kombucha brewing process. This is where your SCOBY transforms regular sweet tea into the tart and slightly sweet kombucha we love. At the end of this stage, you will have finished kombucha, but it will be flat and unflavored. Have you skipped this step? Then check out our guide on how to make kombucha at home, and for jun kombucha, see our post on how to make jun kombucha tea at home. Traditional kombucha is going to yield a bolder brew, while jun kombucha is milder and can be a bit tarter.
Secondary fermentation is the step where you bottle, carbonate, and flavor your kombucha with the addition of sugar and flavors. In this step, the finished kombucha from the primary is mixed with sugar, fruits, or other flavors before bottling it with specialized lids that can hold pressure, like flip-top bottles. The bottled kombucha is then left at room temperature for natural fermentation, where yeast carbonates the kombucha within the sealed bottle. The ideal temperature range for this process is between 75-85°F. The amount of time needed to carbonate within the bottle is highly tied to temperature, which can take anywhere from 2-10 days.
💡Since this recipe is for the secondary fermentation, to make this recipe, you’ll need to have kombucha that has finished the primary fermentation and is ready to bottle.
This recipe makes one 16-fluid-ounce bottle. A 1-gallon batch of kombucha will make seven 16-ounce bottles, so for one gallon, you will need to multiply the ingredients by 7. Before beginning this recipe, you will need to:
16 FL Oz Bottles
20
Minutes2-10 Days
This watermelon mint kombucha recipe is for one 16 fluid ounce bottle. For a gallon batch, make seven bottles. To scale this recipe to a gallon batch, multiply the ingredients by seven or toggle the serving size up to seven above. Before bottling your kombucha, remove the SCOBY pellicle along with 12-16 ounces of kombucha starter tea from your brew, and reserve for your next batch.
16 Oz Kombucha from a completed primary fermentation.
1 Cup Watermelon
2-3 Large Mint Leaves
1 TSP Lime Juice
1/4 TSP Sugar
16 Oz Swing Top Bottles
Strainer
Blender
Place watermelon chunks in a blender with the sugar and lime juice. Puree until smooth.
Pour mixture through a strainer into a bowl to remove most of the pulp.
Pour mixture into a clean empty bottle along with the whole mint leaves.
Fill each bottle with kombucha, leaving about 1 to 2 inches of head-space. Tightly place the caps on each bottle.
Keep bottles at room temperature for 2-10 days; it will carbonate faster at higher temperatures and slower when cold.
Burp the bottles as necessary to release excess pressure. This is done by removing the cap to allow built-up pressure to escape then placing the cap back on.
Chill in the refrigerator once you’re happy with the carbonation levels. Based on preference, you can serve as is or strain before drinking.
