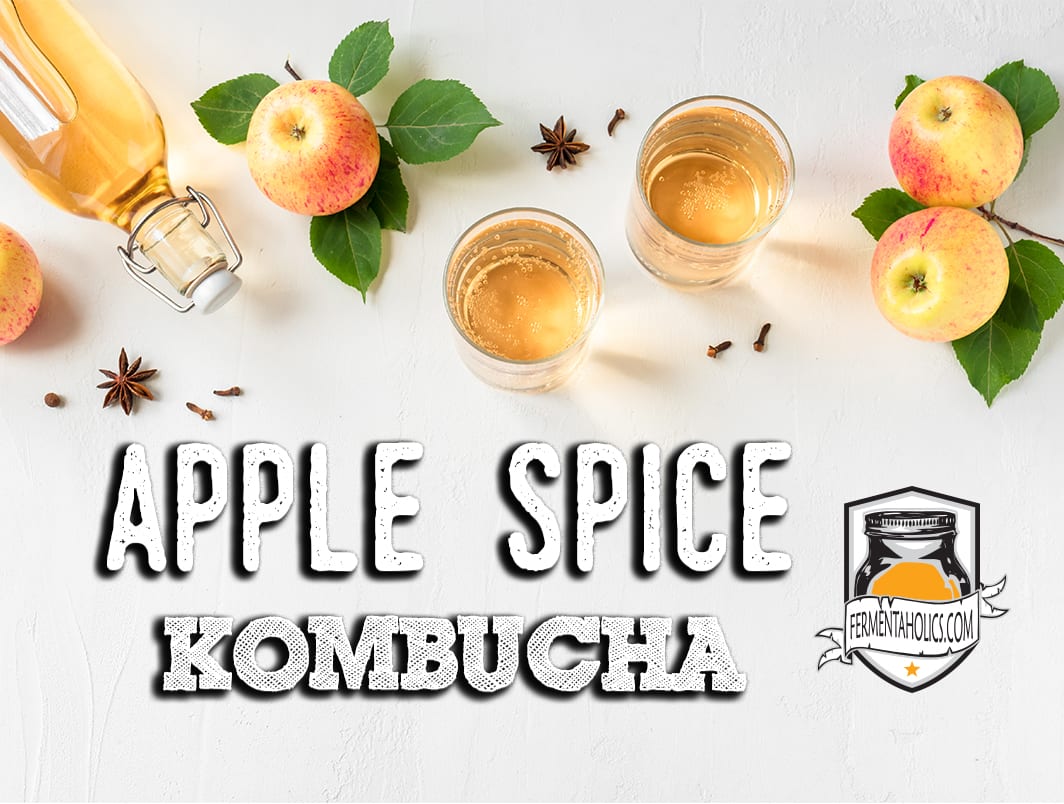
Apple Spice Kombucha Recipe
There’s no place like home, and the flavors of this Apple Spice Kombucha will make you feel like you’re there.


16
fl oz Bottles15
minutes2 - 10
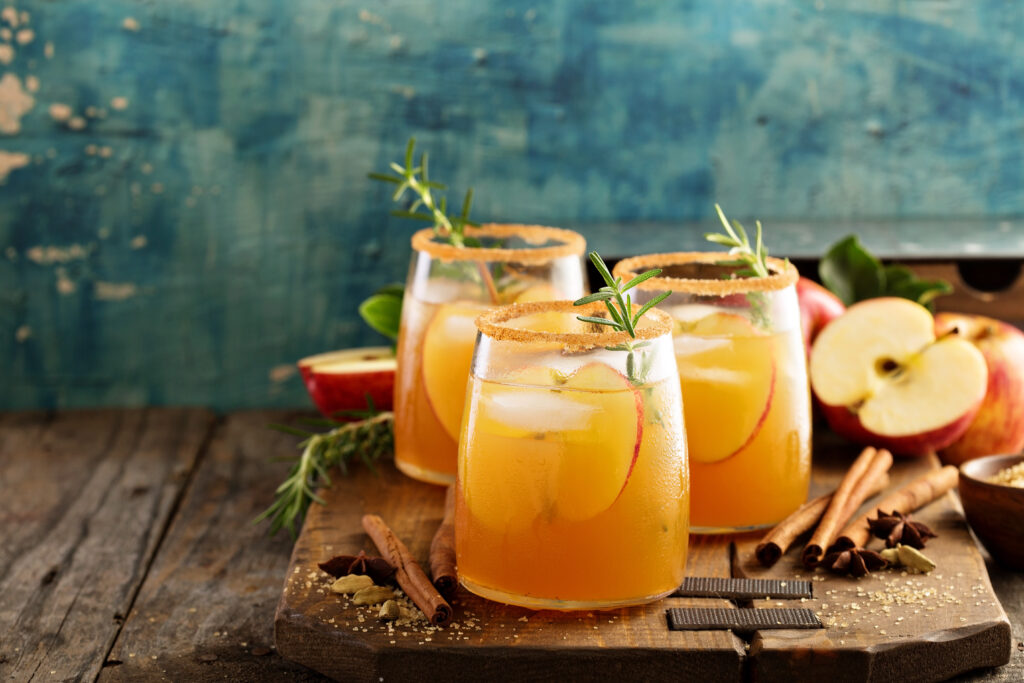
daysA cozy fall-inspired kombucha recipe that blends finished homemade kombucha with unfiltered apple juice, cinnamon, candied ginger, and cloves for a fizzy apple cider-style brew. This secondary fermentation recipe delivers warm spice, crisp apple flavor, and natural carbonation in every bottle.
3 Cups Unfiltered Apple Juice
3 Sticks Cinnamon
1-2 TBSP Candied Ginger
2 TSP Whole Cloves
1 Gallon Kombucha From a Finished Primary Fermentation
1 Sauce Pot
1 Funnel
7 16 oz Kombucha Bottles