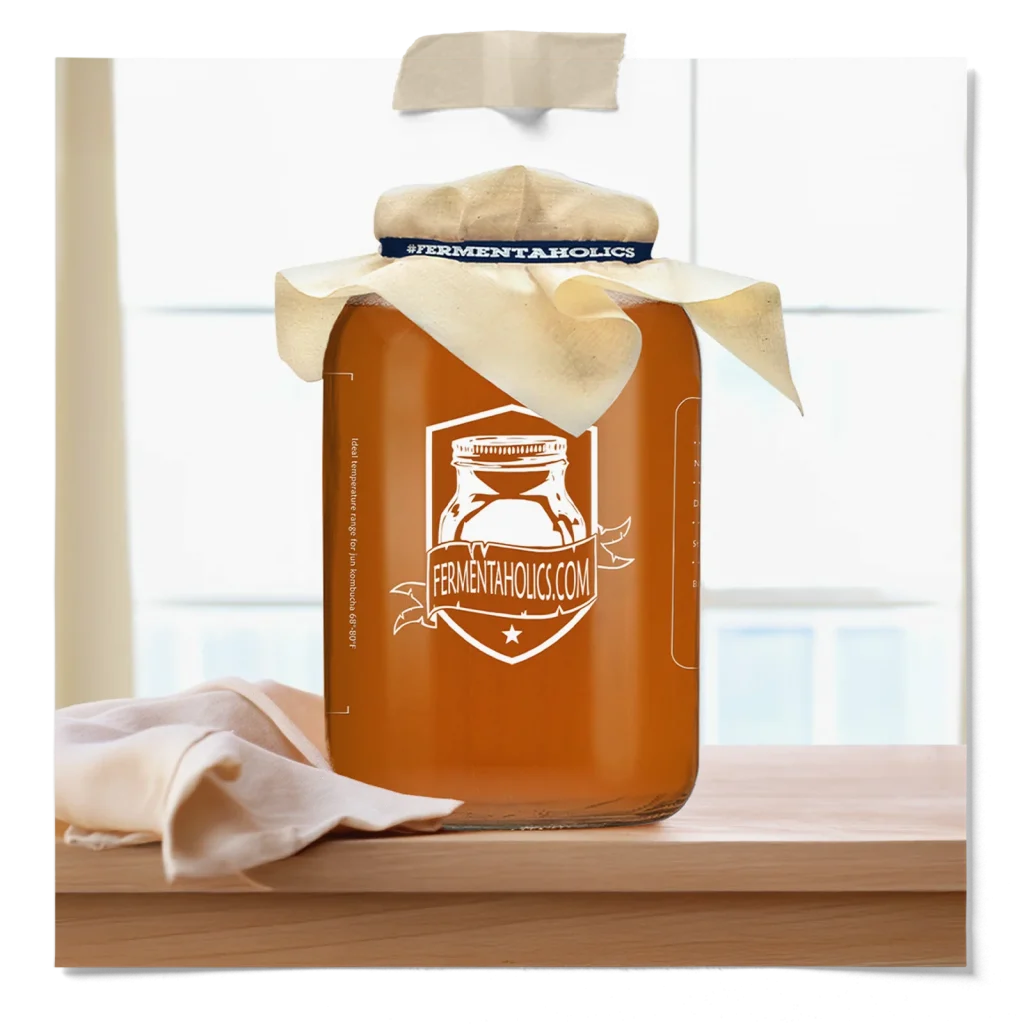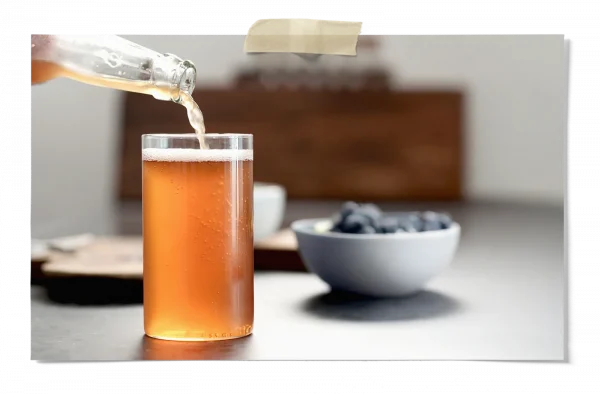
There’s no doubt that flavored and carbonated kombucha is the most popular way to make it. However, classic still kombucha still holds a special spot in the heart of a lot of people—not to mention, it requires the least amount of work since there’s no need to flavor or carbonate.
The steps below will pick up after you have made kombucha in a primary fermentation. So if you’re not here yet, head over to our post on How to Make Kombucha and once you get through those steps, head back over here to pick up.
As usual, you’ll want to reserve 12 oz of liquid starter tea per gallon from your finished batch of kombucha, along with whatever SCOBY pellicle you’d like to carry forward to the next batch. The calculations for this can also be found in our post here: Kombucha Making Ratios.

When making a gallon, after removing the 12 oz of starter tea and the SCOBY, you’ll have roughly seven 16 oz bottles of kombucha. This is a good point to strain or filter out any yeast strands that are present in the batch as you see fit. This can be done with a strainer, cheesecloth, or any other filtering method available to you. While this isn’t mandatory, some prefer it for visual appeal, especially if serving friends—aka the uninitiated.
Now, with the starter set aside, the remainder is all yours to bottle and drink. Most people pour directly into swing-top bottles, but you can use whatever container you’d like.

Place the bottles in the fridge, and once chilled to your liking, it’s time to serve.
Classic still kombucha is a simple yet refreshing way to enjoy homemade kombucha without the extra steps of flavoring and carbonating. So whether you prefer it for its pure, tangy flavor or its convenience, this method is as easy as it gets.
Like the idea of classic kombucha but want it carbonated? Head over to our post on how to make classic kombucha to learn how to add some fizz. Also, be sure to check out our full range of kombucha making supplies to get everything you need for your next batch!
$10.99 Original price was: $10.99.$9.99Current price is: $9.99.
In stock
$17.99 Original price was: $17.99.$16.99Current price is: $16.99.
In stock
$46.99 Original price was: $46.99.$44.99Current price is: $44.99.
In stock
$42.99 Original price was: $42.99.$40.99Current price is: $40.99.
In stock
$14.99 Original price was: $14.99.$13.49Current price is: $13.49.
Only 2 left in stock
$49.99 Original price was: $49.99.$41.95Current price is: $41.95.
In stock
