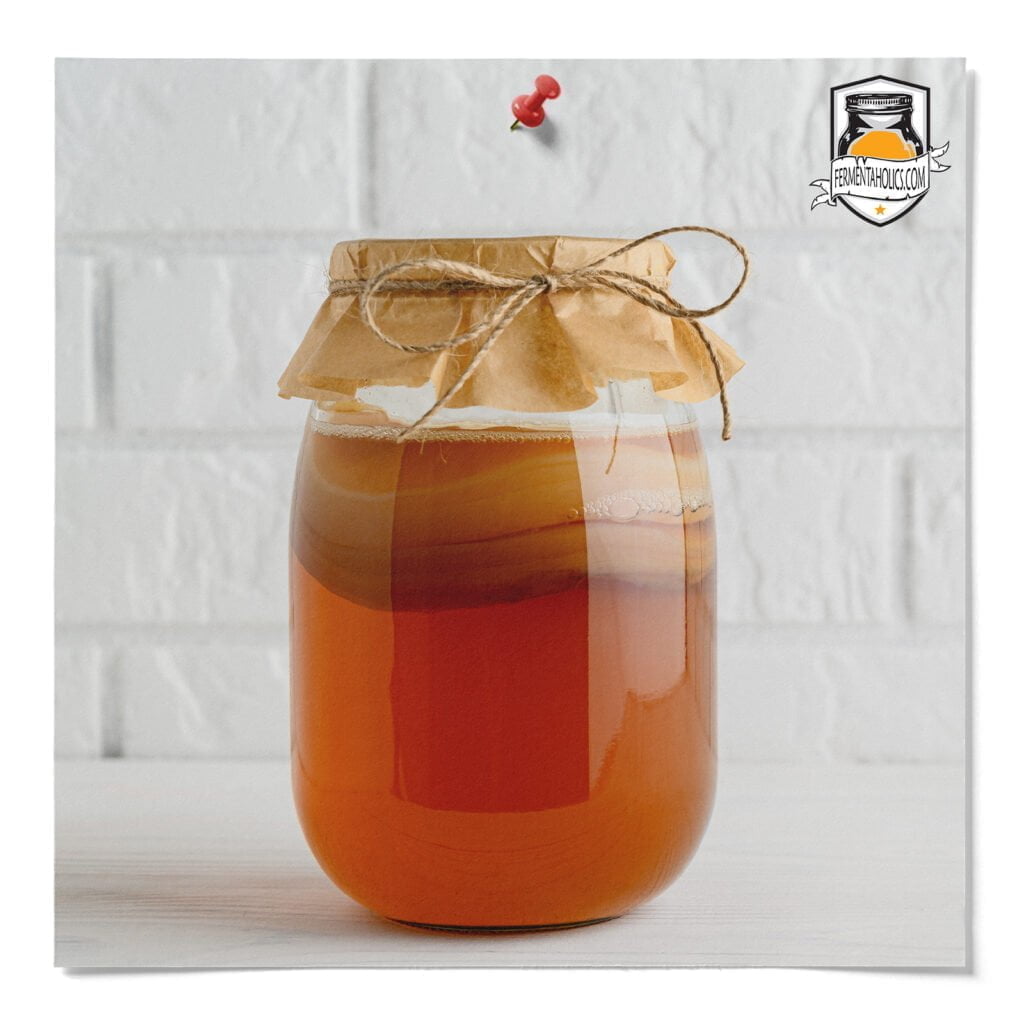
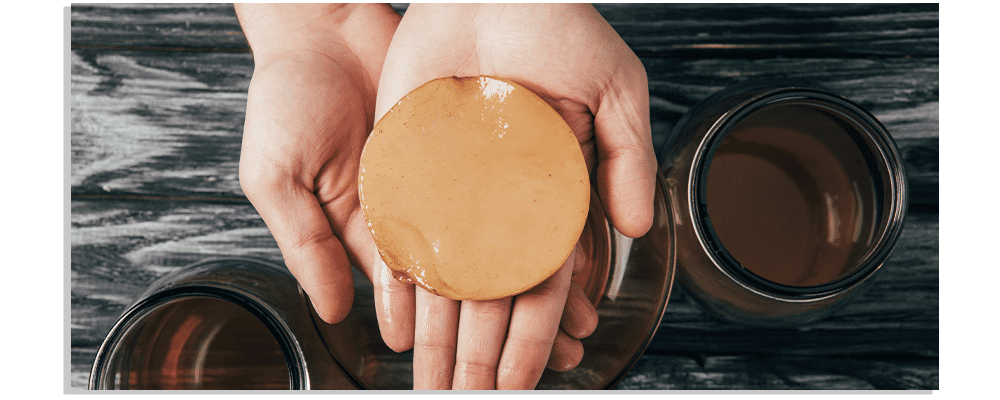
Finding mold on your kombucha brew is always a sad day. The good news is that kombucha mold is rare. In fact, most mold concerns are simply new kombucha brewers mistaking healthy SCOBY formation for mold. If you find yourself looking at your kombucha brew, wondering if what you are looking at is mold, it’s probably not. When you have mold, You WILL KNOW immediately. Kombucha mold is the same mold that grows on bread, so we have all seen it a million times. So If you’re unsure, the odds are in your favor, it is MOST likely not mold, but a pellicle, SCOBY, forming. If the word pellicle is new to you, be sure to check out our post, What is a SCOBY? for clarification. SCOBY or pellicle growth is rarely uniform and can start forming as a paper-thin, possibly a slime-looking layer, or may resemble circular patterns that mold spores make. Every batch will look a little different, so give it some time; the dots will soon begin to look more like the pellicle you’re expecting.
So what are the practices to keep your kombucha brew healthy and mold-free? The good news is it’s relatively easy. Moldy kombucha can be avoided with a little bit of care and prevention.

Location, location, location. During fermentation, the best spot for your kombucha brew is a warm place between 75-85F away from direct sunlight and moisture. The number one mistake that new brewers make is brewing kombucha in cold environments, especially under 70F. A cold temperature causes the culture to be less active; less activity slows fermentation and may result in your culture losing its dominance over other organisms. I cannot stress enough the importance of keeping your brew warm; cold temperatures are nearly always the catalyst for unsuccessful brews. If you insist on brewing in cold temperatures, you shouldn’t expect the batch to finish quickly; you should prepare for longer fermentation times, adding days and weeks to the time needed for your batch to complete fermentation. The moisture aspect is also crucial because mold is attracted to moisture and will be more prominent in areas such as under the sink or near the stove. Any spot with plenty of airflows that isn’t too moist will work, and yes, the countertop is fine. If you have a location that checks all these boxes, you are on the road to easy brewing.
Mold spores, just like bacteria and yeast, are omnipresent in our world and are one of the main forces we combat to maintain cleanliness in our lives. It is important NOT to give mold an upper hand and properly sanitize your vessels, tools, and counter space before brewing. You can do this by using soap and hot water, a vinegar and water solution, or Star San, a popular home brewing acid sanitize. Since I do a lot of brewing, I use Star San and keep it readily available in a spray bottle nearby. Even if you don’t do a lot of brewing, it is nice to have around to clean your wooden utensils and cutting boards; anything bacteria can seep into. If you do use soap and water, try a natural product as many soaps leave residue on the surface that can interfere with the health of your SCOBY.

A low pH is generally unfavorable for mold. The kombucha brew often starts at or below 4.5, and kombucha is considered finished between 2.5 and 3.5 pH. Britannica’s encyclopedia has an interesting article on fungi that covers the optimum pH range for mold growth which is 3.5-8 pH. So it is difficult for mold to grow on solutions with a pH lower than 3.5. So the more active your culture, the faster the fermentation, and the faster the pH will get below 3.5 pH, another reason why temperature is essential.
Ph can easily be determined with kombucha pH test strips. So always ensure your brew starts at the proper pH. You achieve this by adding 10 percent starter tea to your brew, or 12 oz for every 1 gallon. If this concept is new to you, be sure to check out our post here, which goes over the ratios for all kombucha ingredients.
Starter tea is simply aged kombucha tea, and our SCOBY comes packaged with enough liquid to brew mold-free safely. If you cannot locate starter tea and all out of options for some reason, you can substitute 2 TBSP of distilled white vinegar that will do the trick- never use raw or live vinegar.
Last, mold will have a tough time taking hold if you disturb the surface. If you periodically give the surface a swirl with a clean spoon of sorts, you will disrupt any mold spores in the brew. This will also disrupt pellicle formation early on in the brew; this isn’t important but just something for new brewers to note. Stirring the brew isn’t necessary if you’re brewing in a warm area, but it may be beneficial if you’re brewing on the cold side. If you follow these guidelines, your success is nearly guaranteed. If you do find mold, always throw it out and start over. If you have one, this is when a backup culture or a SCOBY hotel becomes a clutch addition to your fermenting toolbox. Check out my post on making one if you don’t know what a SCOBY hotel is!