


1
Gallon Batch30
minutes7 - 21
DaysKombucha Primary Fermentation One Gallon Kombucha Recipe
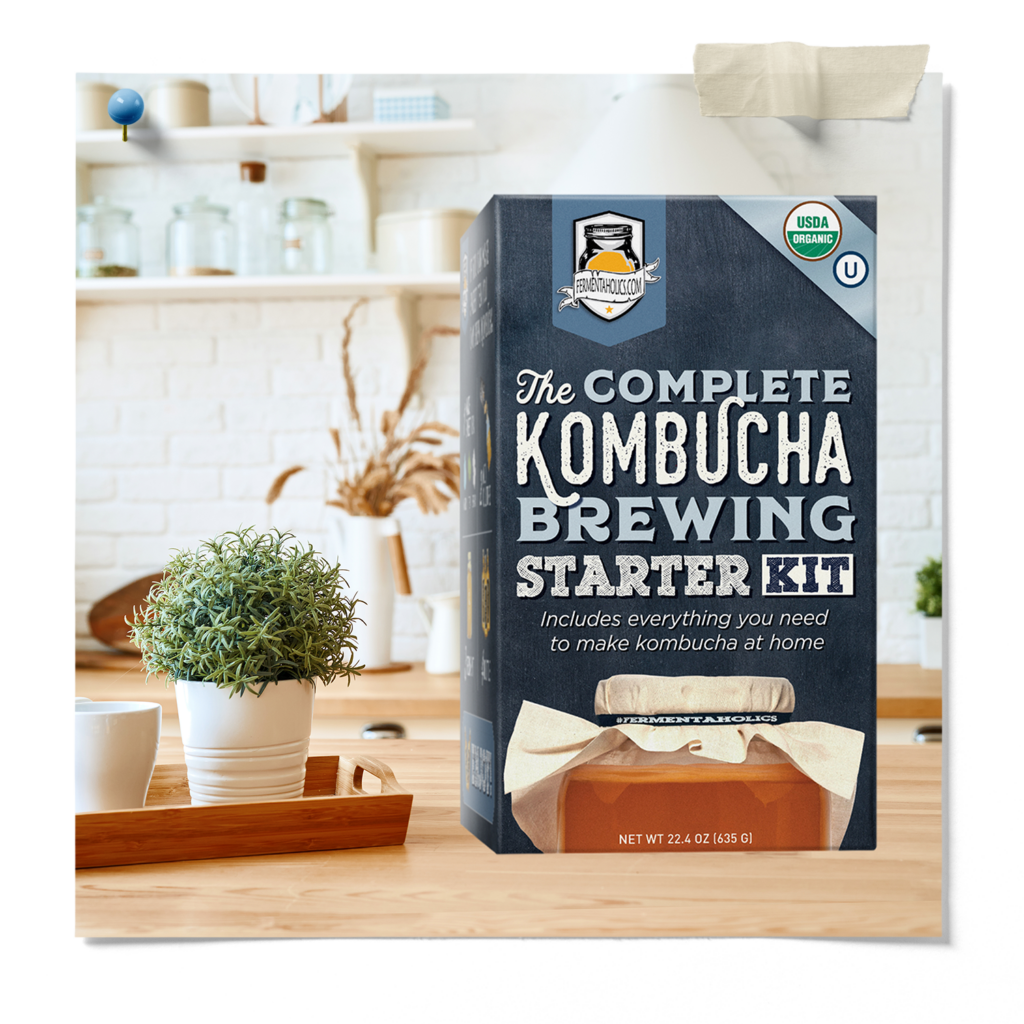
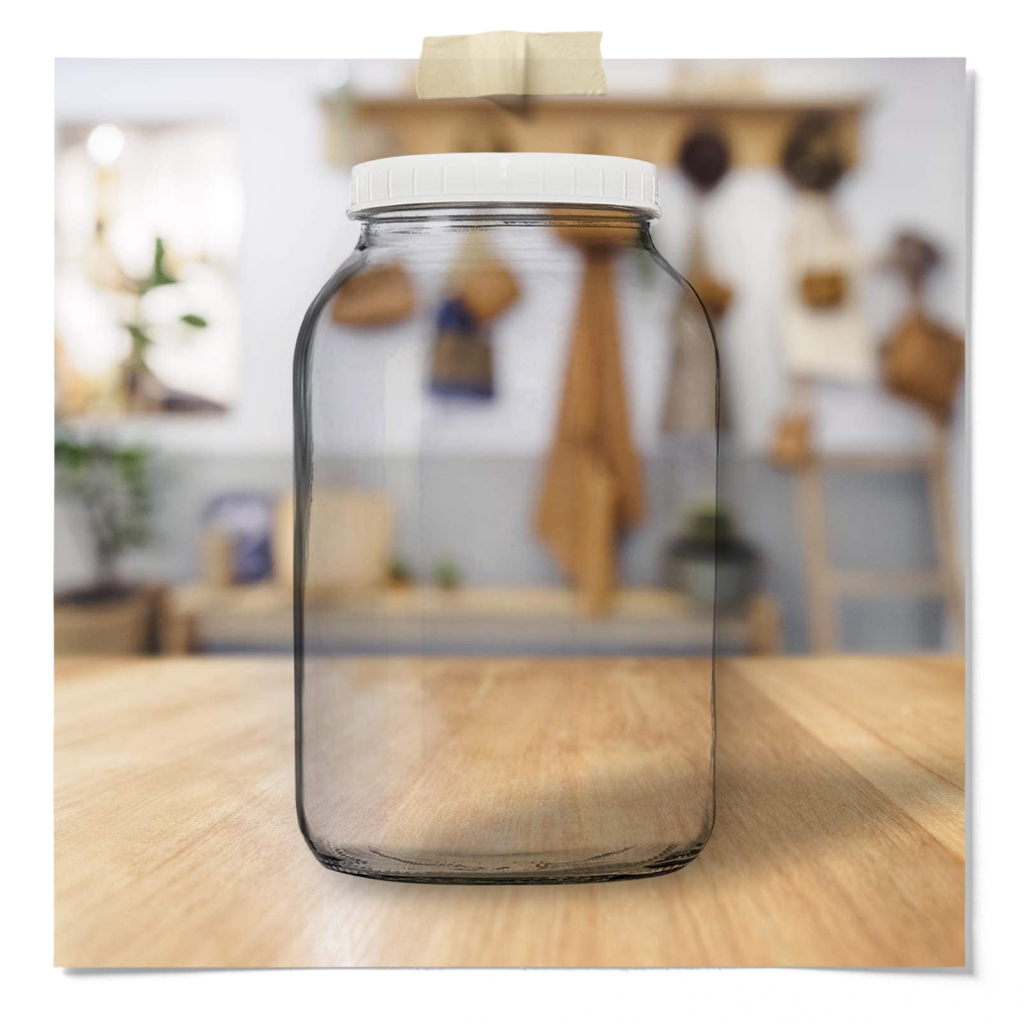
1-Gallon Kombucha Brewing Jar, Small Pot, Breathable Kombucha Cloth Cover, And A Rubber Band.
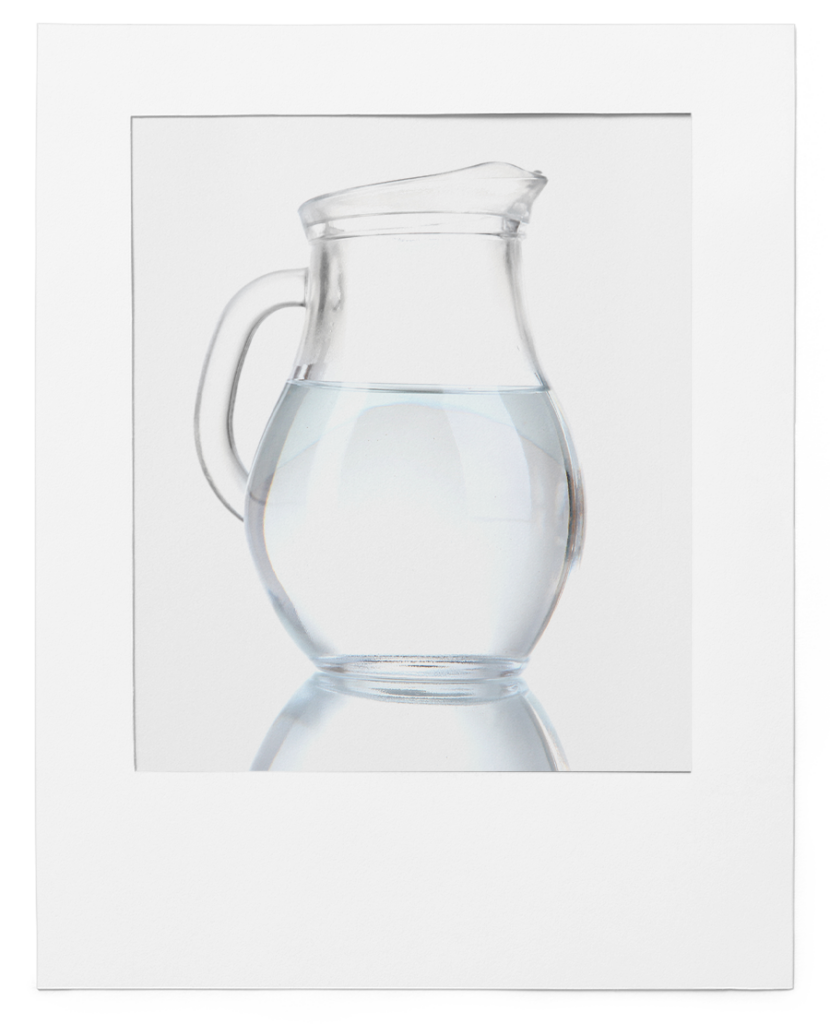
1 Gallon Filtered Water*
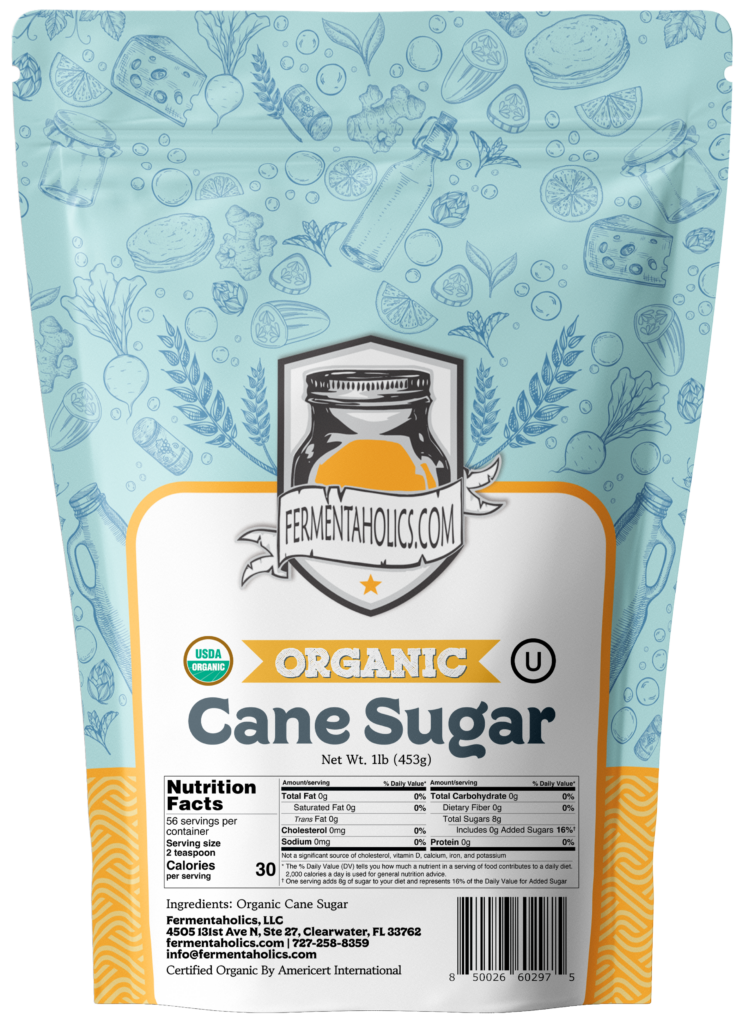
1 Cup Organic Cane Sugar
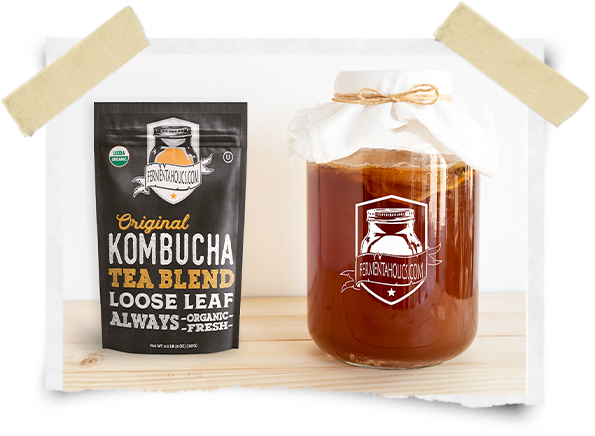
2 Tablespoons Loose Leaf Black Or Green Tea Or 6 Tea Bags
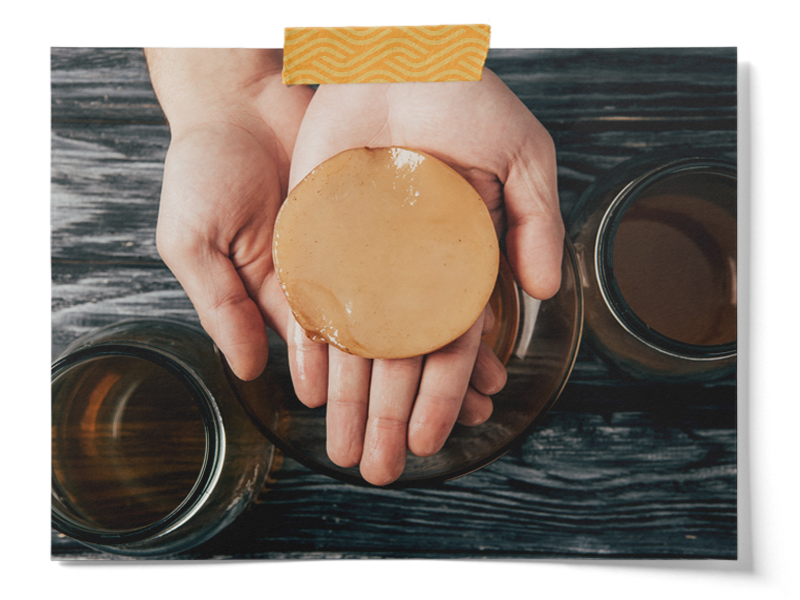
Kombucha SCOBY– 1.5 Cups Kombucha Starter Tea + SCOBY Pellicle
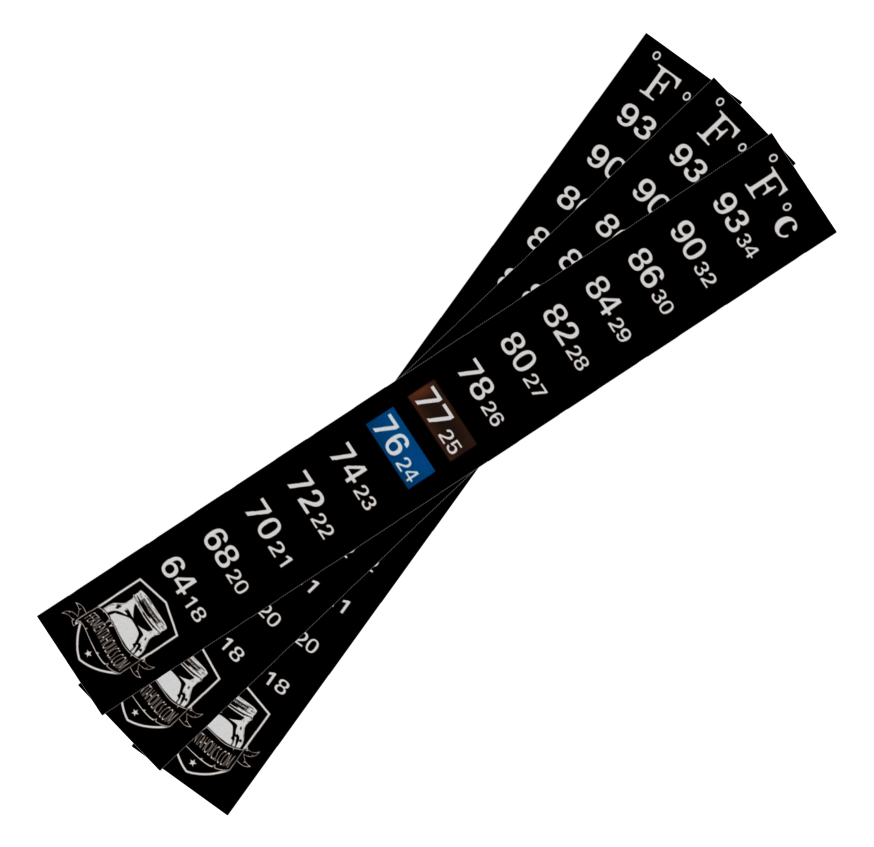
Thermometer Or Adhesive Temperature Strip
Funnel
Kombucha Bottles – Pressure Holding, Airtight Bottles For The Secondary Fermentation, And Storing Your Finished Brew.
In a small pot, bring 2 cups of water to a boil – turn off and remove from heat.
Place tea in the pot. If you’re using loose-leaf, you can use a tea ball to make removal easier.
Allow the tea to steep for 5-10 minutes, then remove from the pot.
Add the sugar and stir until it’s fully dissolved.
Pour the contents of the pot into the gallon brew jar.
Top the jar off with cool filtered water, making sure to leave room for your culture plus a little breathing room about 3 inches. Before you move on to the next step, the temperature of the tea should be below 85F.
Gently stir in your kombucha starter culture (kombucha SCOBY)
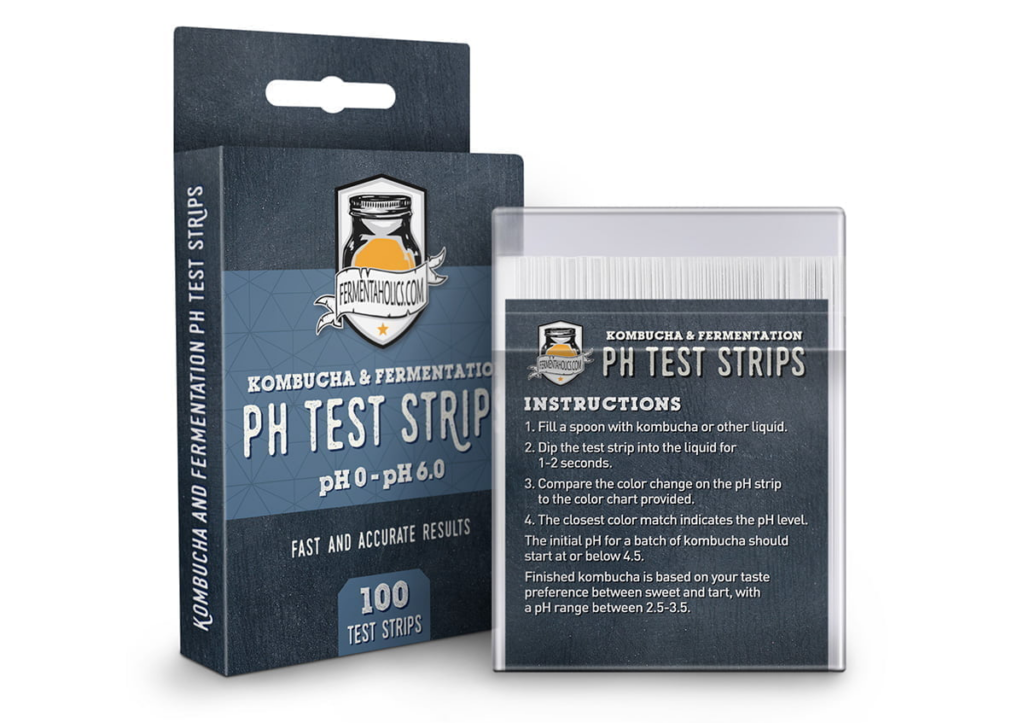
Using a spoon, remove a small amount of liquid from the brew jar to test the pH. If the pH reads 4.5 or below, continue to step 11. If the pH reads above 4.5, slowly add distilled white vinegar (never raw vinegar) and test until it reaches that point.
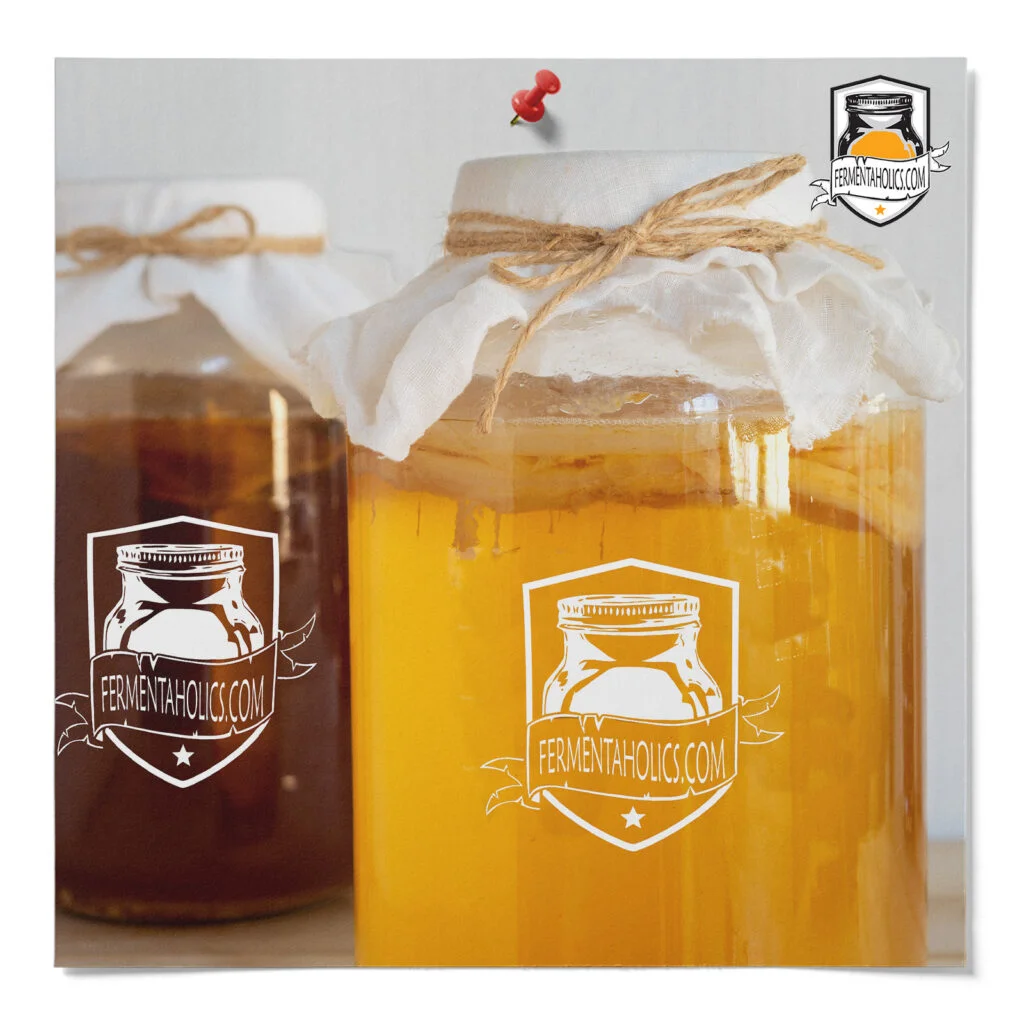
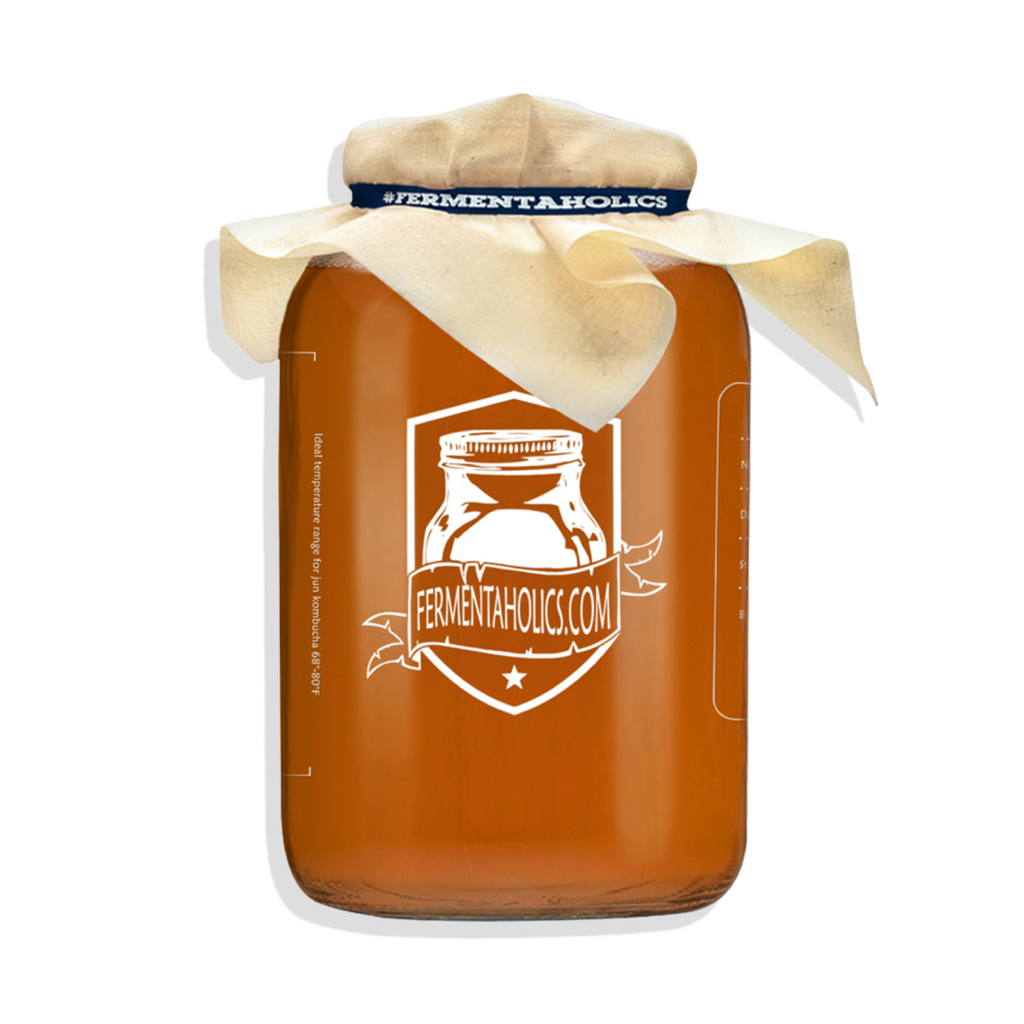
Secure the opening with a breathable cloth or coffee filter over the opening of the jar with a rubber band. This is important to keep bugs out and allow your ferment to breathe.
Place your brew jar undisturbed in a warm spot, out of direct sunlight for 7-21 days, brewing time depends on temperature.
After 7 days in the desired temperature range [75-85°F], it’s time to start taste testing. It should only be slightly sweet. If it tastes overly sweet, then it needs more time to ferment. Cover and check back daily until it reaches a balance of slightly sweet, slightly tart
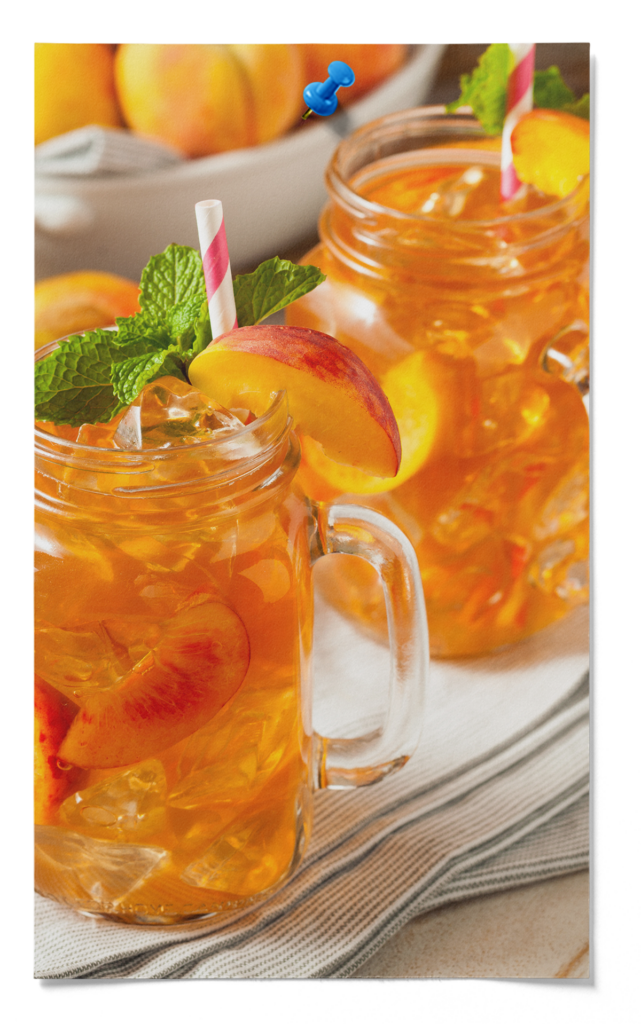
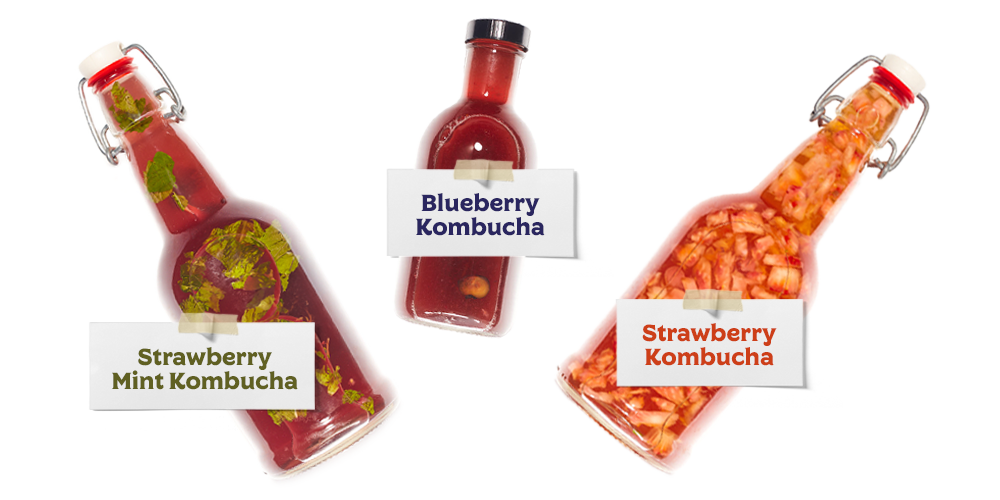
When you’ve finished your primary fermentation, it’s time to move to the secondary fermentation. The secondary fermentation is where you flavor and carbonate your kombucha in air tight bottles.
Ready to bottle? Hop over to our post on how to bottle kombucha to learn how to do a secondary fermentation!