
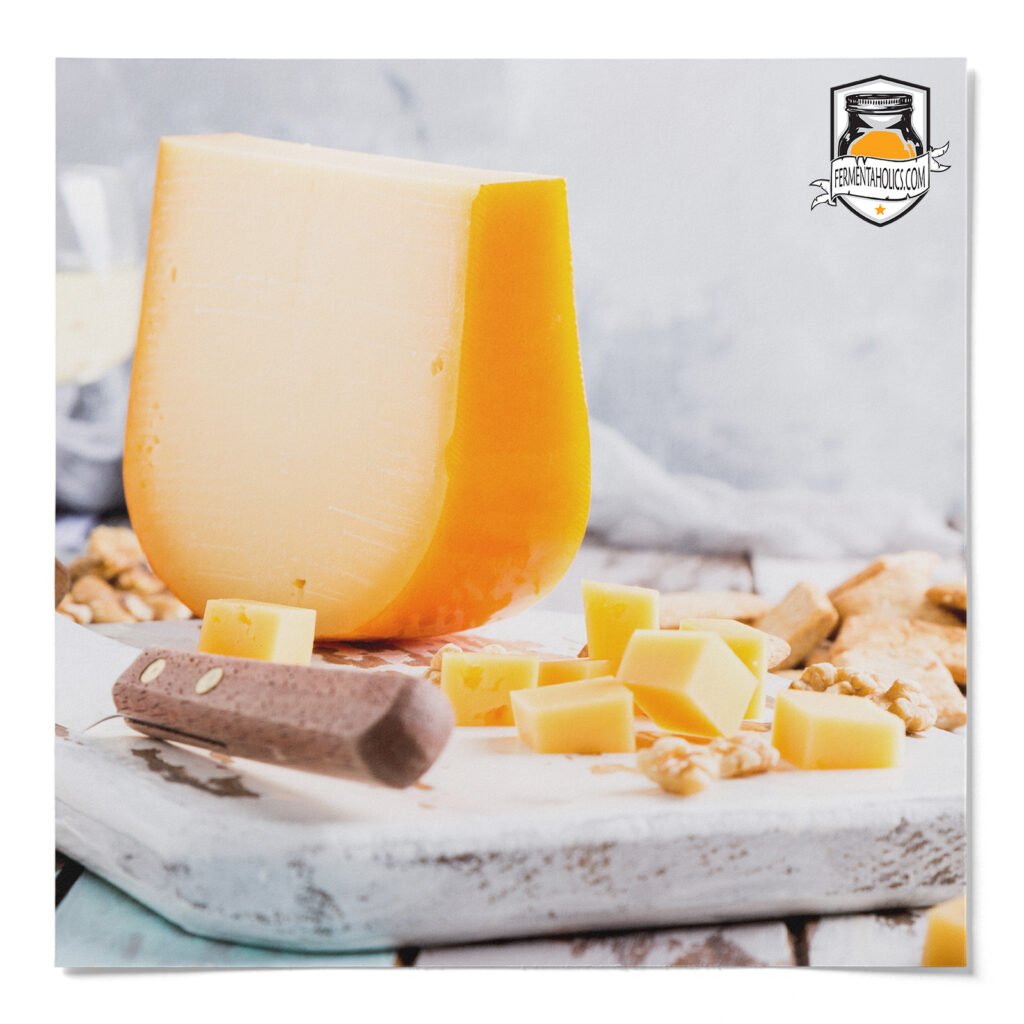
Food-grade wax is made to preserve quality, taste, and moisture in cheeses while they age.
With over 2,000 varieties, cheese comes in many shapes, colors, aromas, and textures, but all will fall under one of three categories: fresh, soft & aged, or hard. Fresh cheeses are ready to enjoy right after preparing them and don’t require any further fermentation, like mozzarella, queso blanco, and ricotta. Soft, Aged and Hard cheeses do require additional fermentation to let their flavors and textures develop; this is where cheese wax comes into play.
Preserving cheese in a colorful coating can be traced as far back as the 12th and 13th centuries when Dutch dairy farmers began using a natural dye on their Edam cheese rinds to make them harder and turn them bright red. Modern cheese waxing as we know it began in the late 19th century when a variety of cheeses were plunged into colorful waxes that helped bring attention to the cheese as much as they helped age them properly. Cheese wax looks appealing but also plays a pivotal role in the aging of cheeses as it protects the cheese from any airborne contaminants while also retaining the moisture inside the cheese.
There are typically two ways to wax cheese: the dipping method and the brushing method. While the dipping method is preferred over brushing for attaining a smooth, even coat, you are limited to whatever size container you are melting your wax in, whereas the brushing method can be used for any shape or size of cheese but may not create the most uniform look. Let’s review both methods step by step.
Warning: Do not allow the wax to exceed 250°F as the vapors are highly flammable. Monitor the temperature often and do not leave wax unattended.
You need cheese wax, a double boiler or crock pot to melt it in, and a thermometer to keep the wax at 150-175°F. For the dip method you also need tongs; for the brush method, a cheese brush. Work on a clean, dry surface.
Wax only a clean, dry rind. Wipe the surface with vinegar or brine to remove any mold or residue, then let the cheese dry completely before waxing. Wax seals in whatever is on the rind, so if mold keeps coming back, don’t wax that cheese.
Heat cheese wax slowly to 150-175°F (66-79°C) in a double boiler or crock pot, and check the temperature often. Never let it go above 250°F. The vapors are highly flammable, so don’t leave melting wax unattended.
Use the dip method or the brush method. To dip, hold the cheese with tongs, dip one half into the wax, let it cool for 60-90 seconds, then dip the other half. To brush, coat the sides, then the top, then the bottom, letting each section cool for 60-90 seconds. Either way, cover the whole surface with no gaps.
Apply 1-3 coats. Let each coat cool before adding the next, and fill any holes or thin spots so the cheese is fully sealed.
Cheese wax cools and sets in about 60-90 seconds, which is how long to wait between dips or brushed sections. Before handling or storing the cheese, check that the final coat is firm all the way around.
Store waxed cheese in a cheese cave or a refrigerator with controlled humidity while it ages. The wax is the cheese’s protective layer, so there’s no need to wrap it in cheese paper.
Yes, cheese wax can be reused multiple times. After use, allow the wax to cool and solidify. Then, carefully remove it from the cheese and strain out any impurities. Melt the wax again for future use.