Cart 0 $0.00
Cart 0 $0.00
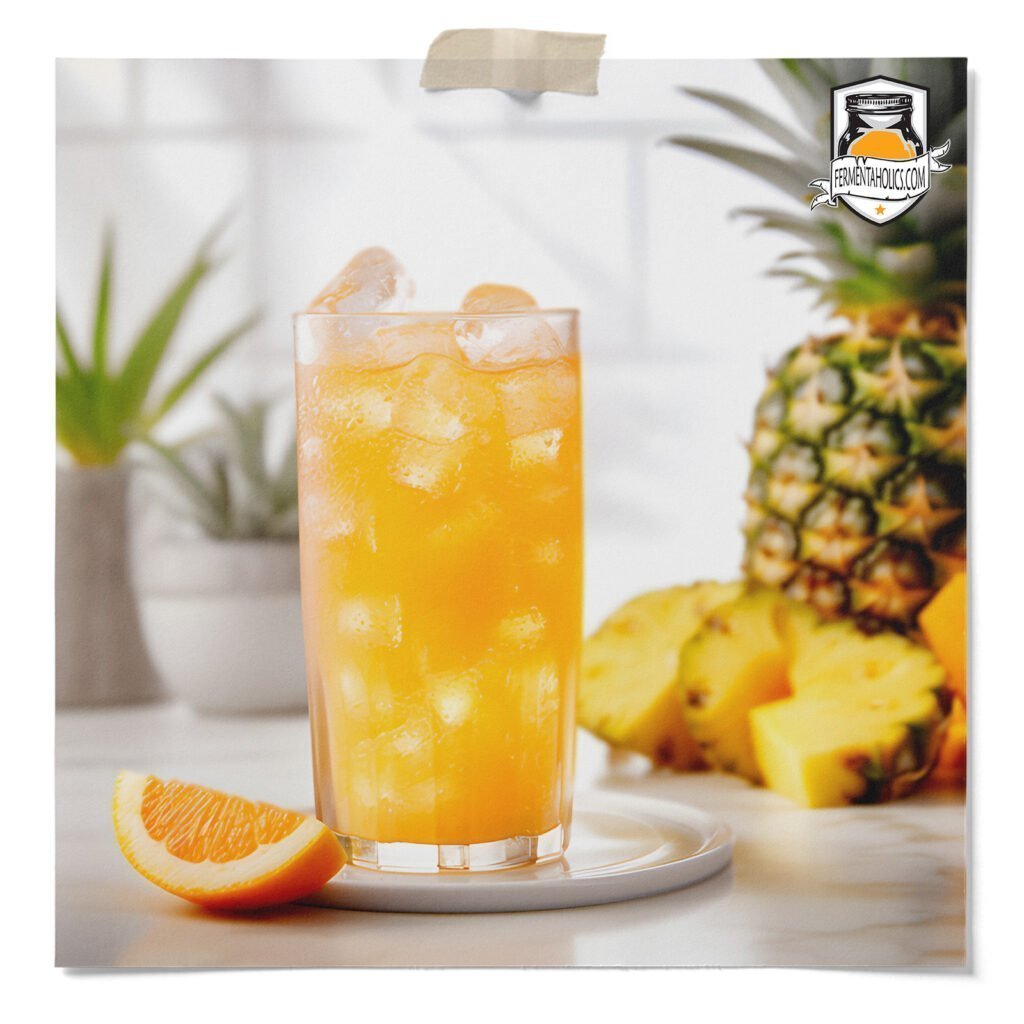
orange pineapple water kefir

Orange Pineapple Water Kefir Recipe

A delicious tropical treat

A Beginner's Guide on How to Make Orange Pineapple Water Kefir

The sweet citrusy flavors of oranges paired with the tropical flavors of pineapple create the perfect refreshing water kefir drink. There are several types of oranges, and each one will impact the flavor of your drink- for today’s recipe we will be using navel oranges. The orange is the official fruit of Florida, our home state here at Fermentaholics! Not only are oranges and pineapples a perfect addition to your finished water kefir, but they are also packed with Vitamin C, which has been known to play a role in healing wounds and controlling infections, as noted by Harvard.

Skip Ahead

Primary vs Secondary Fermentation

It’s important to note that brewing homemade water kefir is almost always a two-step fermentation process. Brewing water kefir is only a one-step process for those who prefer unflavored and mostly flat water kefir. Otherwise, the steps consist of a primary fermentation and secondary fermentation.

  1. Primary Fermentation: The primary fermentation is the first step of the water kefir brewing process. This is where your water kefir grains transform regular sugar water into the tart and slightly sweet water kefir we love. At the end of this stage, you will have finished water kefir, but it will be flat and, depending on the source of sugar used, unflavored.
  2. Secondary Fermentation: The secondary fermentation is the step where you bottle, carbonate, and flavor your water kefir by the addition of sugar and flavors. This step is essentially adding a bit of sugar/flavor to each airtight bottle and letting it ferment a little longer, allowing the yeast to carbonate the beverage in an airtight environment naturally.

Since this recipe is for the secondary fermentation, to make this recipe, you will need to have water kefir that has finished the primary fermentation and is ready to bottle.

Ingredients

  • Water Kefir: You need water kefir that has completed primary fermentation and is ready to bottle and flavor.
  • Pineapple: Tropical gold. Pineapples are sweet, sour, juicy, and packed full of nutrition. Known to help reduce inflammation and ease a sore throat. Feel free to use canned pineapple if you have it!
  • Oranges: A deliciously sweet and tart flavor.

Secondary Fermentation Preparation

This recipe makes one 16 fluid ounce bottle. Before beginning this recipe, you will want to:

  1. Reserve your grains from your completed primary fermentation and set them aside. You will use these grains as your starter for your next batch of water kefir.
  2. With your water kefir grains placed aside, you will have all the finished water kefir separated and ready to bottle. These bottles are the most popular as they are considered the best bottles for water kefir secondary fermentation, but any other airtight bottles made for carbonation will work.

Orange Pineapple Water Kefir Recipe

Course: Water Kefir Recipe, Water Kefir, Orange PineappleCuisine: Water KefirDifficulty: Easy
Servings

16 FL Oz Bottles

Prep time

10

minutes
Second Fermentation

1-3 Days

This Orange Pineapple water kefir recipe is for one 16 fluid-ounce bottle. For a quart batch, make two bottles. To scale this recipe to a quart batch, multiply the ingredients by two or toggle the serving size up to two above. Before bottling your water kefir, remove the water kefir grains and reserve them for your next batch.

Ingredients & Supplies

  • Ingredients
  • 12 Oz Water Kefir from a completed primary fermentation

  • 1/8 Cup Chopped Pineapple

  • 1/8 Cup Orange Slices

  • Supplies
  • 1 16 Oz Water Kefir Bottle(s)

  • Measuring Spoons

  • Blender

Directions

  • Add oranges and pineapple chunks to a clean, empty bottle.

  • Using a funnel, slowly pour Water Kefir into the bottle, ensuring there is about one inch of headspace left from the top of the bottle. The Water Kefir may foam up as you pour so be sure to pour carefully.

  • Keep the bottle at room temperature for 2-10 days; it will carbonate faster at higher temperatures and slower when cold.

  • Burp the bottle as necessary to release excess pressure. This is done by removing the cap to allow built-up pressure to escape then placing the cap back on.

  • Chill in the refrigerator once you’re happy with the carbonation levels. Based on preference, you can serve as is or strain before drinking.

Note

  • First-time brewers may find it helpful to substitute a glass bottle for a plastic bottle of equal size. Fill the plastic bottle as directed above, leaving 1-2 inches of empty headspace at the top. This plastic bottle will now be used as a pressure gauge. Once this bottle becomes rock solid, you will know the remaining are ready. This method can help prevent bottle bombs.

Shop Our Teas, Herbal Teas, & Flavors

Easy Beginner Ferments

Product Details

My cart
Your cart is empty.

Looks like you haven't made a choice yet.