

20
minutes2-10
This candied ginger kombucha recipe is for one 16 ounce bottle. For a gallon batch, make seven bottles. To scale this recipe to a gallon batch, multiply the ingredients by seven or toggle the serving size up to seven above. Before bottling your kombucha, remove the SCOBY pellicle along with 12-16 ounces of kombucha starter tea from your brew, and reserve for your next batch.
16 Oz Kombucha from a completed primary fermentation.
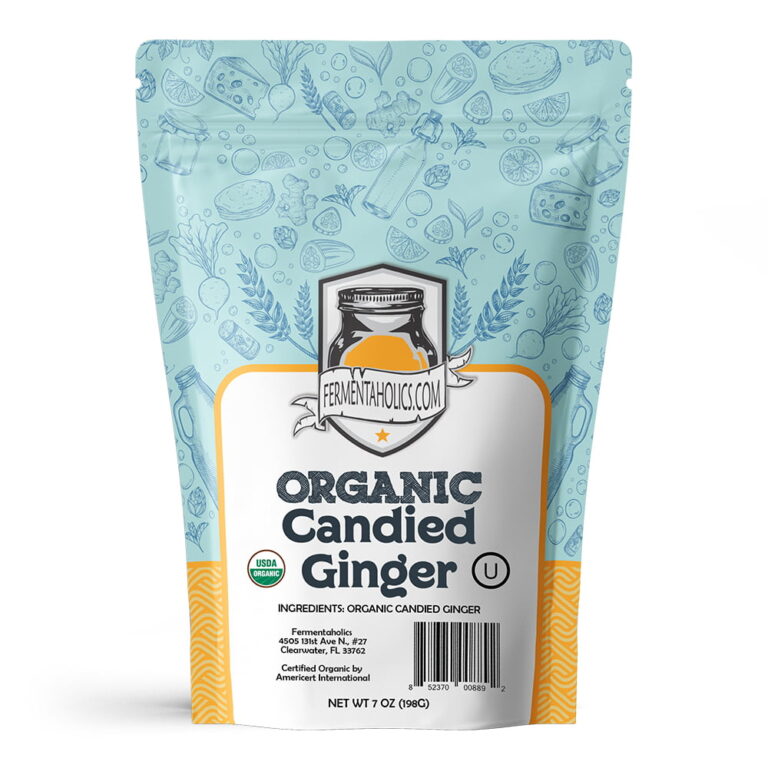
1-2 TBSP Candied ginger, diced (1-2 TBSP Per 16 Oz Bottle)
16 Oz Swing Top Bottles
Strainer Strainer – Optional
Using a funnel, add the diced candied ginger evenly to each bottle.
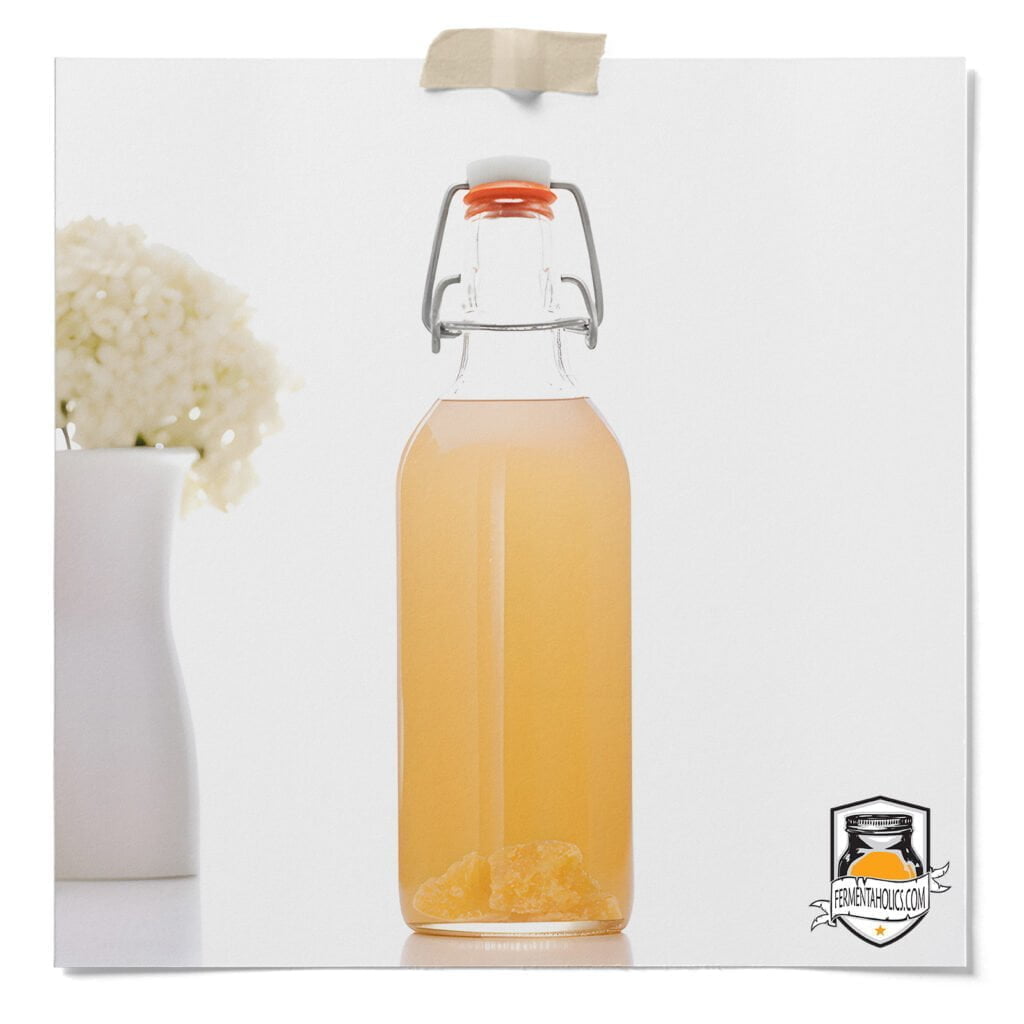
Fill each bottle with kombucha, leaving about 1 to 2 inches of head-space. Tightly place the caps on each bottle.
Keep bottles at room temperature for 2-10 days; it will carbonate faster at higher temperatures and slower when cold.
Once per day, you’ll want to burp the bottles. This is done by removing the cap to allow built-up pressure to escape then placing the cap back on. As soon as you put the lid back on, the carbonation will begin to build back up, so no worries about it getting flat. Try not to skip this, or you may get kombucha all over your face when you do go to open it or, worse yet, a bottle bomb.
Chill in the refrigerator once you’re happy with the carbonation levels. Based on preference, you can serve as is or strain before drinking.
Looks like you haven't made a choice yet.